Sunday, October 13, 2013

Lego Geometry - Triangles and Polygons


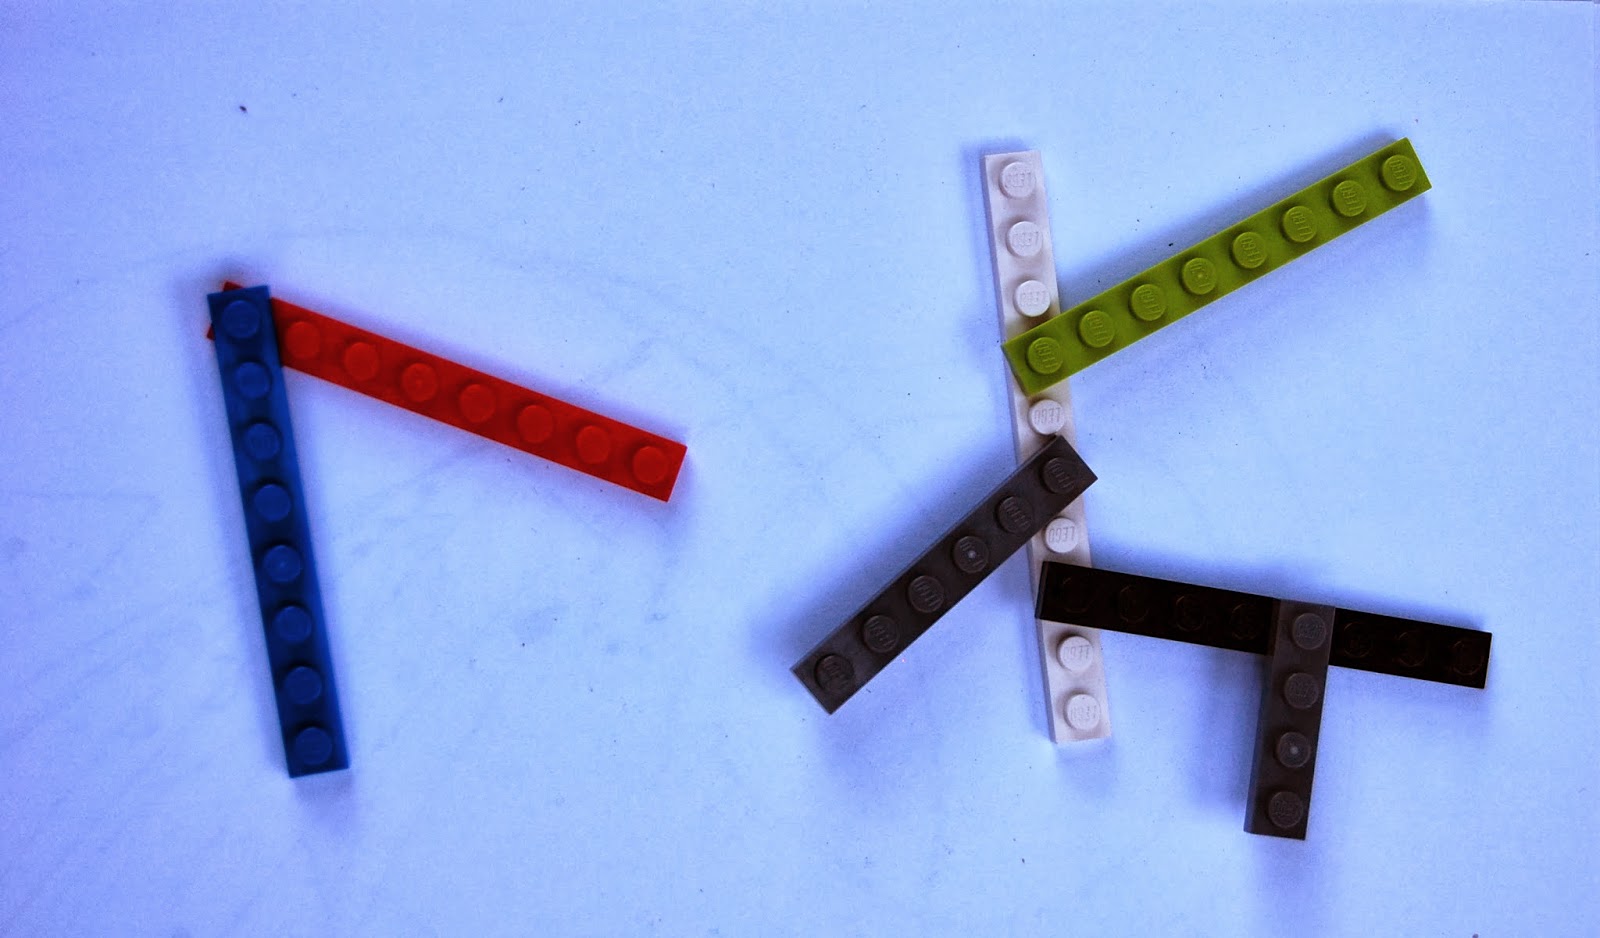
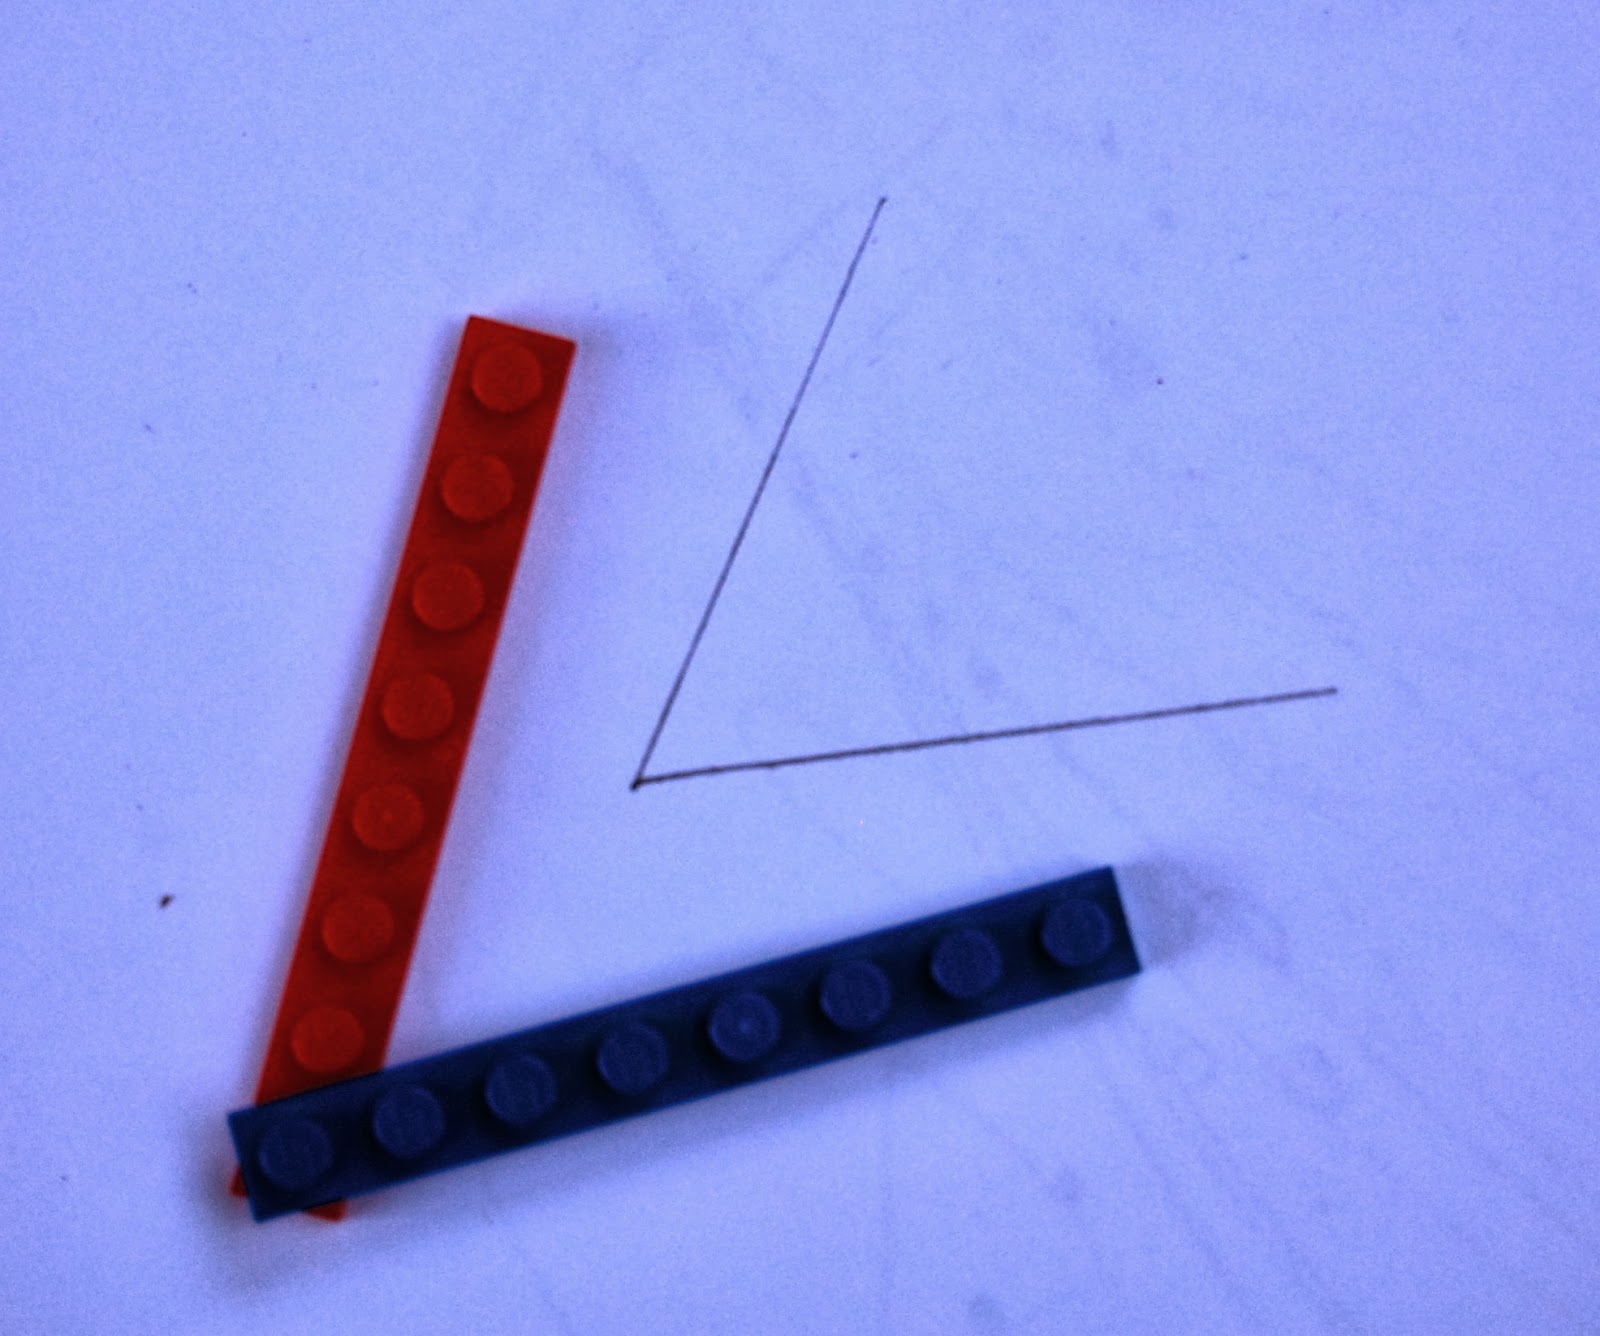
After learning about the different types of angles, building them with Legos and measuring the tracings with protractors, we moved on to triangles and polygons. It's a pretty easy leap to take your Lego angles and add a third piece to make a triangle.


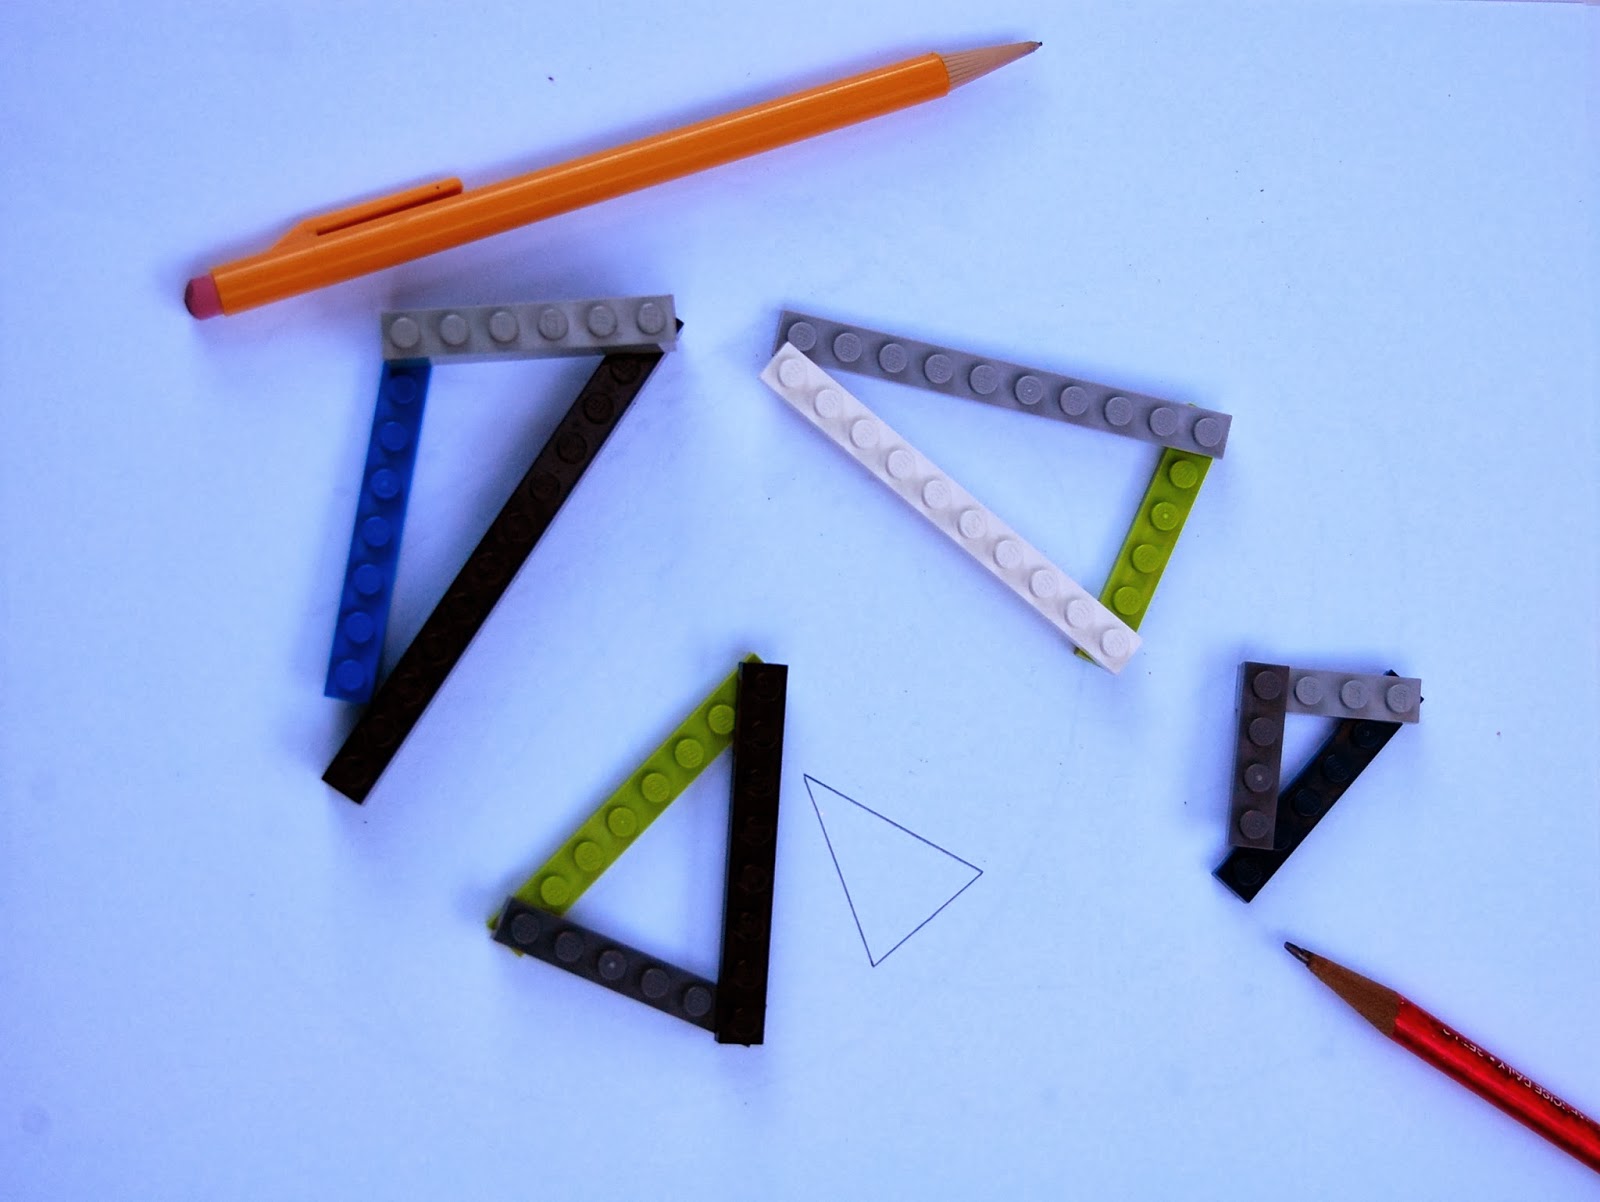
Easy in theory, yes, but in reality it can be difficult to find a third piece that is just the right size. Make sure you have as many pieces as you can scrounge out of those Lego bins for this activity, and remember you are looking for the shape inside the Lego, not around the perimeter. You would have a pretty wonky triangle if you tried to trace the outside, but look how nice they come out when you trace inside! We classified our triangles by sides ( equilateral, isosceles and scalene) and angles (right, acute and obtuse), then the kids traced examples of each in their math notebooks. You could also measure the angles of the triangles you traced with your protractor.


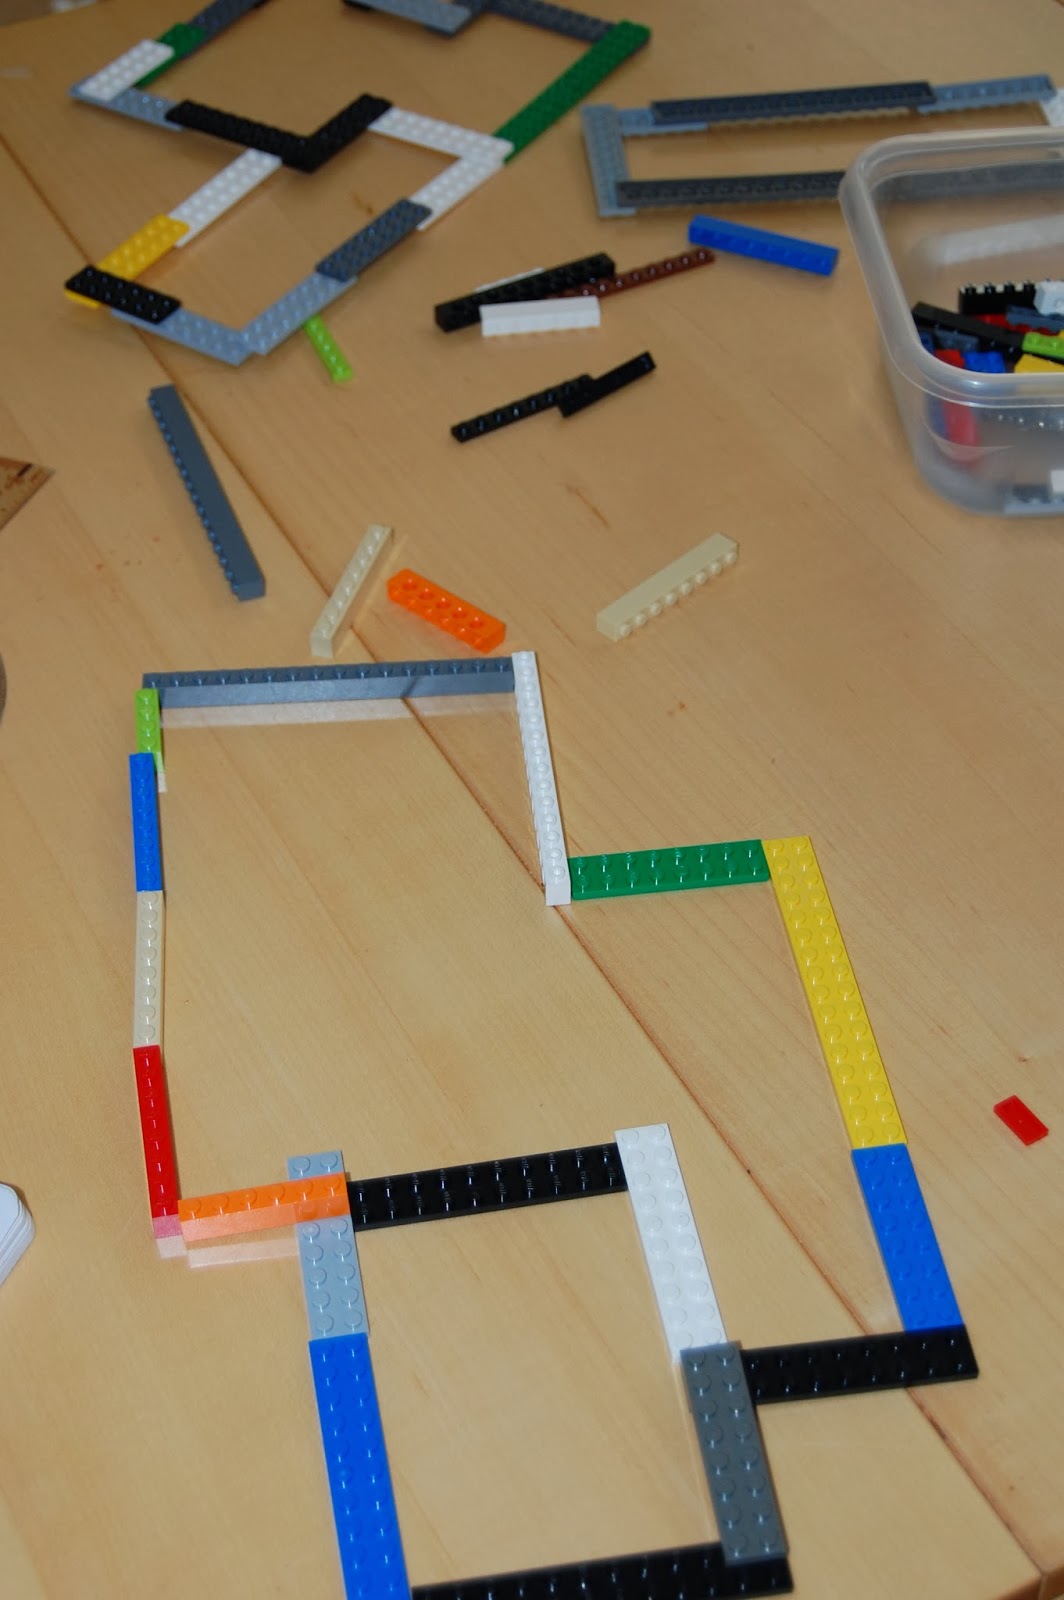
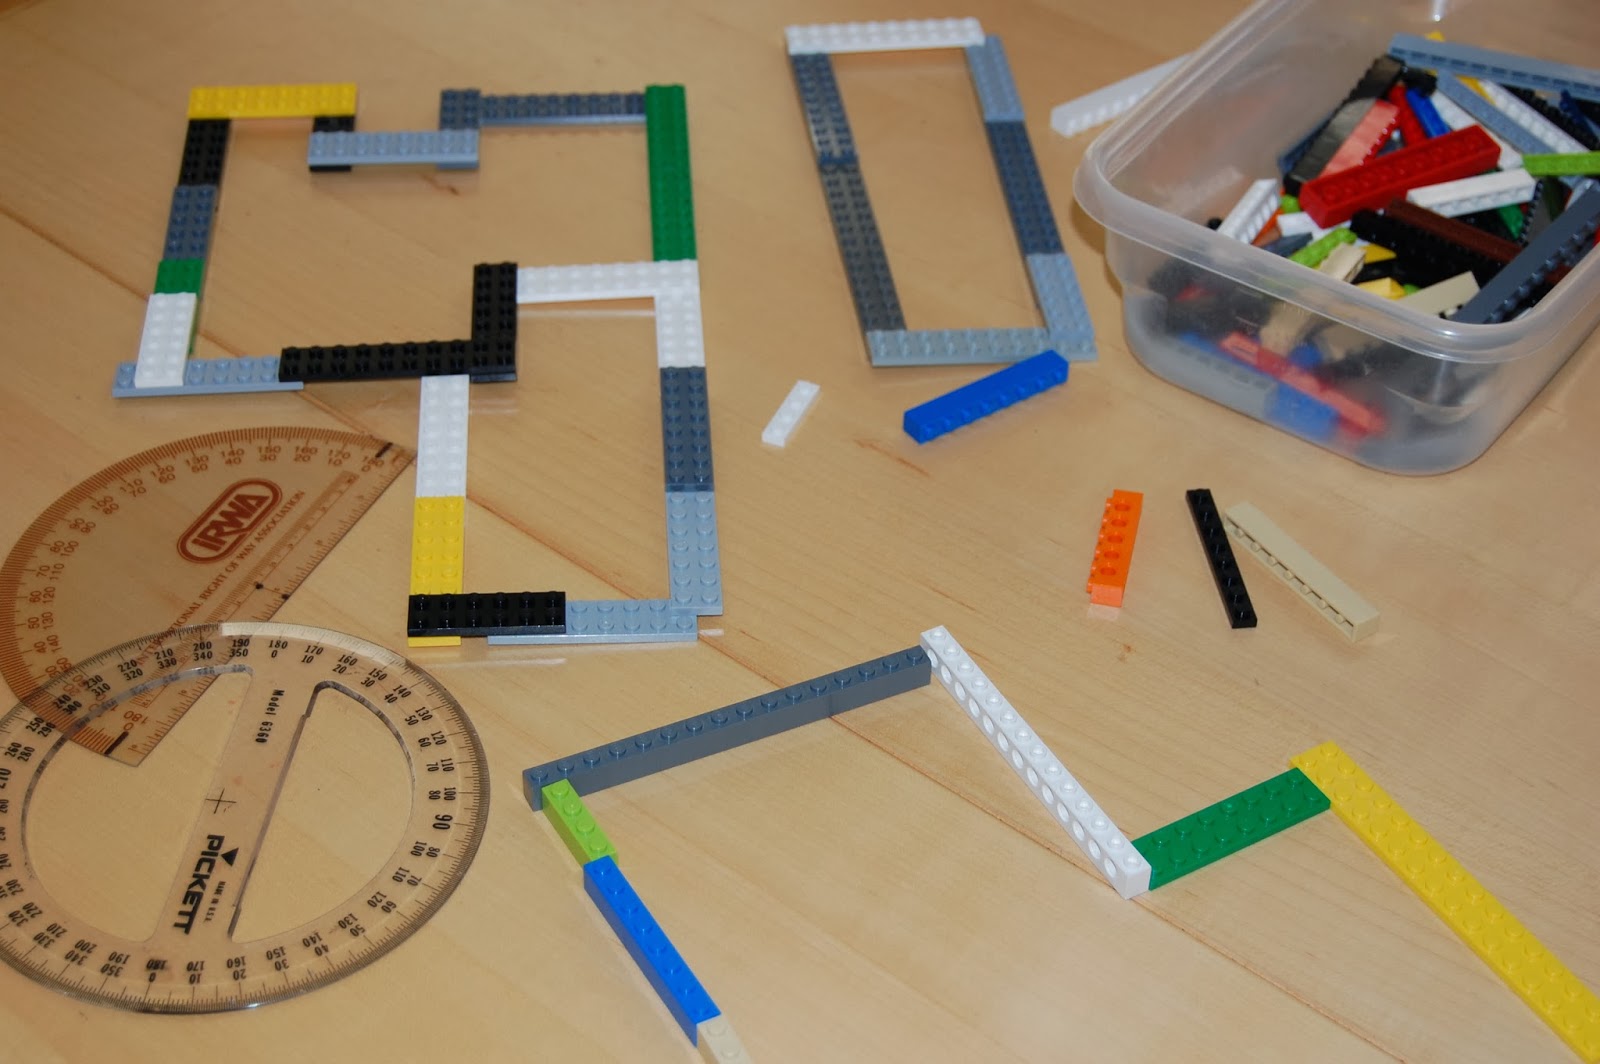
Break out those double row bricks for polygons, and of course you can use your single rows as well. The kids had fun combining different bricks to make some wild polygons. A polygon is a multi-sided  two dimensional figure made up of three or more line segments, so you can really go to town with building these shapes. We started out with traditional shapes such as squares and rectangles, then moved on to more creative builds. Since these were rather large constructions, the kids drew their examples instead of tracing them.

The real challenge is coming up next time - circles!

Tuesday, October 8, 2013

Lego Geometry - angles


Math is not a favorite subject for either of my children, even though it comes so easily to Max. I am always looking for a way to make it more fun, more appealing, and nothing is more appealing to my kids than Legos. So, when we started a geometry unit, I thought it would be a perfect pairing. I sorted through the Lego baskets and pulled pieces that would work well with line segments and angles, our first lessons. I mostly selected the thin, single row Legos you see above, in different lengths. I introduced the concept of lines and line segments using the pieces, then we made parallel and perpendicular lines using the bricks.

Taking those line segments and perpendicular lines, we snapped them together (or pivoted them, in the case of perpendicular lines) to create angles. We opened them to different widths to show acute, right and obtuse angles.


We traced them in our math journals and labeled the three different kinds of angles. You need to trace the inside of the angle, not the outside. It also helps if someone holds it, because they have a tendency to shift on you while you are tracing!


The next day I told the kids to create five different angles and trace them in their notebooks. I expected that they would make five individual angles, but they both surprised me with their approach. Max made one angle, then just pivoted it to create different degrees. Madeline took the right brain approach and created the structure on the right, then laid it in her notebook and traced the different angles it creates. I love their creative problem solving!