Showing posts with label applique. Show all posts

Sunday, September 9, 2012

Lego Towel


This is one of my favorite projects, and it's so easy! I don't have a tutorial, but it's simply an appliqué on a store bought towel (I got mine at Target for $5). I used fleece for the lego head. I chose fleece because it's soft and I had it on hand, but a micro-terry or french terrycloth would work as well. I did a Google search for lego heads and then drew the face on Wonder Bond free hand. I followed this procedure for the appliqué process, but I used a pressing cloth over the fleece (it melts!) and a lot of extra time to get the bond to stick. A little stitching and you have a custom Lego towel! It was Max's birthday present and has endured months of washing and is still going strong.

Tuesday, March 15, 2011

Easter T-shirt Rescue

A bleach stained girl's t-shirt with a small hole. Honestly, I'm not sure how it got that way, since I only use the little bleach pens on white fabric, but it mysteriously appeared one day. I stuck it in my refashion bag and forgot about it until this weekend, when I was cleaning out my closet for Project Simplify on Simple Mom (more on that in another post). So, I pulled out my idea book and thumbed through the pictures from catalogs and magazines of potential clothing projects. My dear daughter loves to mark clothes she likes in catalogs so that I can make (or order) them for her, and I ran across some cute spring t-shirts from Mini Boden. I think they were from last year's catalog. Anywho, a little applique work and Bam! a new Easter shirt:
Yes, the design was a total rip-off, with the exception that they used screenprinting along with applique, and I only used fabric, andding just a few touches. I love how applique can quickly, and completely, transform a piece of clothing. The bunny is even made from the sleeves of another t-shirt re-fashion, which I will have a short tutorial for later. If you have never appliqued, I have a tutorial here. Now hop to it! (teeheehee)

Tuesday, July 6, 2010

Red White and Blue (and the sewing machine, too)

We had a lovely Fourth of July, and I hope you did, too. We had to have some patriotic shirts to go with the sparklers, didn't we?

This is what the dining room table looked like on July 3.

Some patriotic appliques...

An image cut from a favorite too small t-shirt and appliqued on to a new larger one.
This plain white shirt was bought for a school concert last year, but of course Miss M won't wear a plain white shirt! The petals were cut from some very small fabric scraps - it always feels good to use every last bit. Then again, it just encourages me to keep every little bit, so my closet overflows. I just cleaned out my fabric stash last week and could not believe how much I had accumulated and forgotten about (including these last two t-shirts waiting to be appliqued!) Half of me wants to save every little bit for future use, and half of me wants to get rid of it before it becomes clutter. So I save until I run out of room, and I purge. Then I watch one of those shows about hoarding on Discovery Channel, and purge again!

Thursday, June 10, 2010

How I Applique

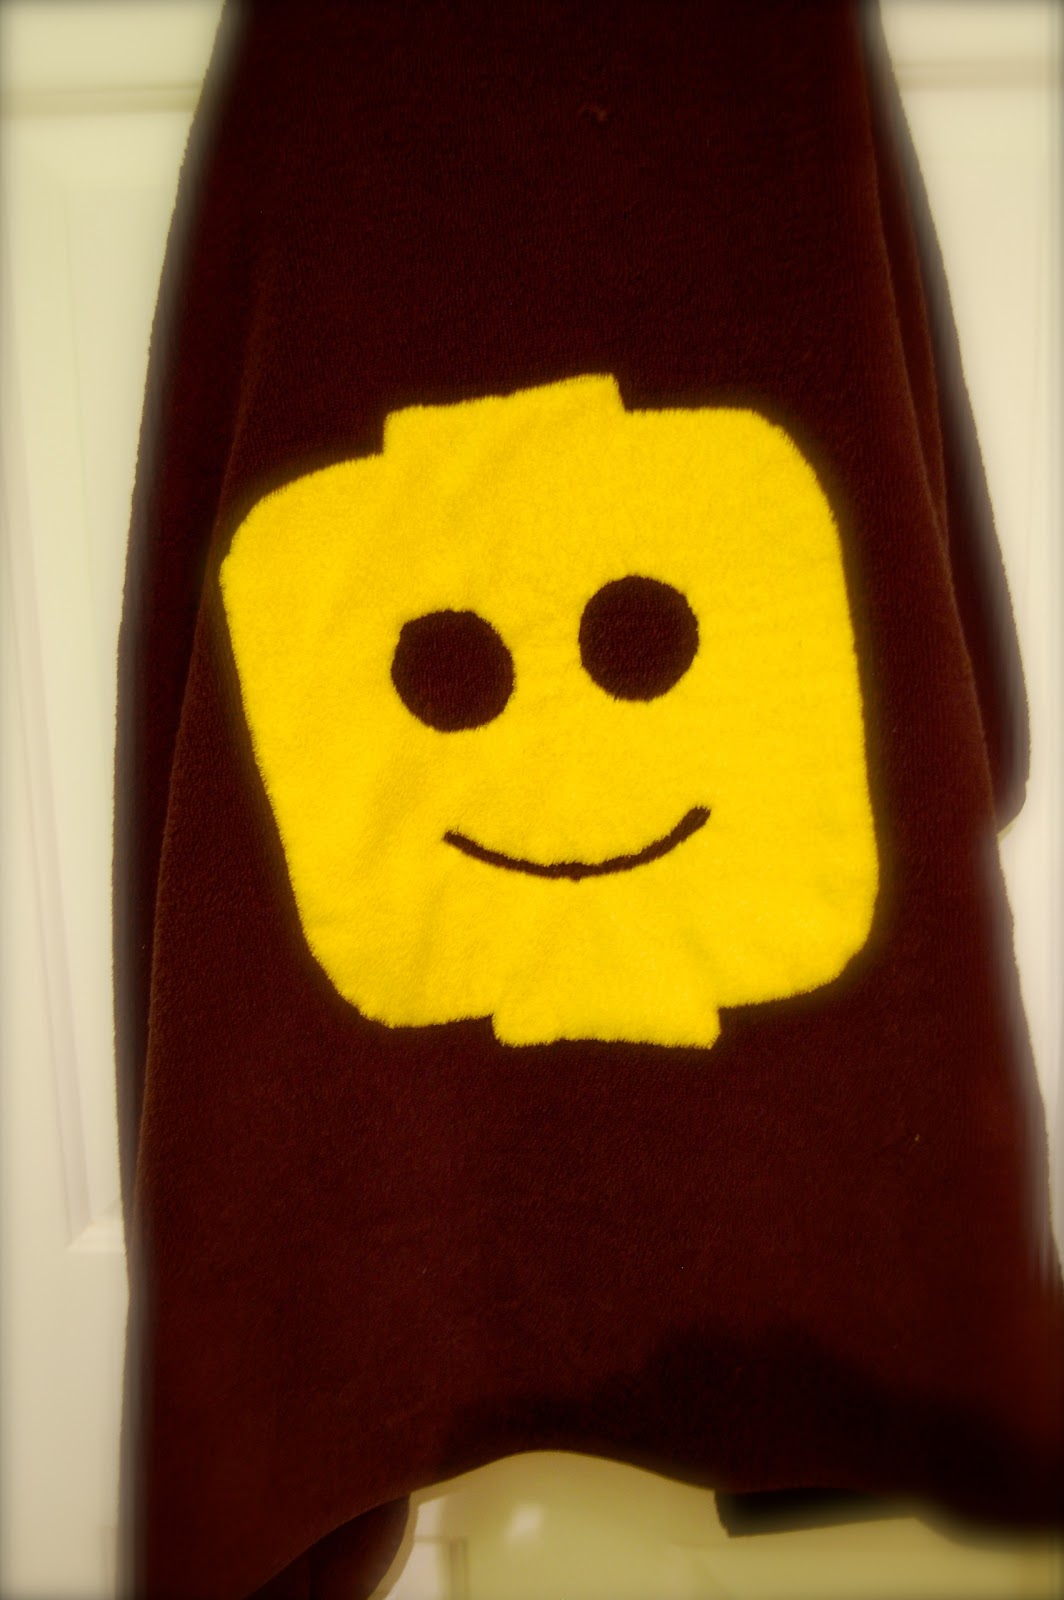
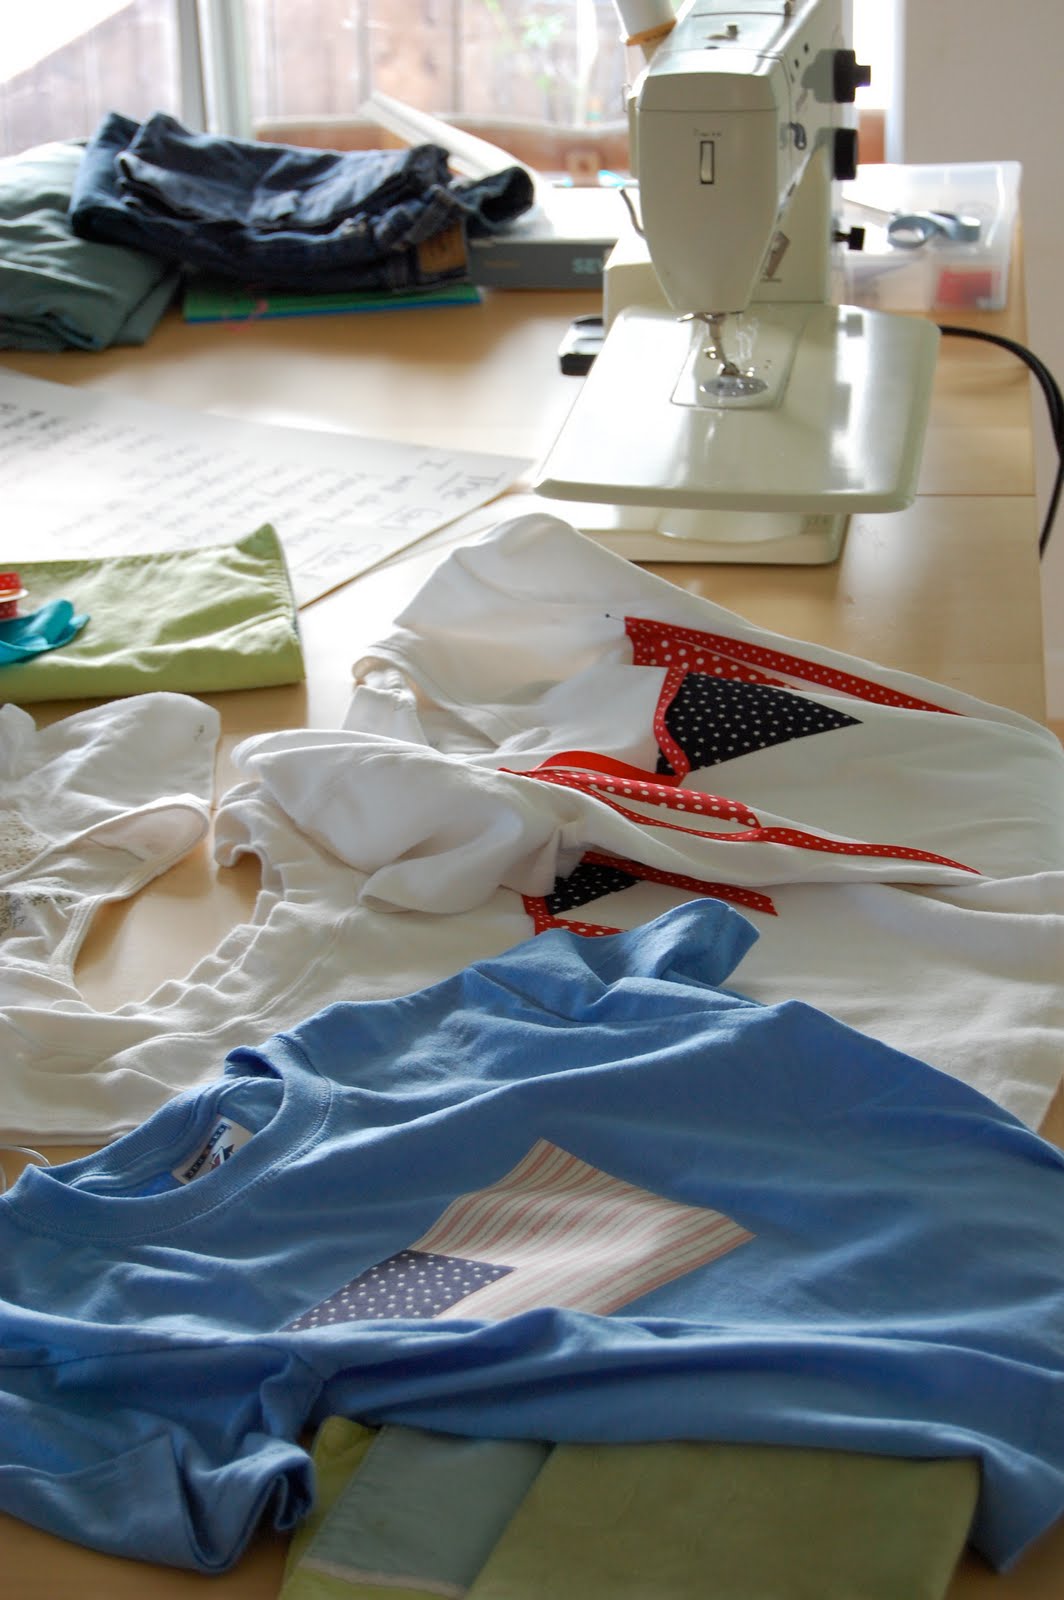
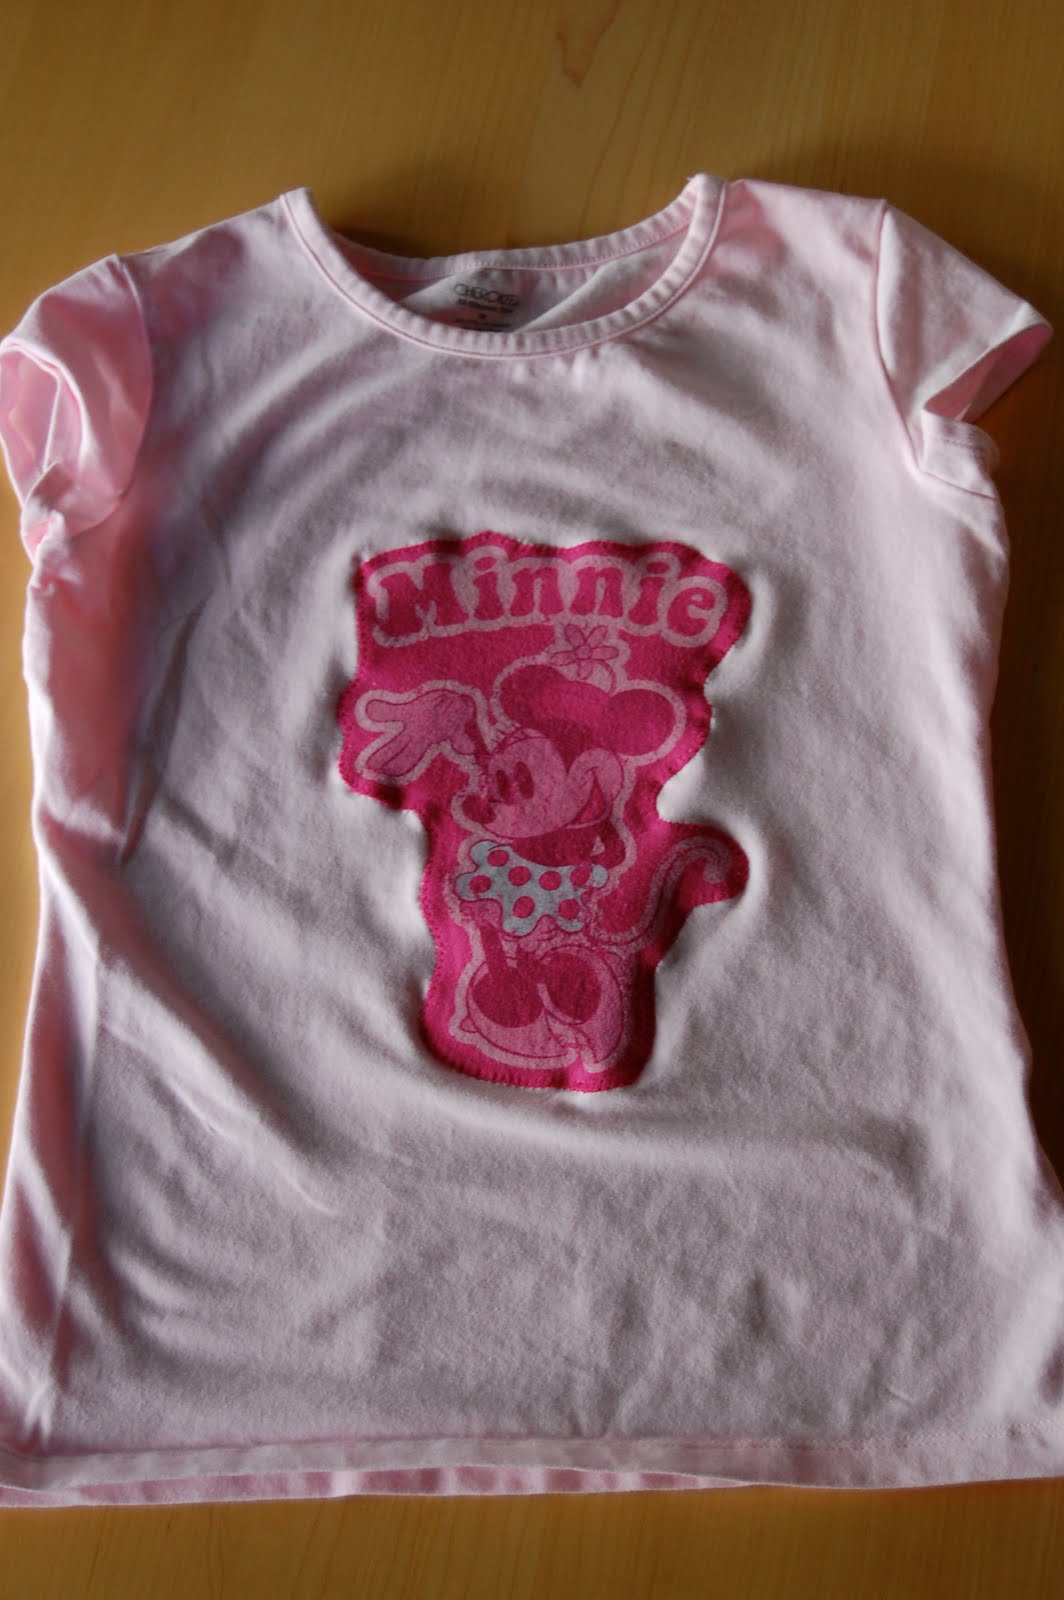
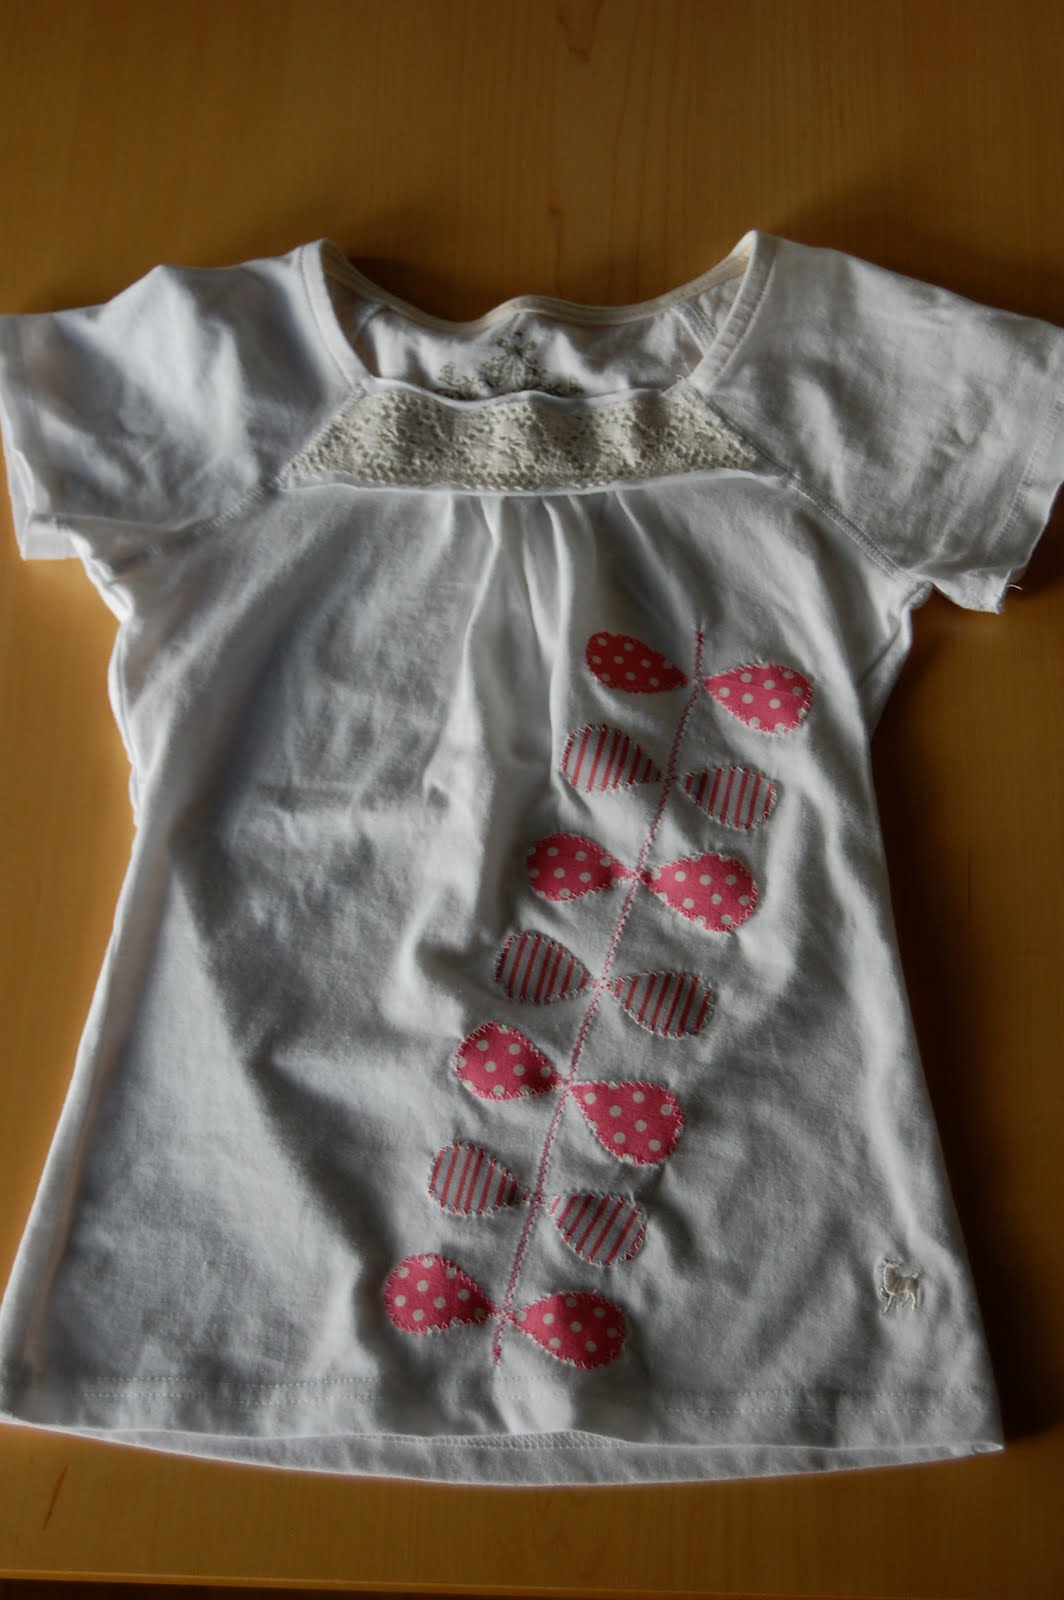
Fabric is still scattered all over the dining room table, and shorts and dresses are still spilling forth. My kids adore customized clothes, and applique is a favorite technique for dressing up plain shirts and skirts. There are many techniques, but I thought I would share what works for me. It's fast, easy, and holds up great in the wash (because really, who hand washes anyway?)

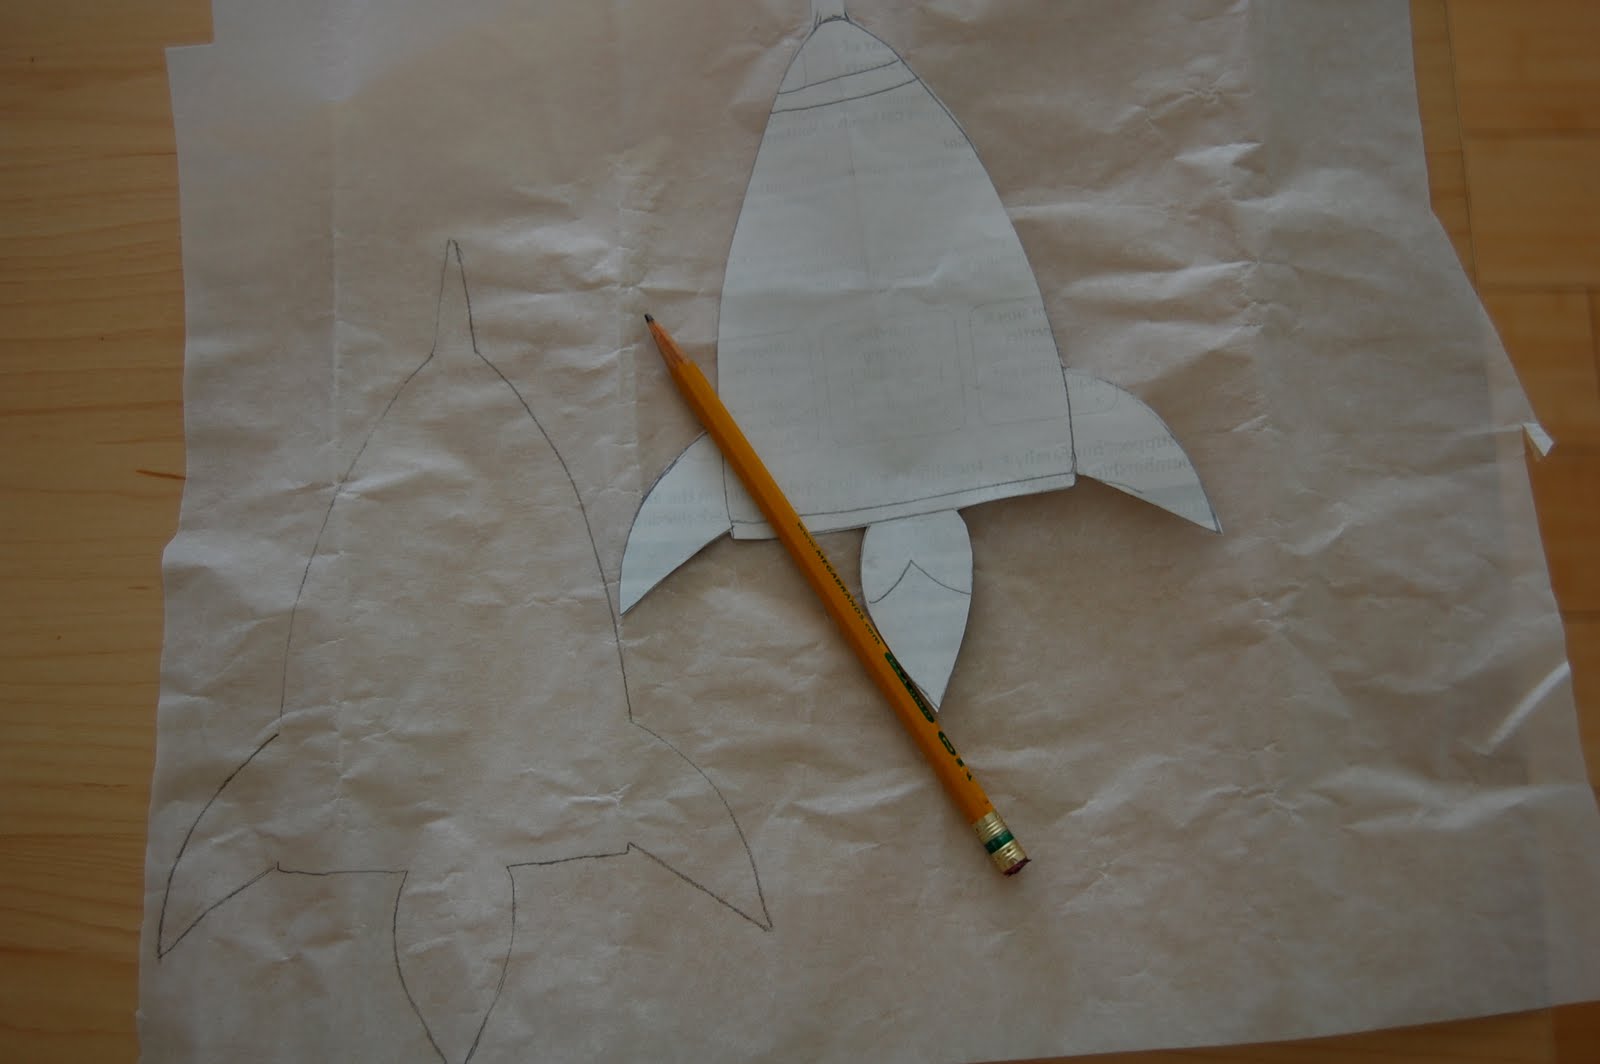
I usually draw my own designs or adapt coloring book images (there are millions of sites on the internet, just google the name of the image with "coloring page"). I then trace my image on Heatbond, (or similar iron on fabric bond), and cut it out with a margin around the edges. This ensures that the bond will extend all the way to the edges of the fabric when you cut it out.


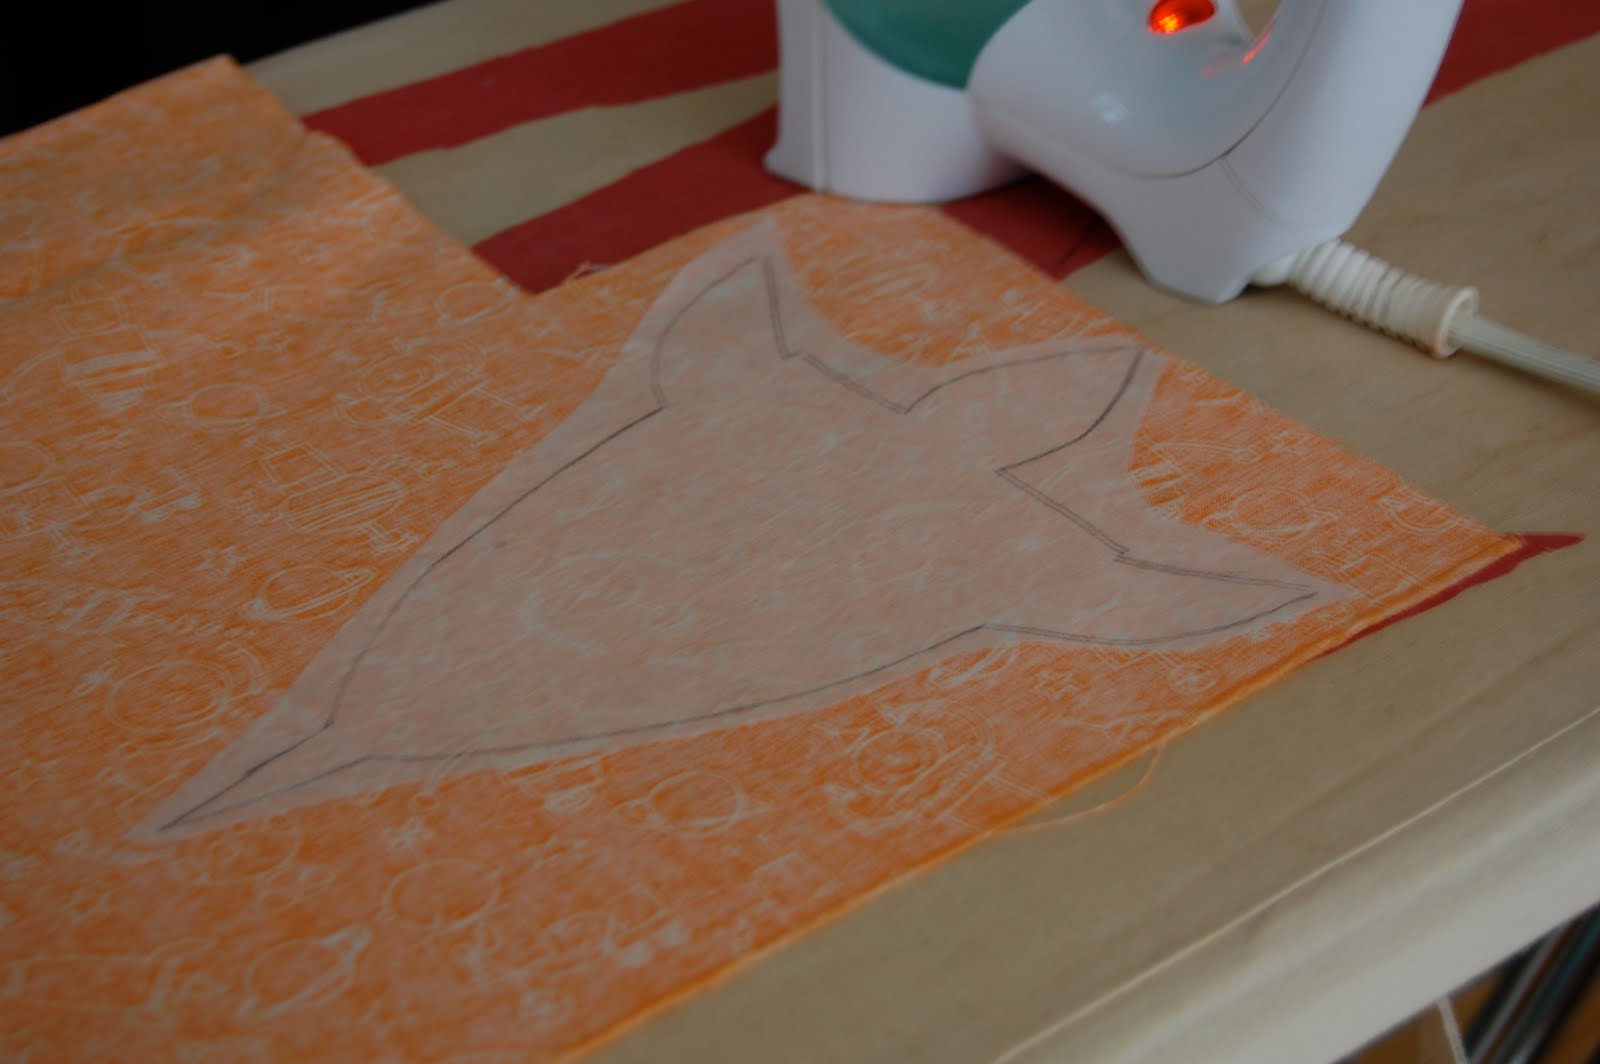
Iron the image to the wrong side of your fabric, following the directions for your particular brand. Once it is cool, cut out your image following the outline lines. Remove the paper.

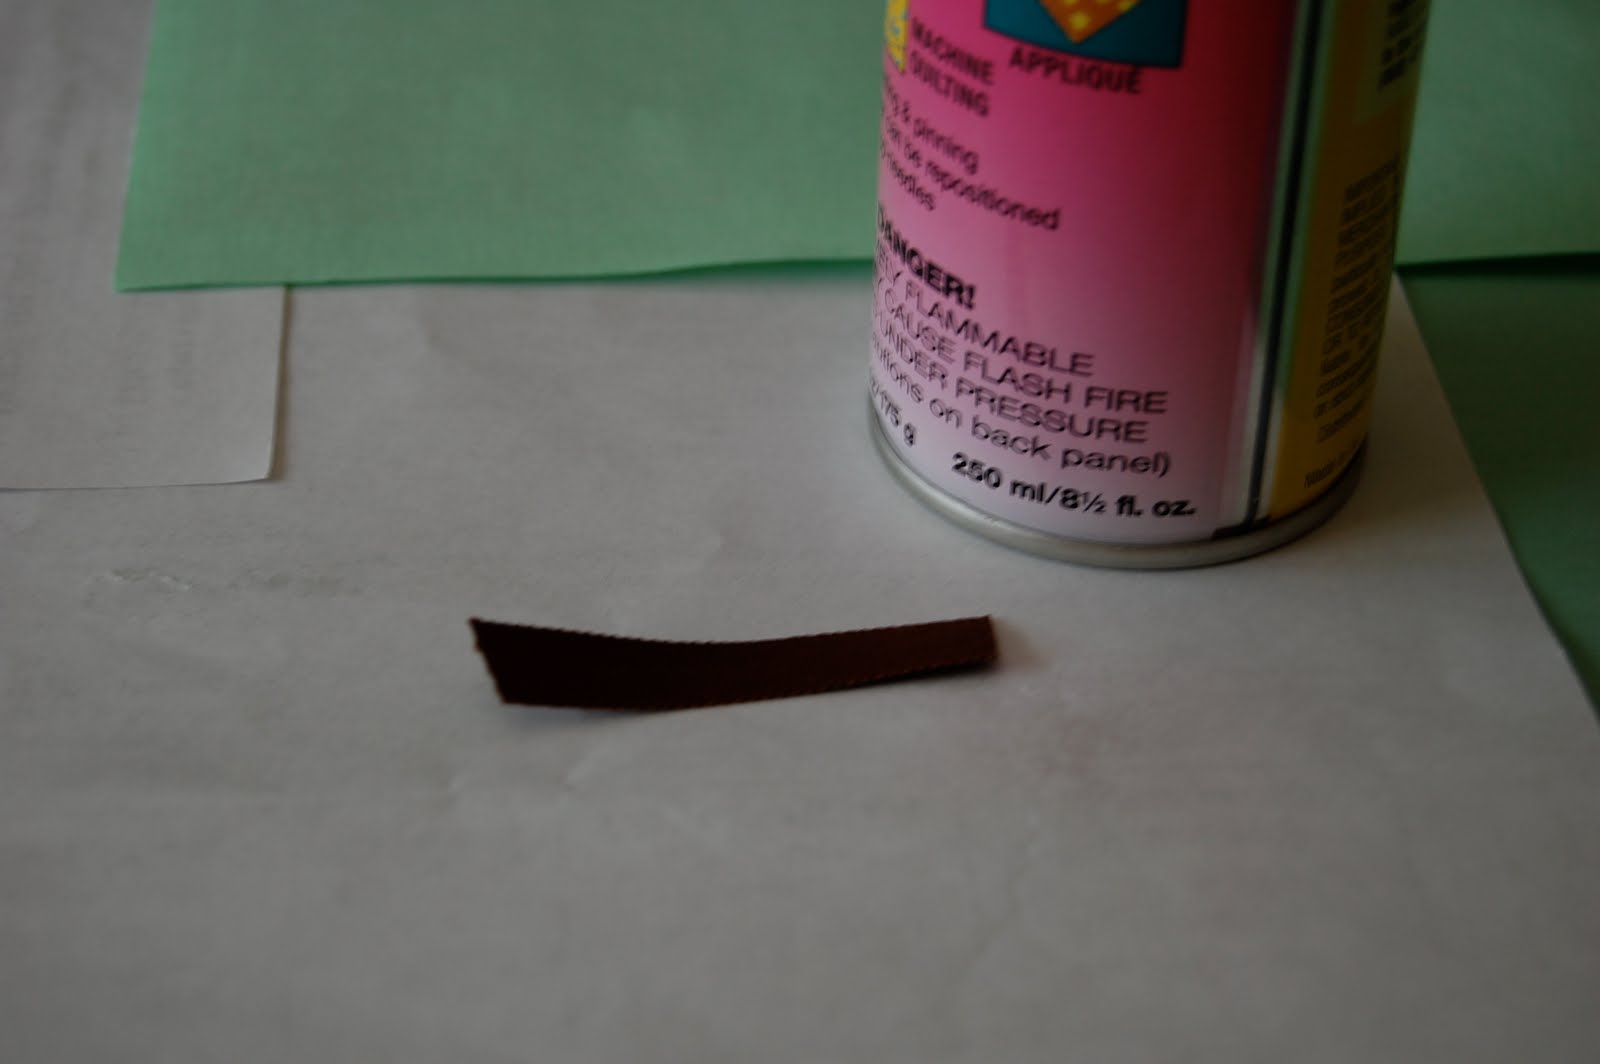
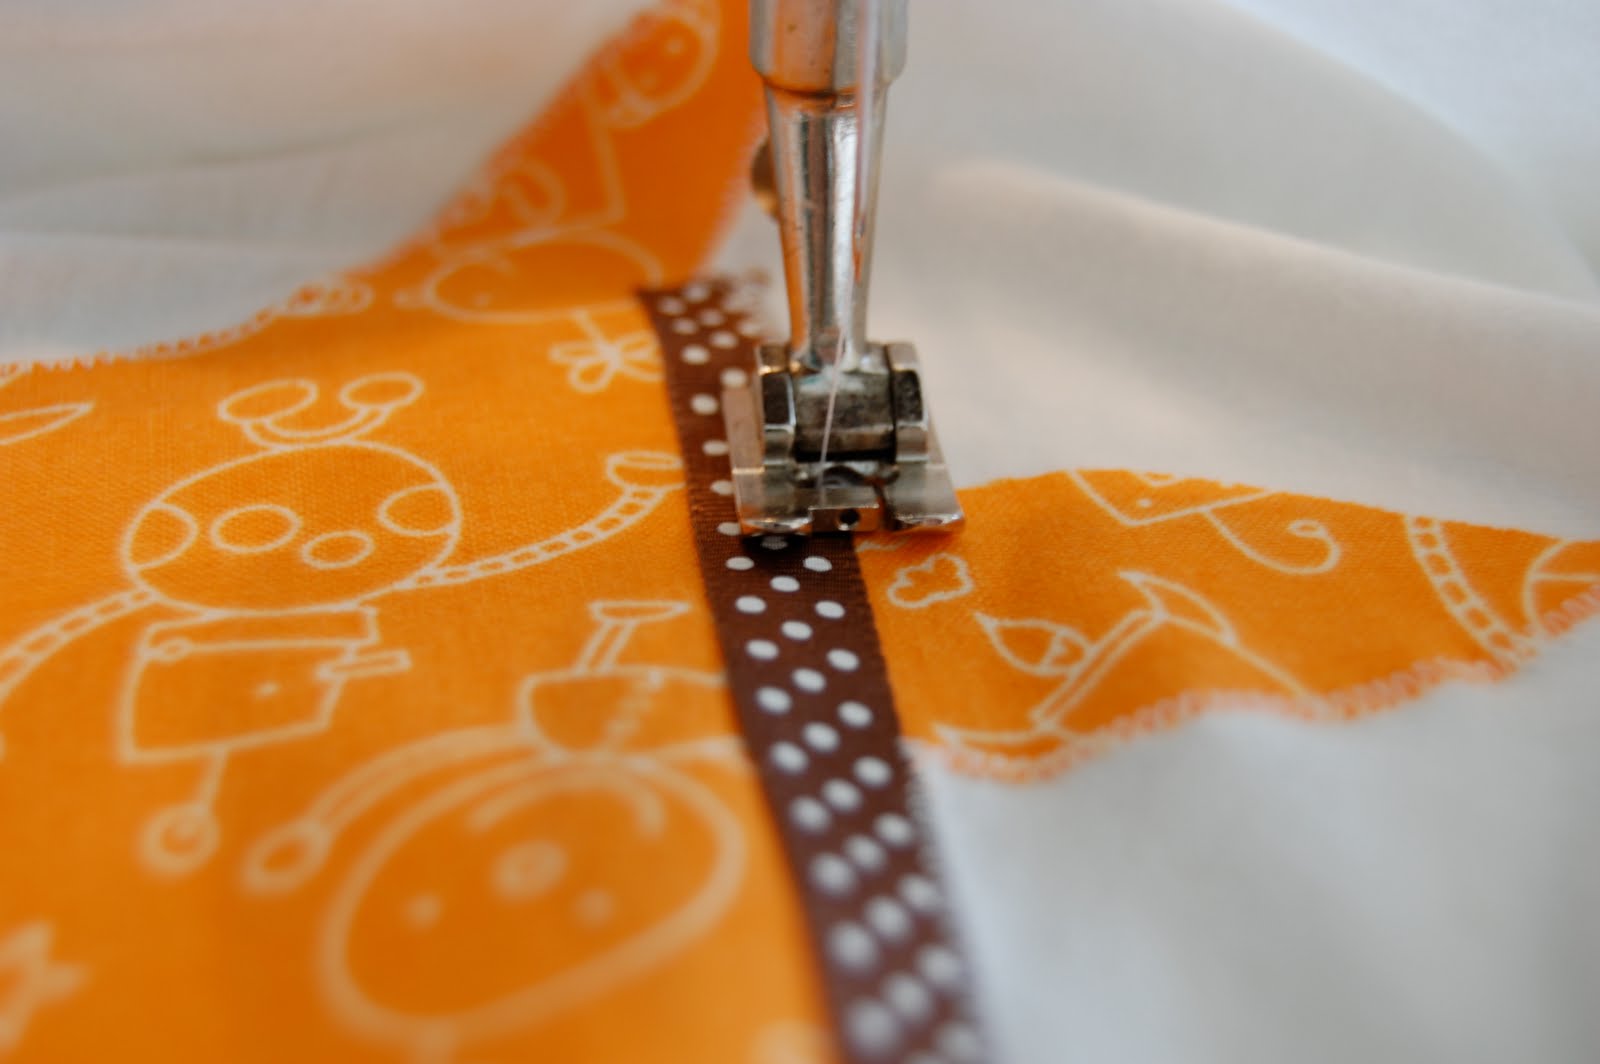
For small trims such as ribbon, I like to use spray baste. It's like a very light spray glue, but it will not gunk up your machine. Just spray the back and stick on to your fabric.

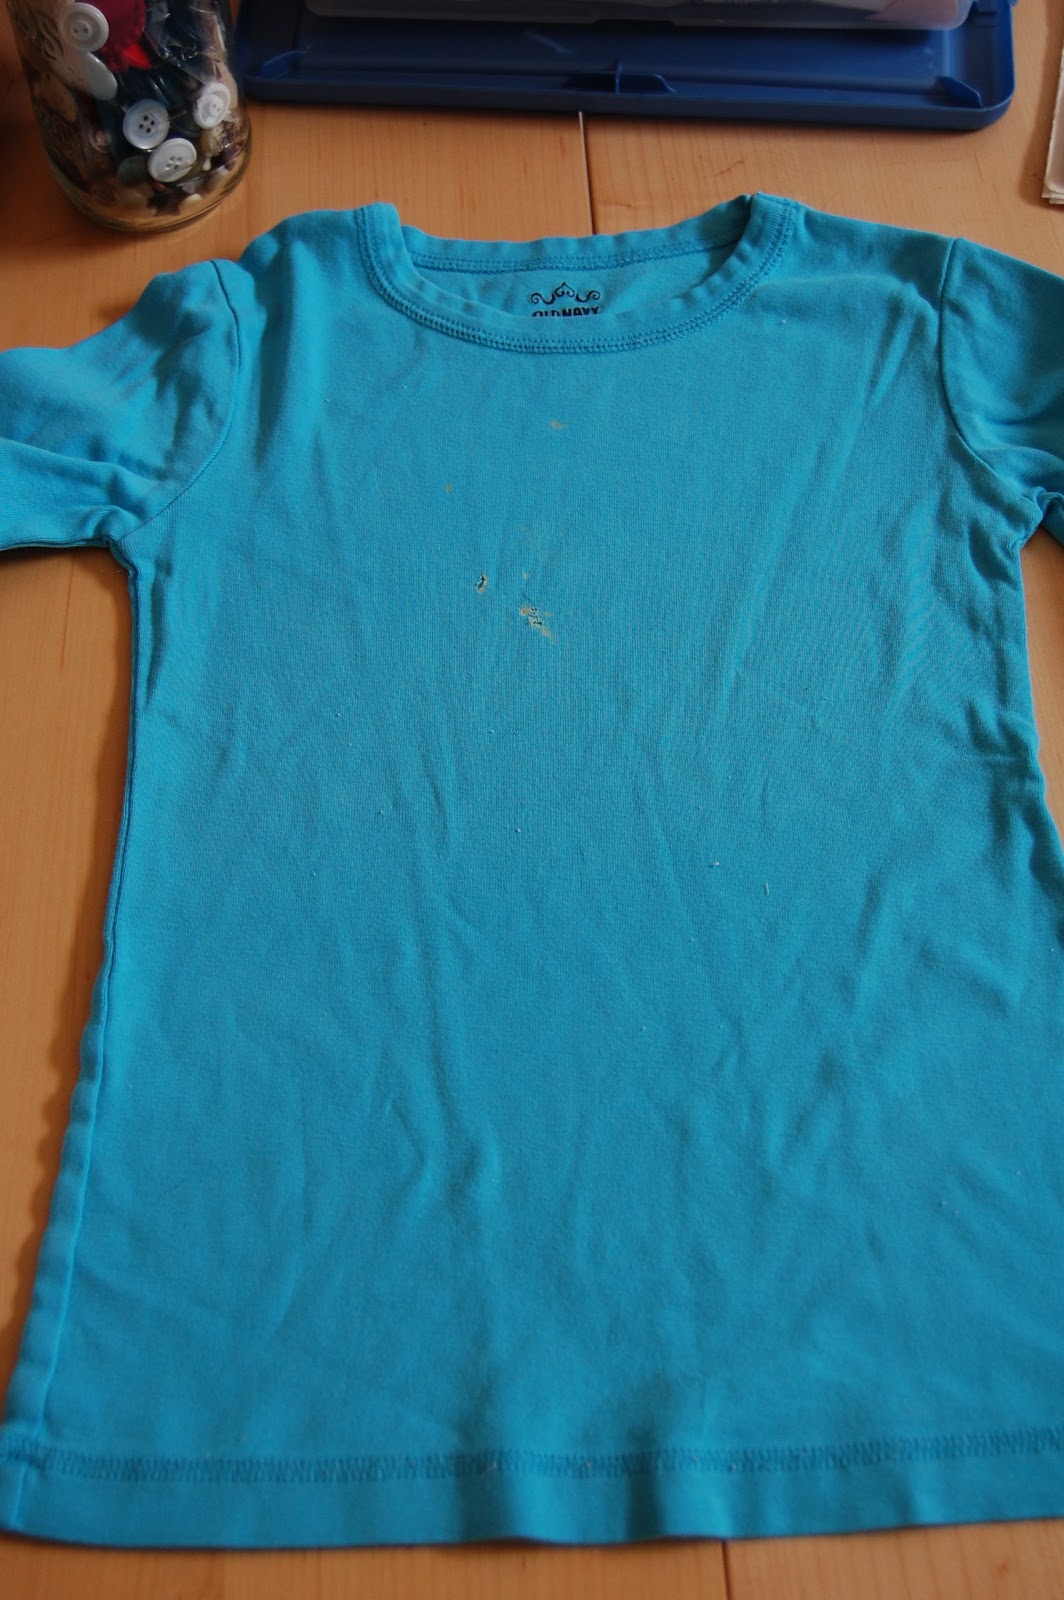
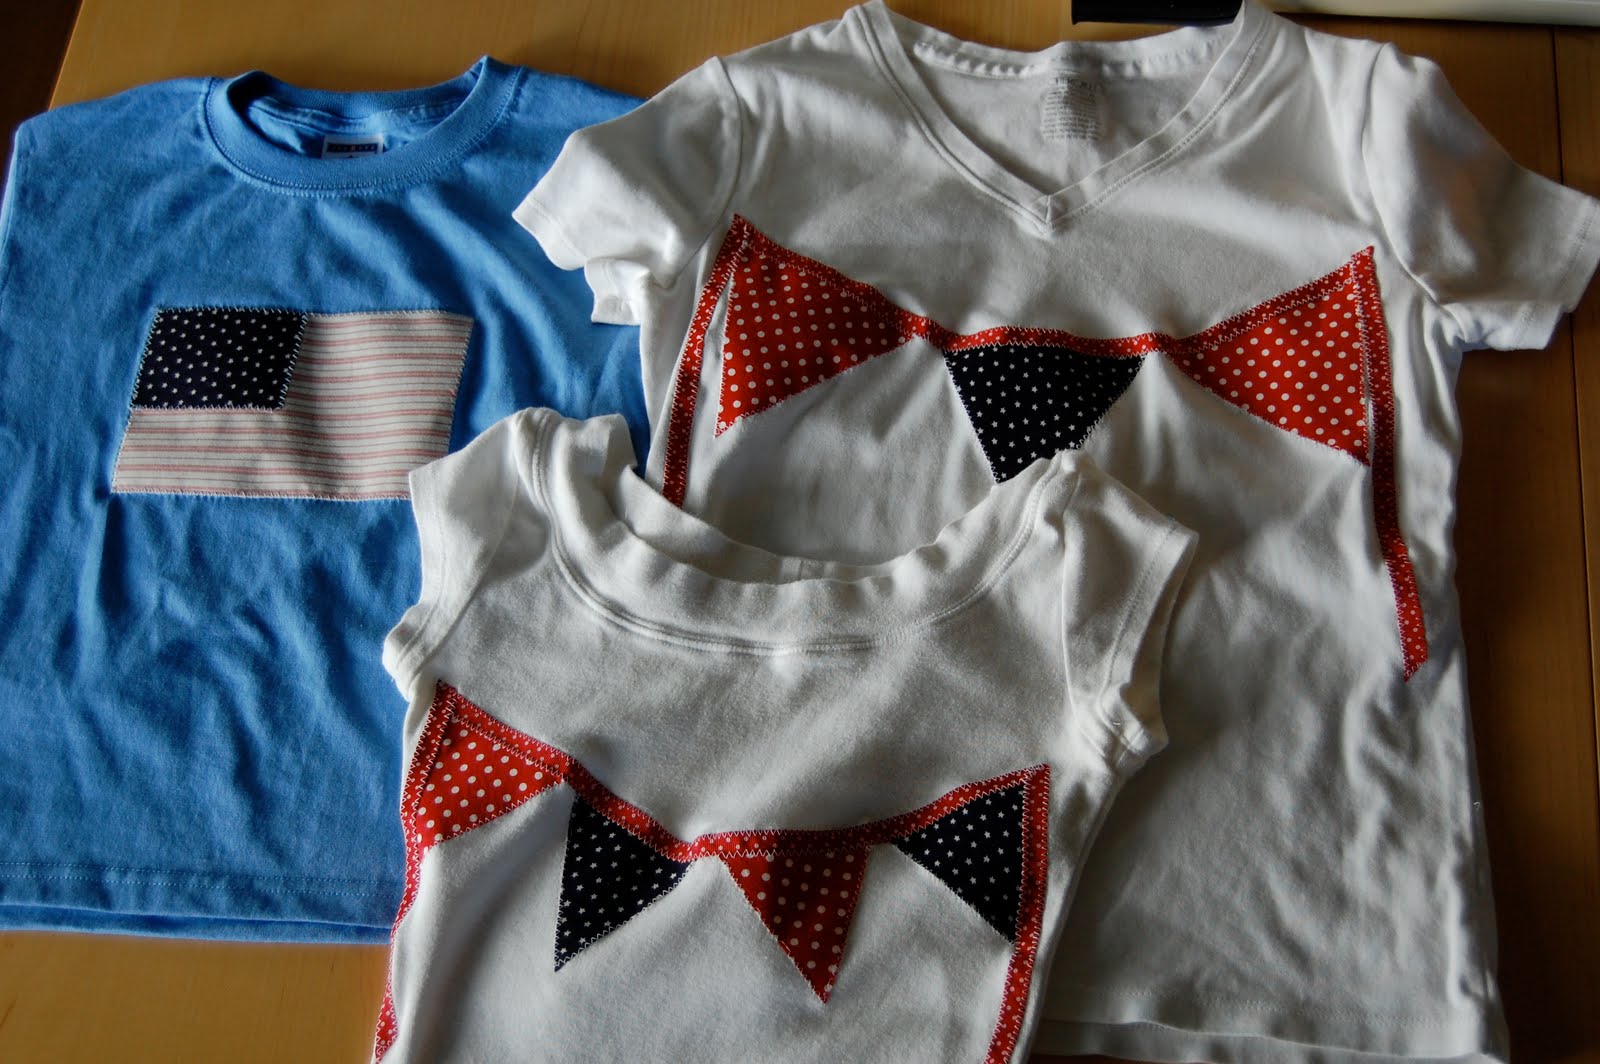
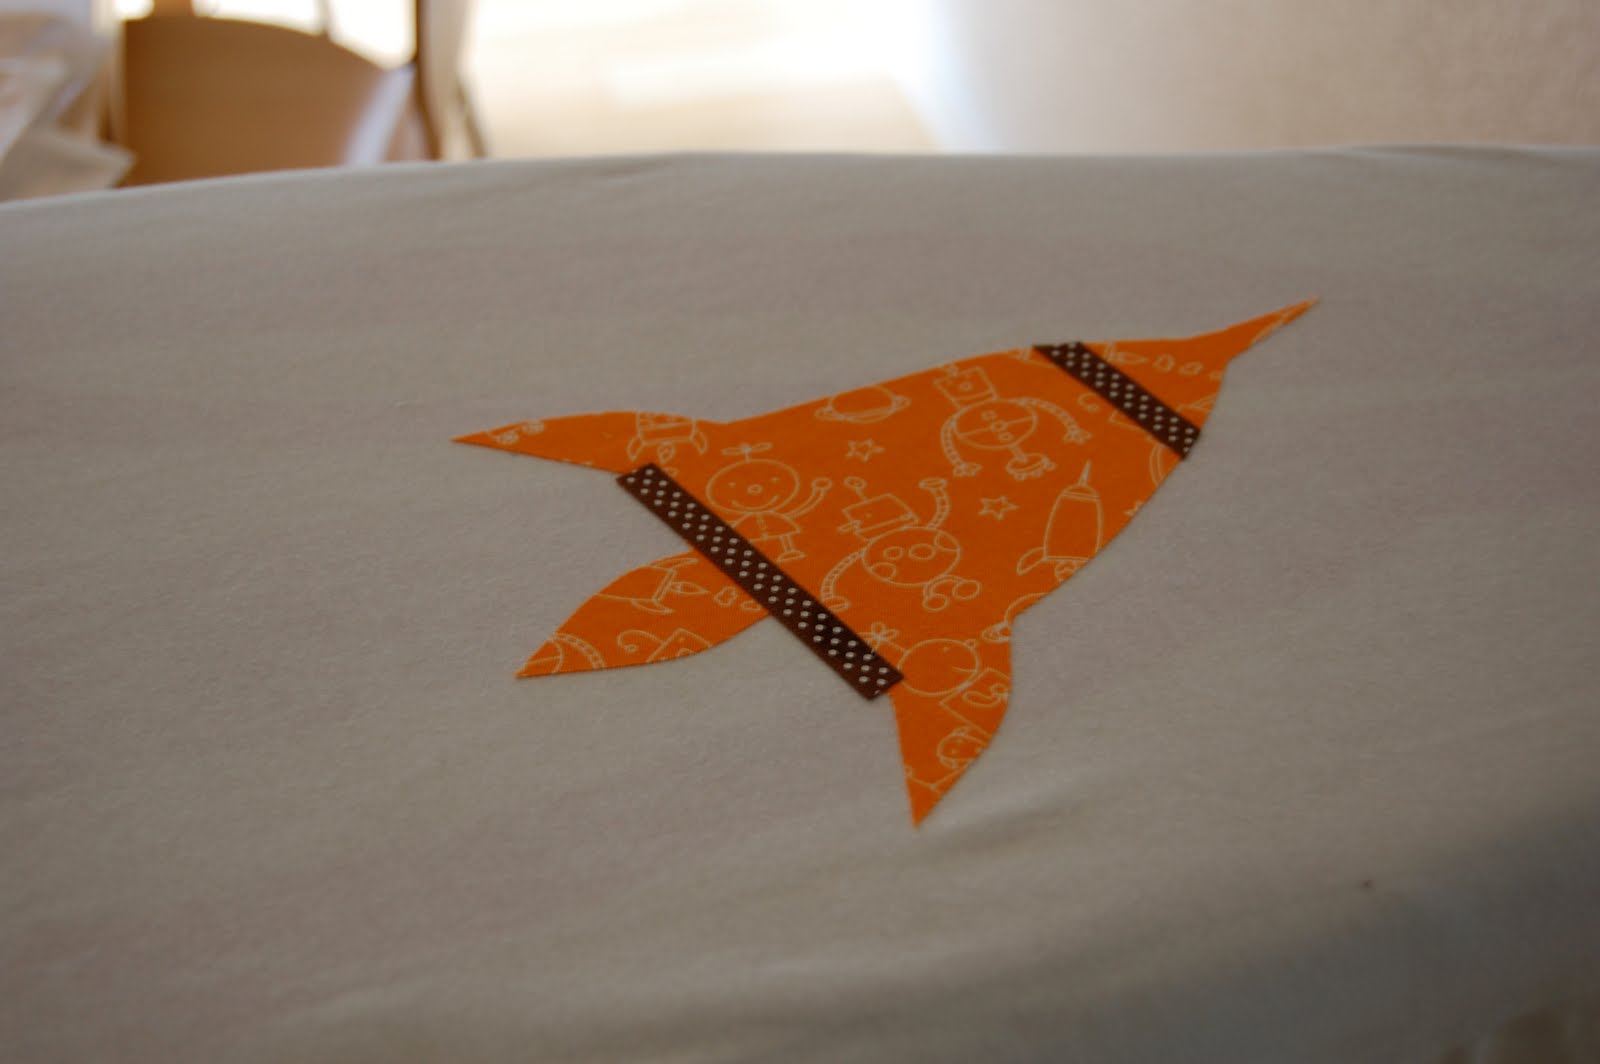
Iron the applique onto your piece of clothing. Here I'm using a t-shirt.
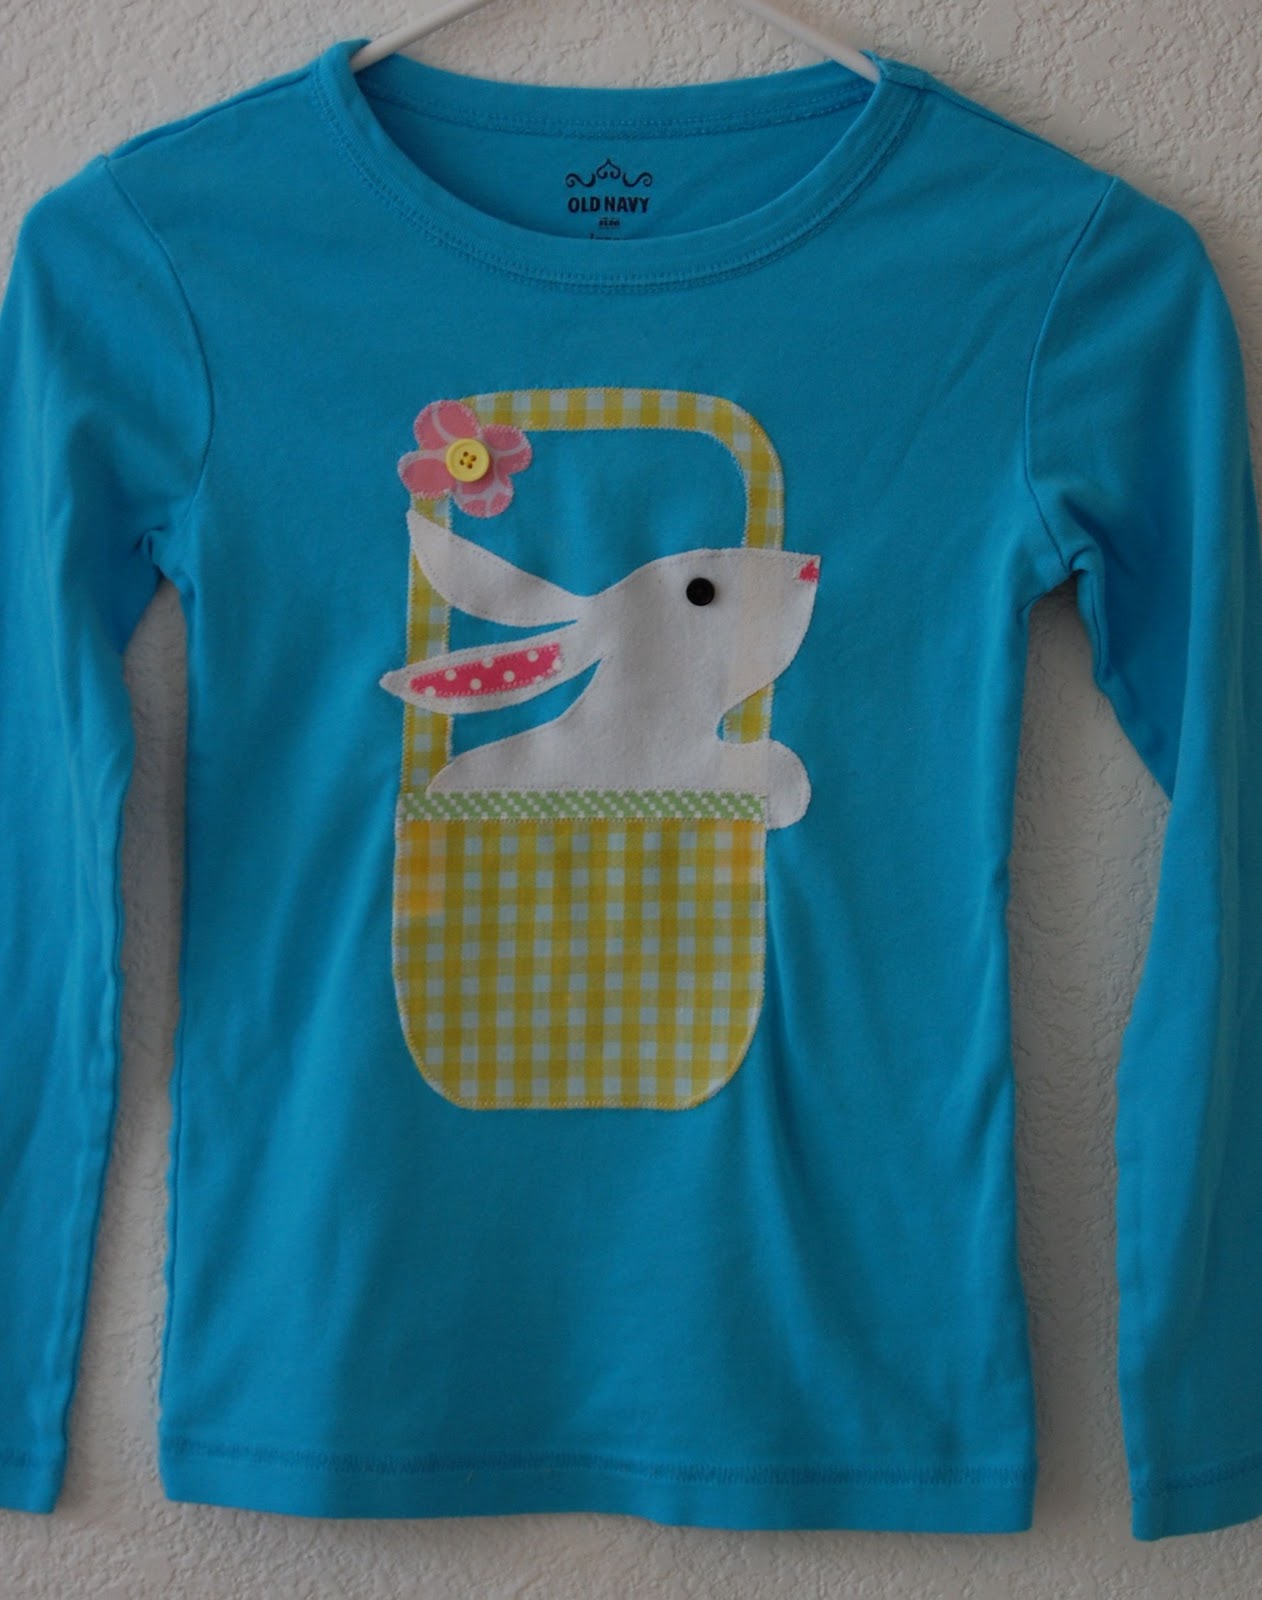
Sew around the edges. You could use a variety of stitches for this - satin, straight, or what I usually use, a small zigzag. If you use a straight stitch the edges may fray, but that's usually the intended result. I like a zigzag because it's secure, fast, and seems to blend into the applique so you don't notice the stitching as much as a satin stitch.
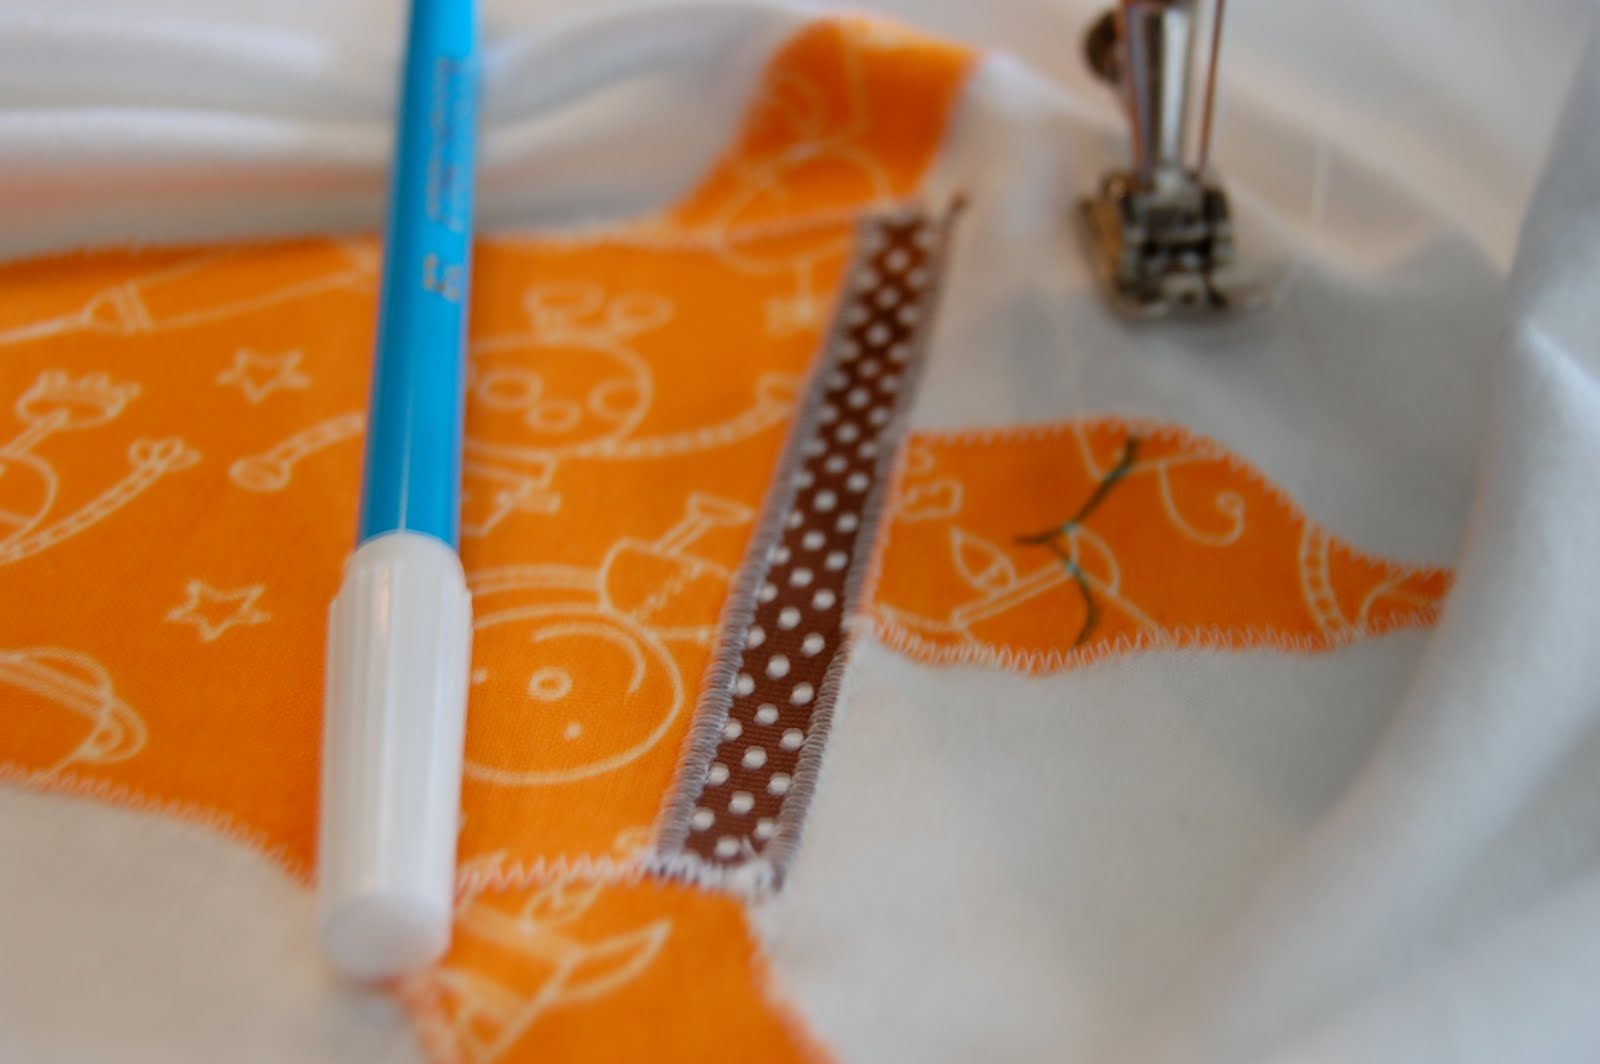
Sometimes I add stitching inside the applique to add details. For this, I use a water soluble fabric marker to draw in details, and then stitch along those markings. Once you are done stitching, spray the marker lines with water to make them disappear.

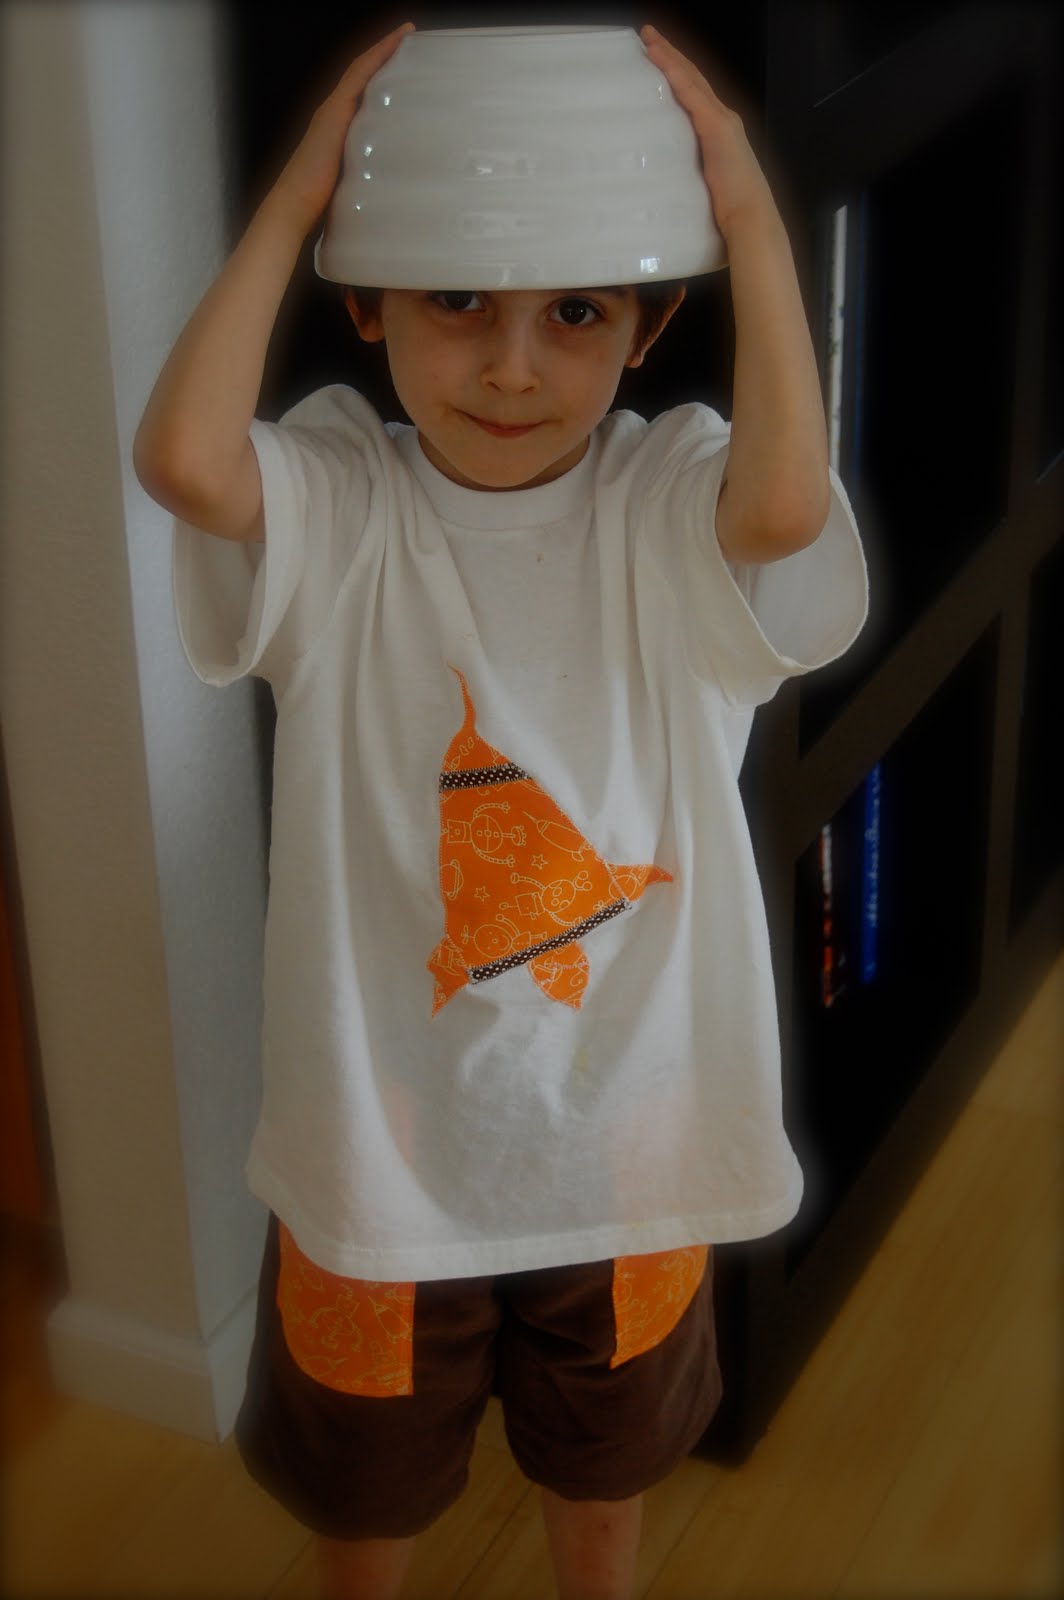
That's it! It took me about 20 minutes to do the shirt from start to finish, and that includes searching for the ribbon. It's a great way to dress up those $2.50 t-shirts from Michaels. Max thought the Devo bowl hat added the finishing touch. I'd have to agree.