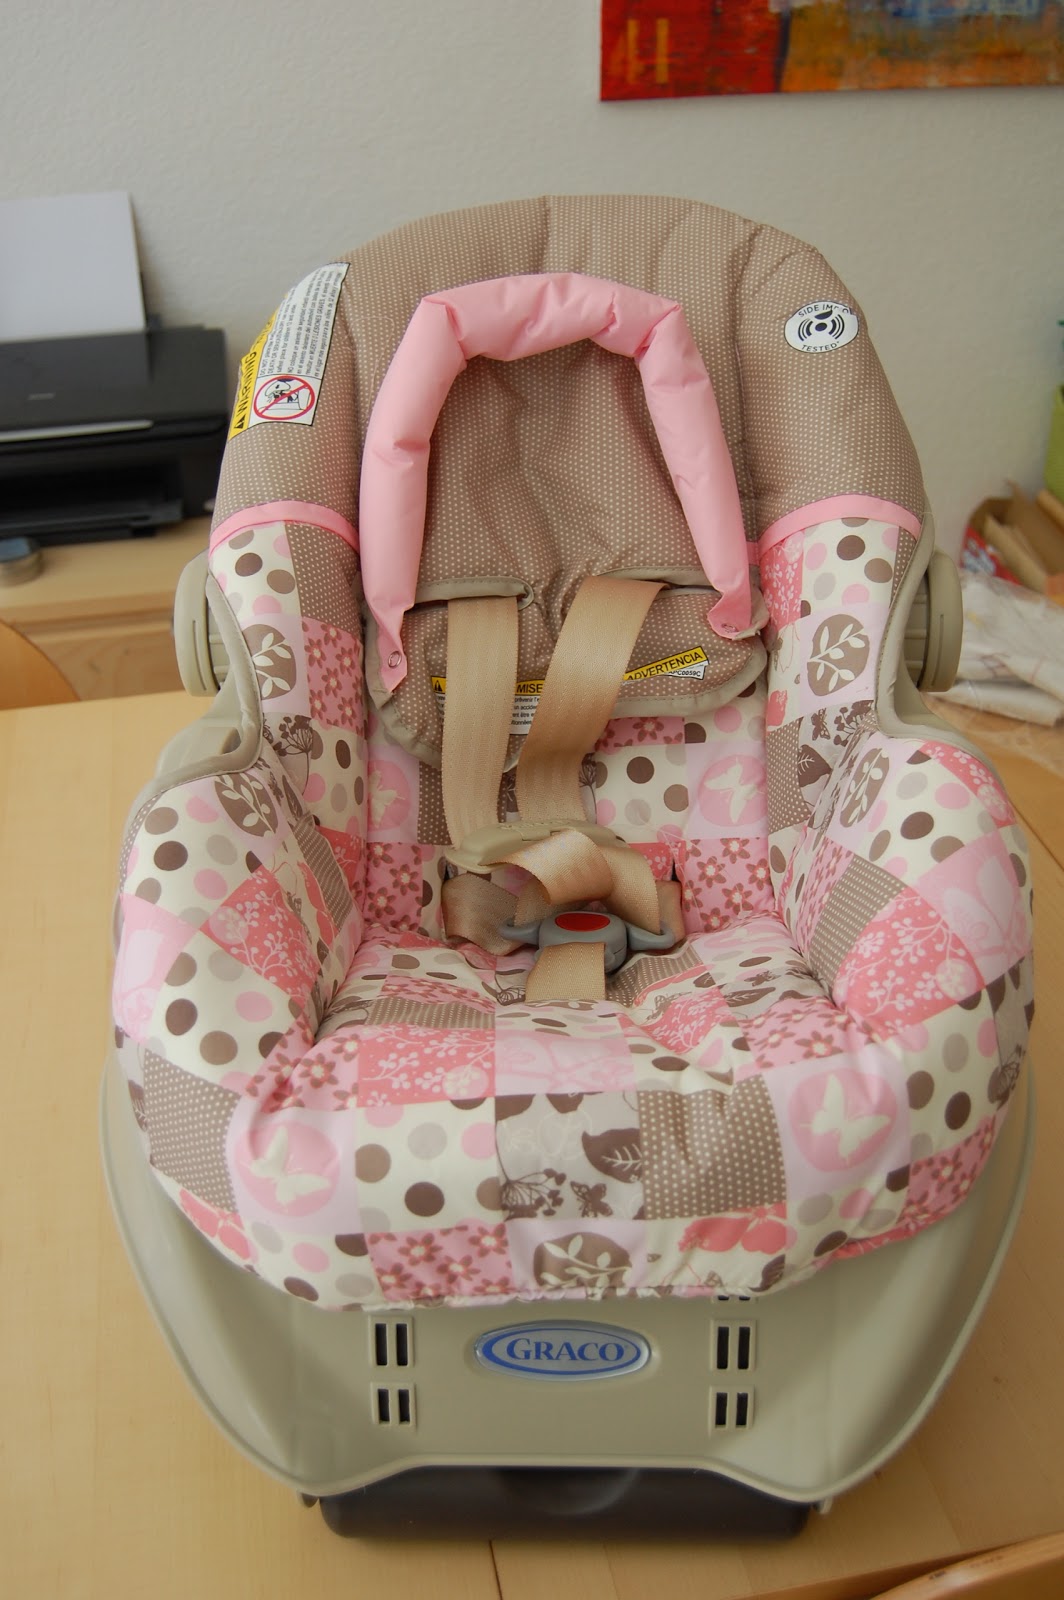
I found a great deal on an infant car seat before we knew that our little one is a little boy. While I don't feel the need to collect everything in blue with baseballs on it, I do know that :
1. DH would never let his son ride in a pink car seat
2. I don't like the print anyway
So I did what any DIY gal would - I recovered it. Yes, I know some people would not feel comfortable with this, but since I simply replaced the top fabric and used the same underlying pads (and actually kept parts of the original cover), I'm okay with it. Here is the before:
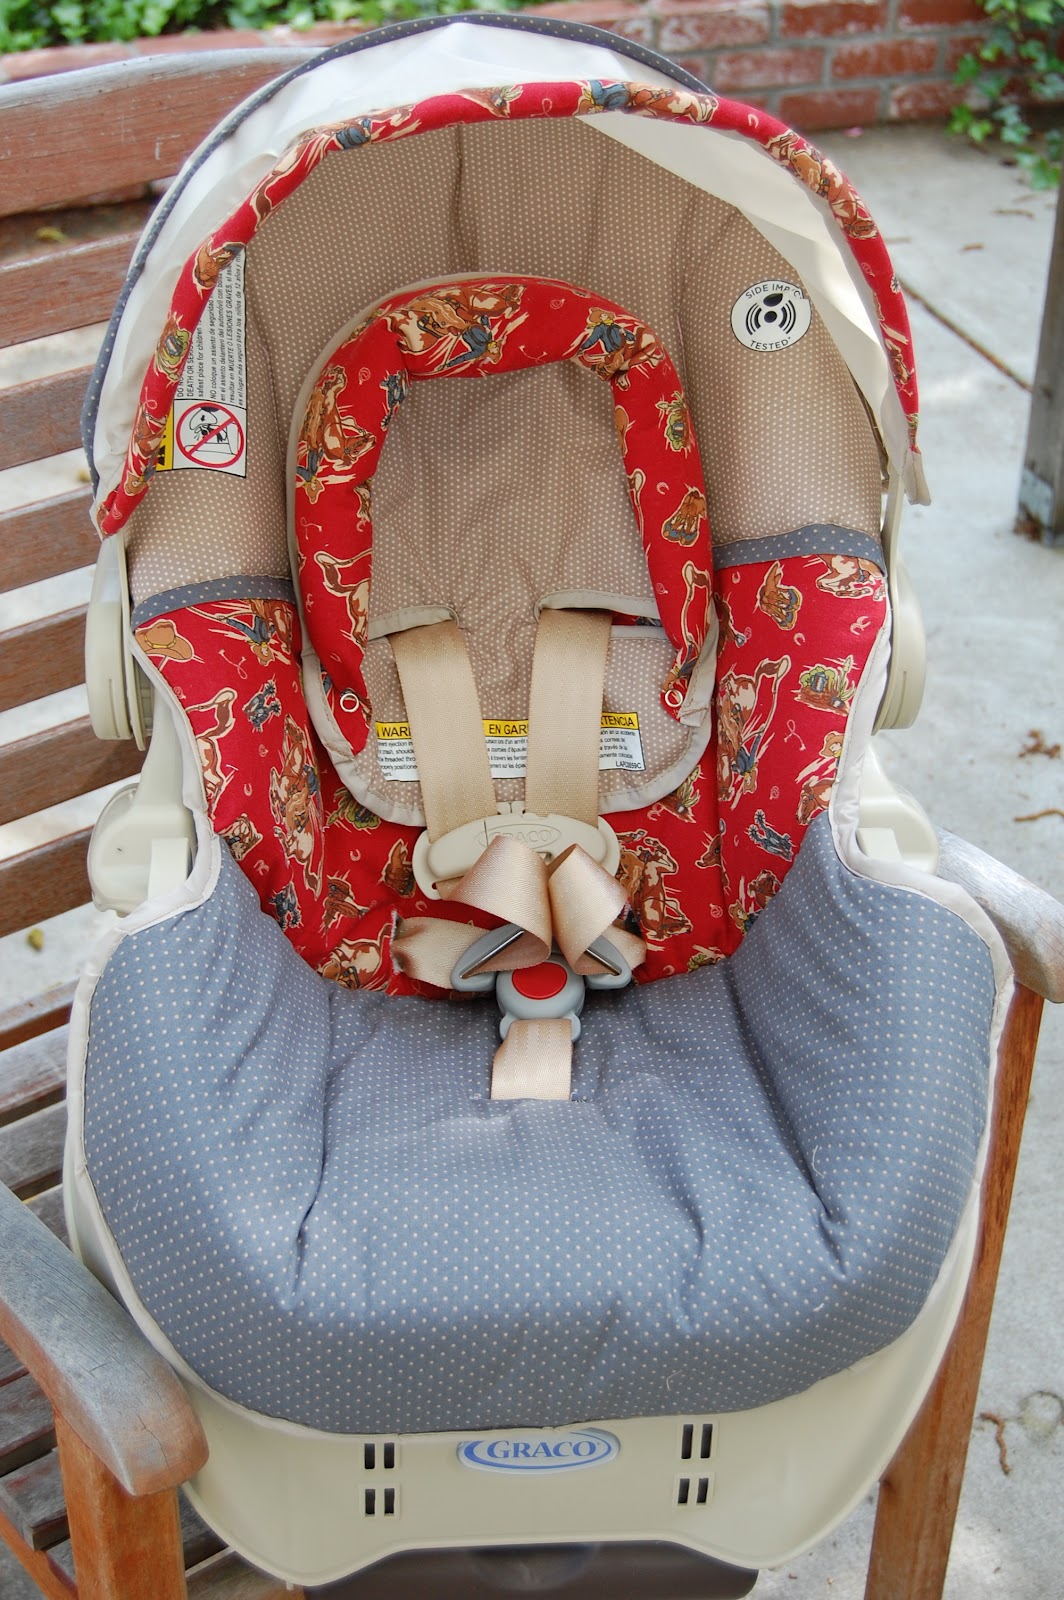
Originally, I had planned to recover the whole seat. But the top portion is a light brown polka dot, and the canopy is also a sort of taupe color, so why do extra work? I found a blue polka dot print at the local quilt store that matched the brown, and I still had about a half a yard of a fabulous cowboy print in the sewing closet, so I combined those with the brown top and reused the same taupe bias tape that came with the chair. I really don't like those safety stickers printed on the top, but time beat out esthetics on this one! I used a similar method as
Make It and Love It used for her tutorial.
Here is the result! Recovering the padding was not very difficult. Time consuming, yes, and you'll make good friends with your seam ripper, but not too hard. The worst part was the bias tape, as I used the nylon tape that came with the original seat, and that's slippery stuff! The canopy... well, that's another story.
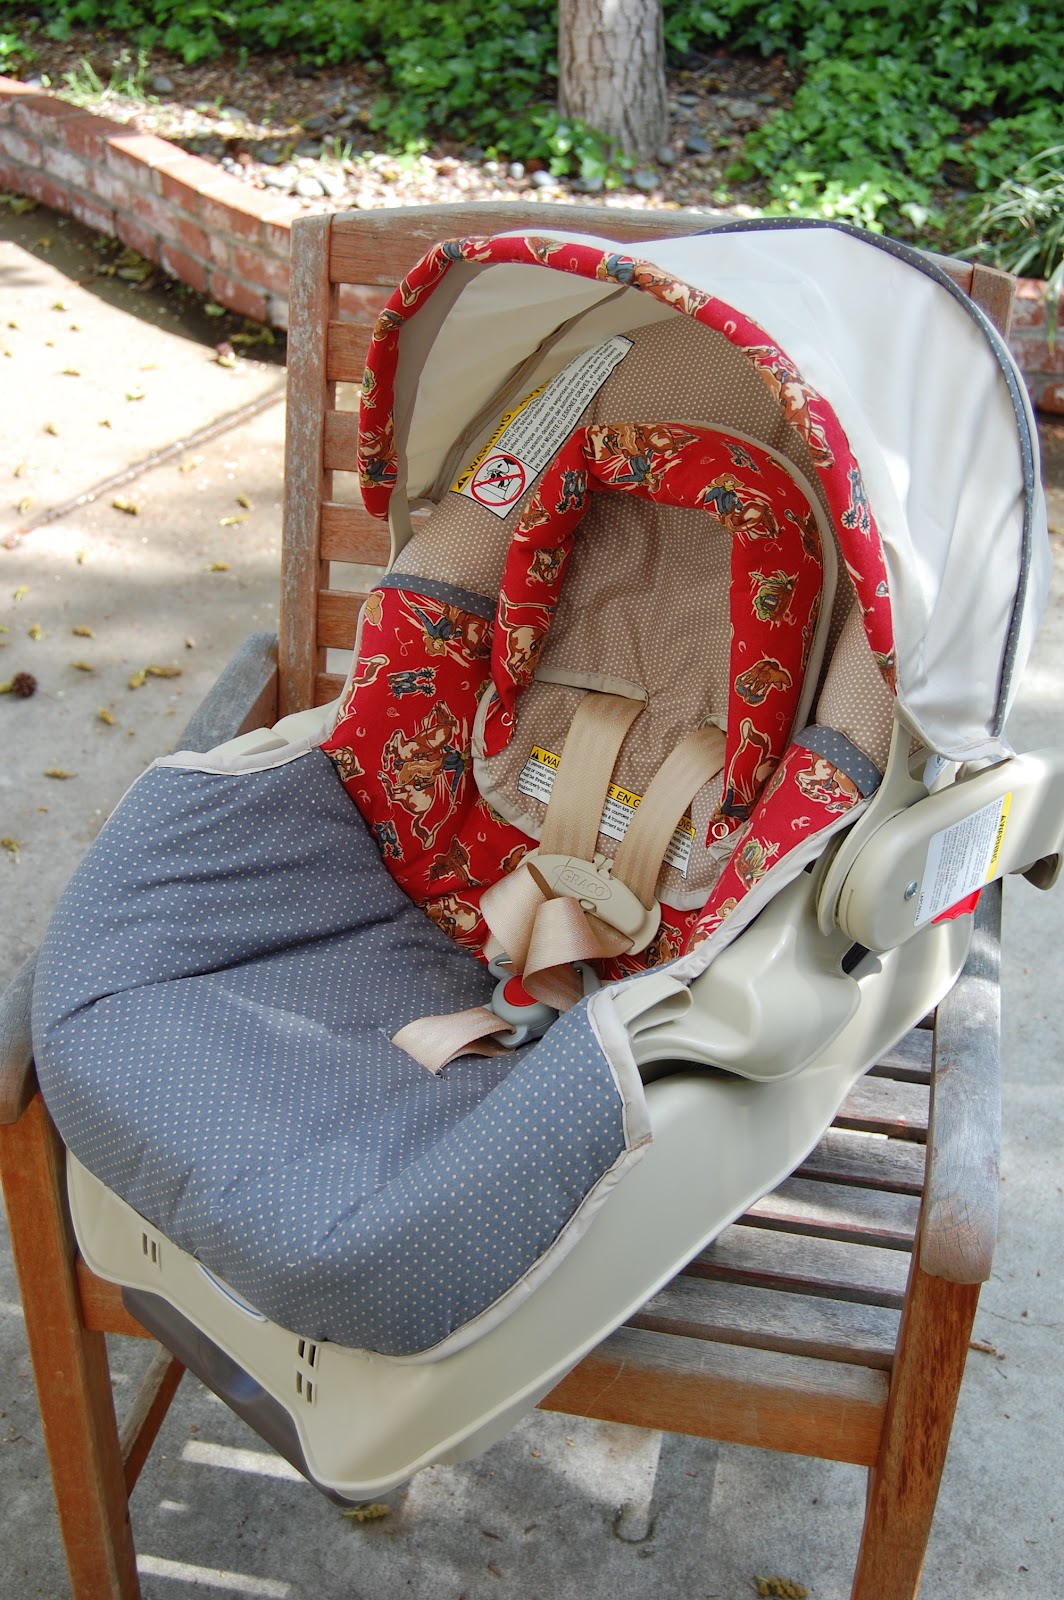
I kept the original taupe parts and just replaced the pink trim. I thought that would be easy enough. Wrong! The back channel with the blue trim was easy, and adding the red padded trim to the front was also easy, but getting the front channel in to hold the canopy arms, well, that was horrid! I'm sure the nylon was part of it, but I think I ripped that thing out at least three times! The channel is still a little puckered, but I can live with it. I literally spilled my own blood on that part!
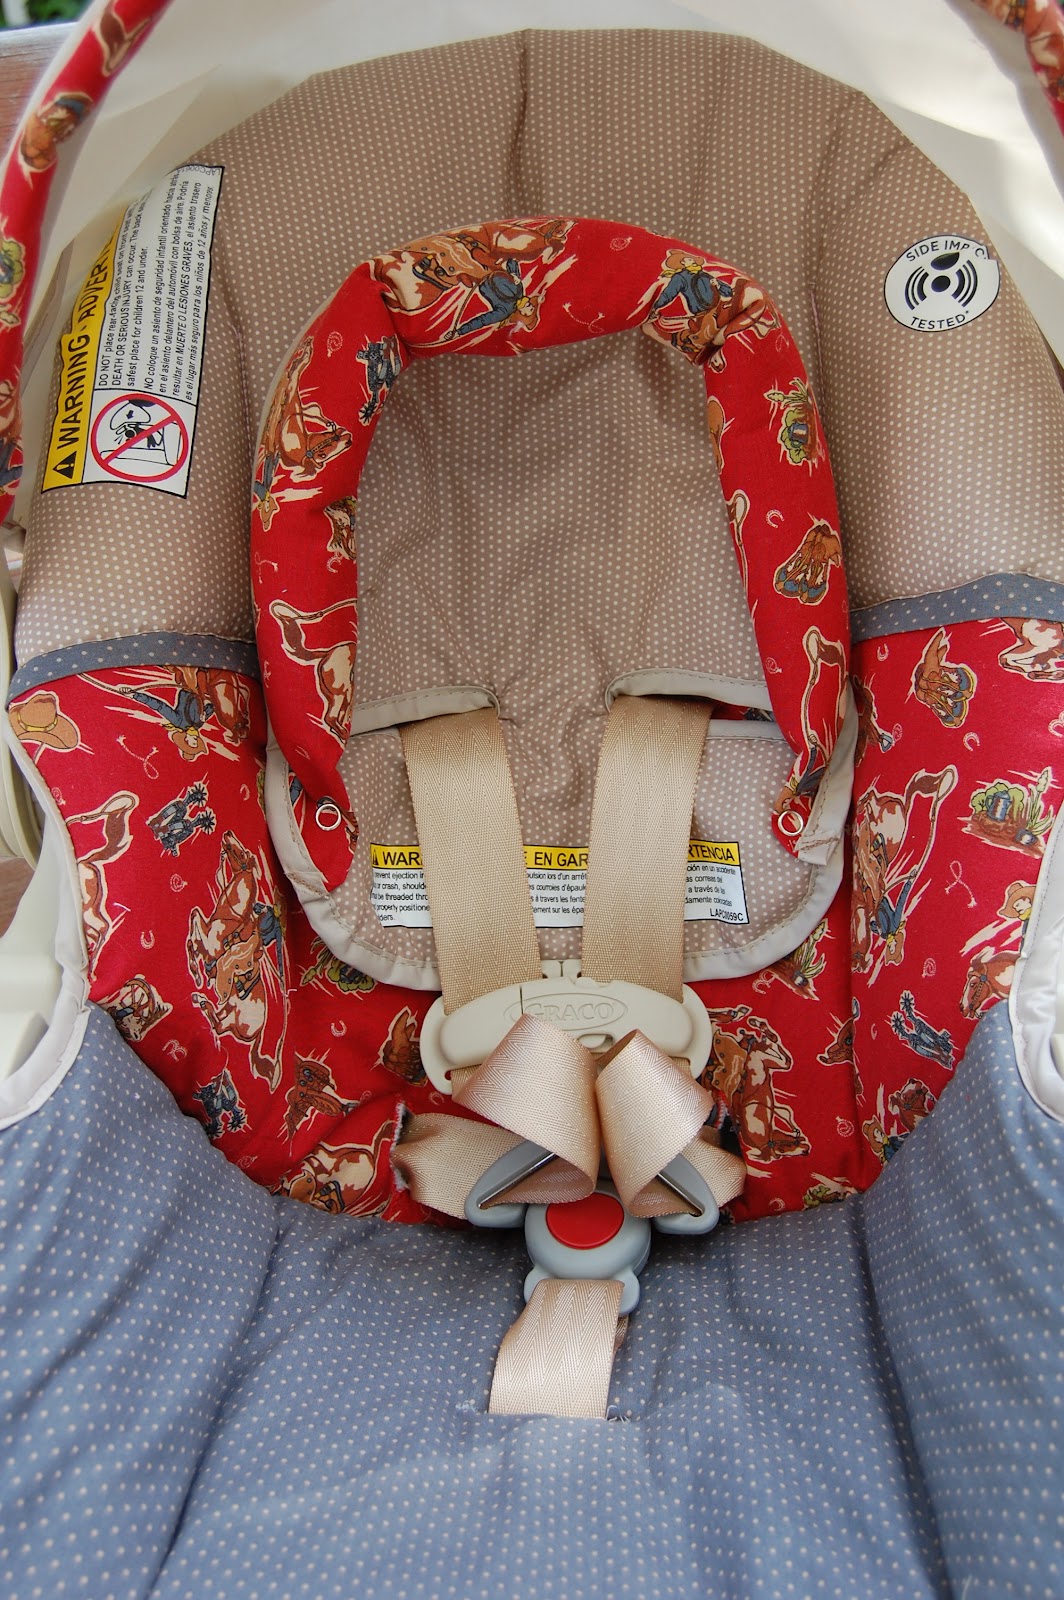
I was able to recycle the newborn head rest, too, just swapping out the trim fabric. This was a very time consuming project, and not the most fun sewing in the world, but I am so thrilled with the results! I saved a bunch of money on the car seat and I have one with a print I really adore, not just one I've settled for.