Showing posts with label baby. Show all posts

Thursday, August 1, 2013

You Are My Sunshine Party

Yes, it's official - the baby is now a toddler. We had a small family party with a You Are My Sunshine theme. I had many plans for decor and food, but when the little guy decided to cut four teeth at once (yes, four!) the week before his party, I had to let many things go. That's okay; I'm pretty sure he didn't notice. I have some lovely felt and fabric birthday crowns pinned to my birthday board, but teething dictated a faster design. So, with a little craft felt and hot glue we had a birthday crown in the colors of the party. I used scrapbook paper from my stash to make the pinwheels on the table, and I placed a few in the grass leading up to the front door.


The plans for the pre-made mason jar drinks didn't quite materialize, but at least the straws and the jars did.


Sun, clouds, hot air balloons all worked together here. The baskets were made from strawberry baskets covered with scrapbook paper. The link for the cloud directions is on my birthday board.


Clouds were scattered on shelves as well. I used the yellow paper lanterns from the Lego Party on shelves in the living room.


Of course there had to be buntings! Most of the buntings were ones I had made for my mother's birthday party a few years ago, and fortunately they had the right color scheme, as did my wall;)


I really tried to pull all of my materials from my own stash, including the top banner. The letters were stamped onto punched kraft paper circles.


The back wall held our sun. I like big displays for decorating.

The banner was hand lettered on paper and the ends are scrapbook paper.


Of course there had to be a sun!
I used my GFCF carrot cake recipe for the cupcakes.
I couldn't resist adding a few cute shots!


Happy Birthday Alex!

Thursday, April 11, 2013

Fluffy Mail


Something came in the mail last week...


my bummis diaper kit I won from one of my favorite blogs, Simple Kids!


And look what was inside!


The Dude helped me unpack...


and sampled the goods.


Look at all of this loot! Inside that big box were 18 organic pre-folds, four covers, fleece liners, flushable liners, a wet bag big enough for the diaper pail, and a sample of detergent and bottom cream! Holy cow, it was like Christmas! I have been using pocket diapers and fitted with covers, but I don't have a full set of pockets (around 10, I think) and the fitteds are larges, which are really too big for him right now. I haven't used prefolds in covers since he was a newborn, and wasn't sure if they would be enough for my big wetter. After they were prepped (you need to wash untreated cotton diapers three or four times to fluff the fibers), I couldn't believe how soft they were! I kept petting them, but could never convince my husband to fondle them, too. Go figure. But I must say that I have had no problems with leaks, and although I usually use pockets at night, I have used the bummis pre-fold with one microfiber insert and had no leaks in the morning.

I am impressed by the quality of both the bummis diapers and covers. They have made a velcro convert out of me. Usually, I find that velcro wears out fast and even with laundry tabs, gets stuck to everything in the wash. Three of the four covers in the box were velcro and so far have not stuck to anything except what they are supposed to, and since the Dude is not so laid back during changes anymore, the speed is a definite plus! In the box is also a little booklet about cloth diapering, with details about use and care. Repeatedly, the company urges you to call or email with any questions about use, washing, problems, or questions of any sort. It's an impressive level of customer service, and I think it would be very helpful to first time cloth diaper moms.

If you wash every other day, this one box really has everything you need. It was so much more than I expected, and I am so thankful to Simple Kids and bummis for this fabulous gift! I couldn't resist one more action shot, the Dude in bummis with the snap cover.


Thursday, July 5, 2012

Baby Bits

Quiet around here, I know. The combination of pregnancy and my computer crashing didn't help much. I lost a few tutorials, but fortunately I had a fairly recent back-up so once it was fixed, I was able to recover most of my pictures. Lesson learned - keep the back up drive plugged in!

We are still waiting for the little one's arrival, but I thought I would post a few snapshots of some of my little baby projects.

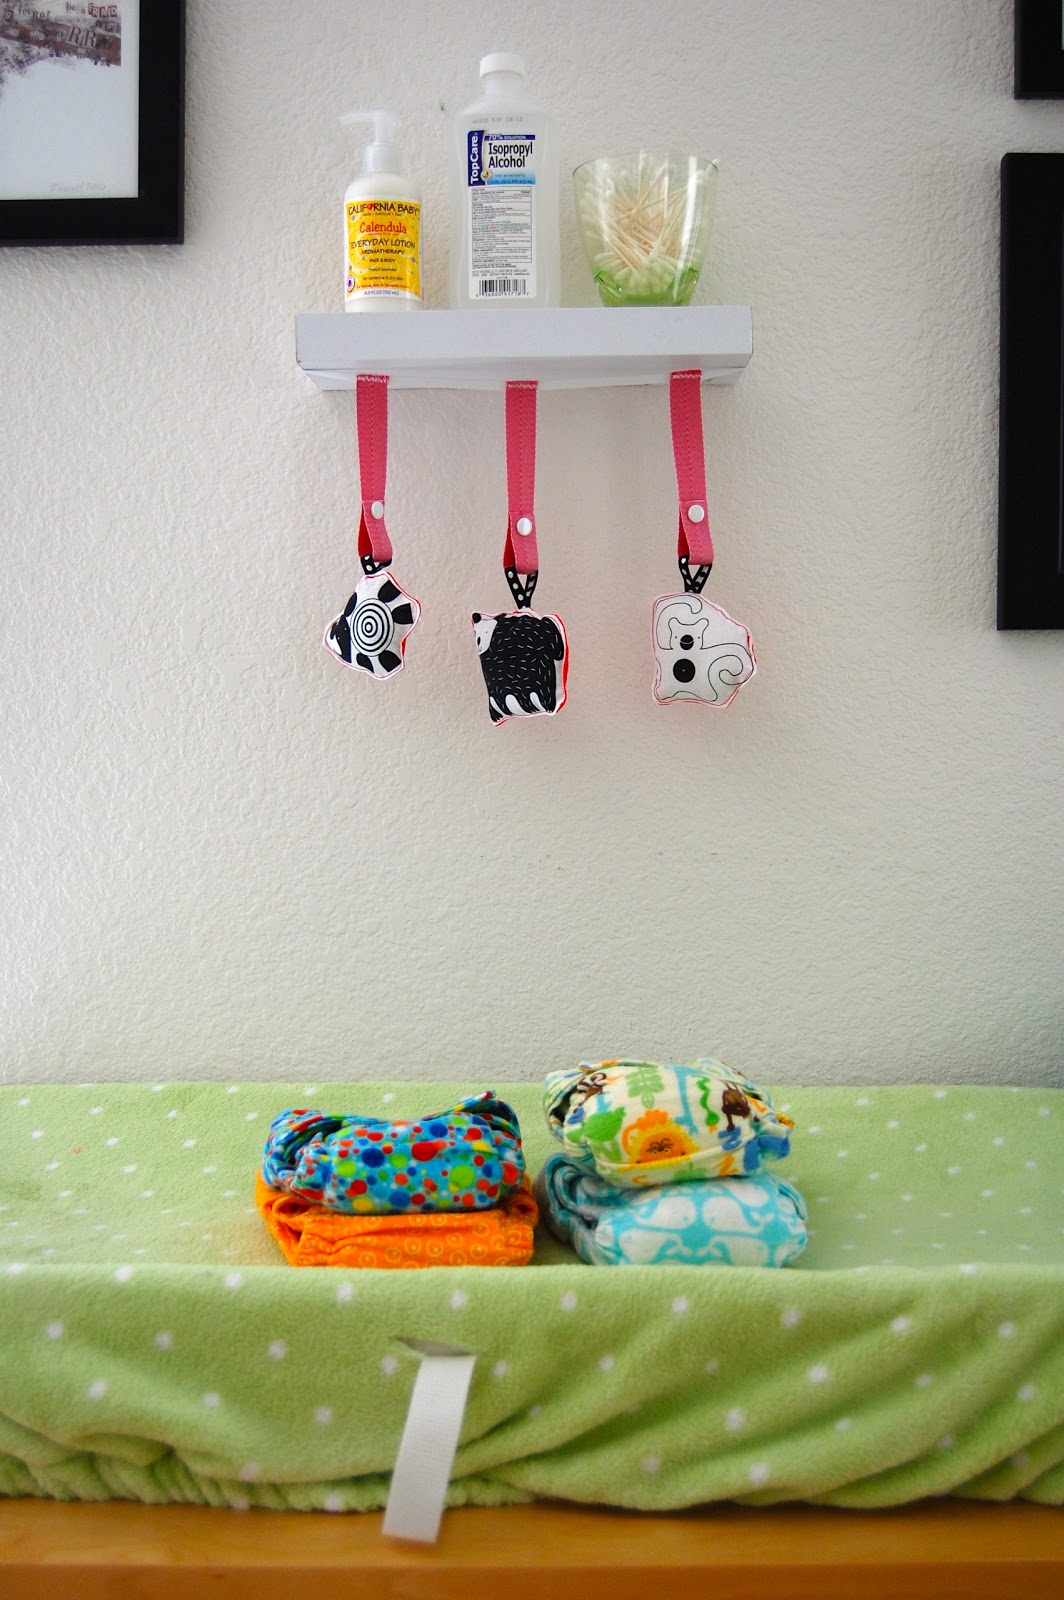
The changing station. I had a changing table for the first two, but this time we saved space with a dresser top changing pad. I've always had a mobile on the table for distracting squiggly babies, but since I had no sides to clip one to and vaulted ceilings, I needed to come up with a different solution.
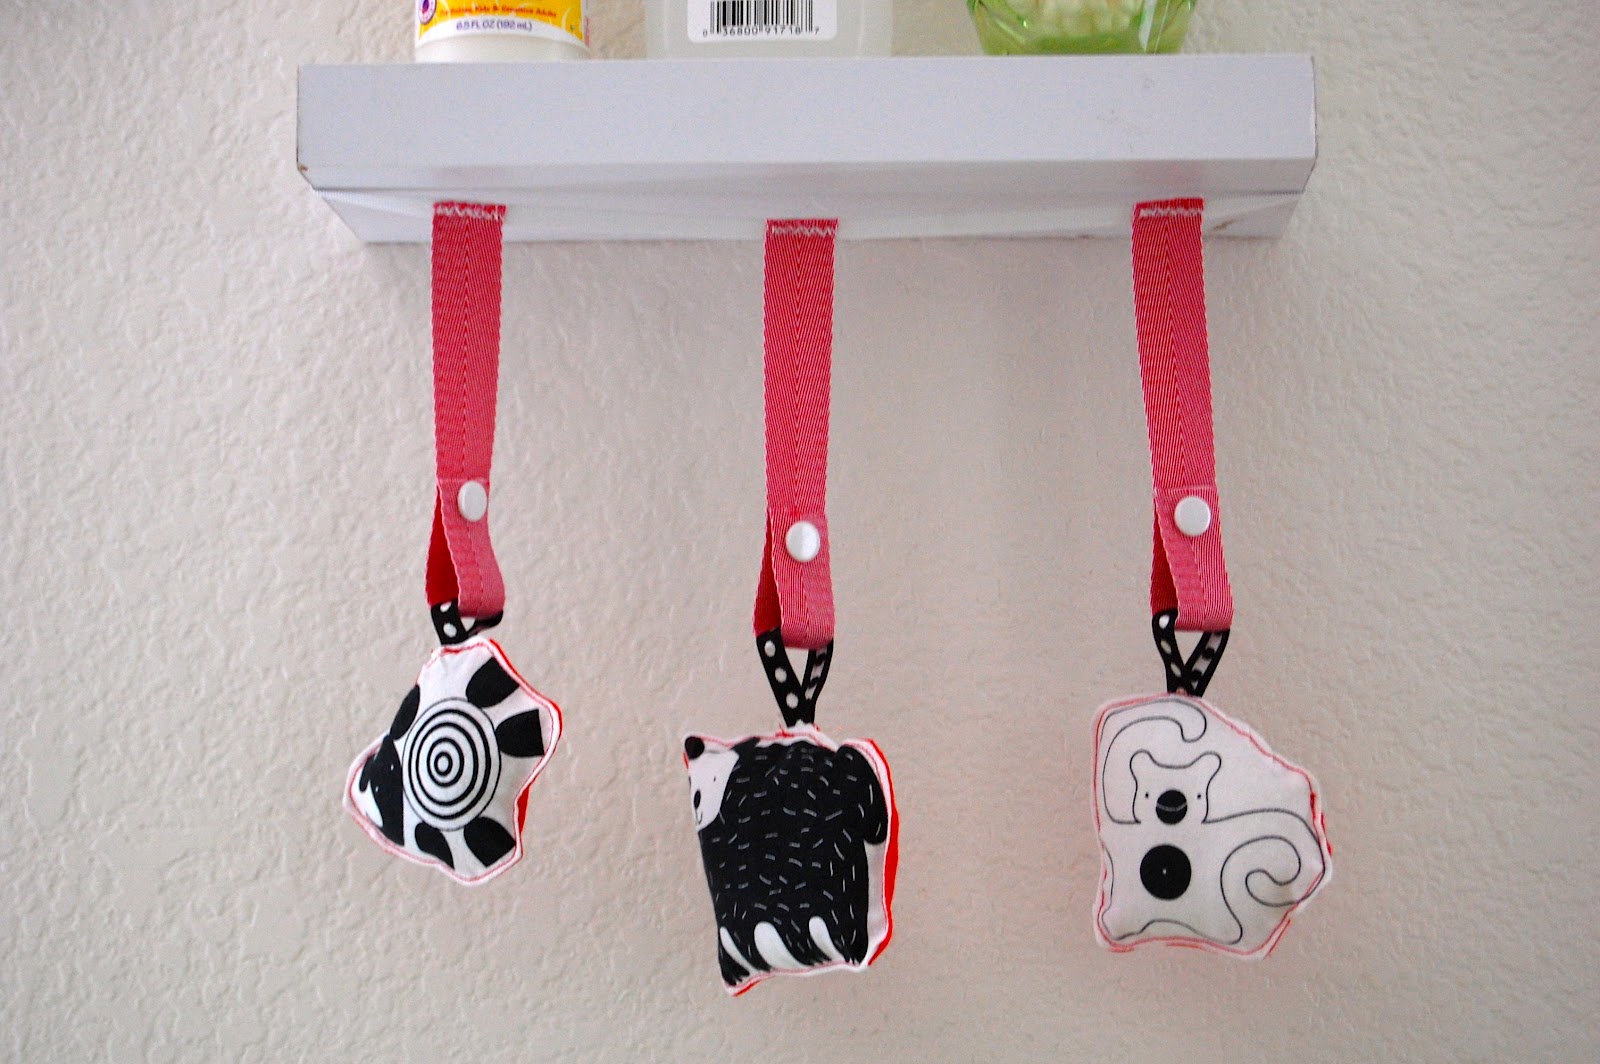
We added a small shelf to the wall to hold newborn essentials out of reach, so I simply sewed a piece of one inch elastic together to slip around the shelf, ad sewed three twill tape pieces to the bottom. I added snaps to hold pictures or soft creatures (the ones pictured here were cut from a cute Ikea print and stuffed), that can be easily changed out as he gets older or becomes bored with them.

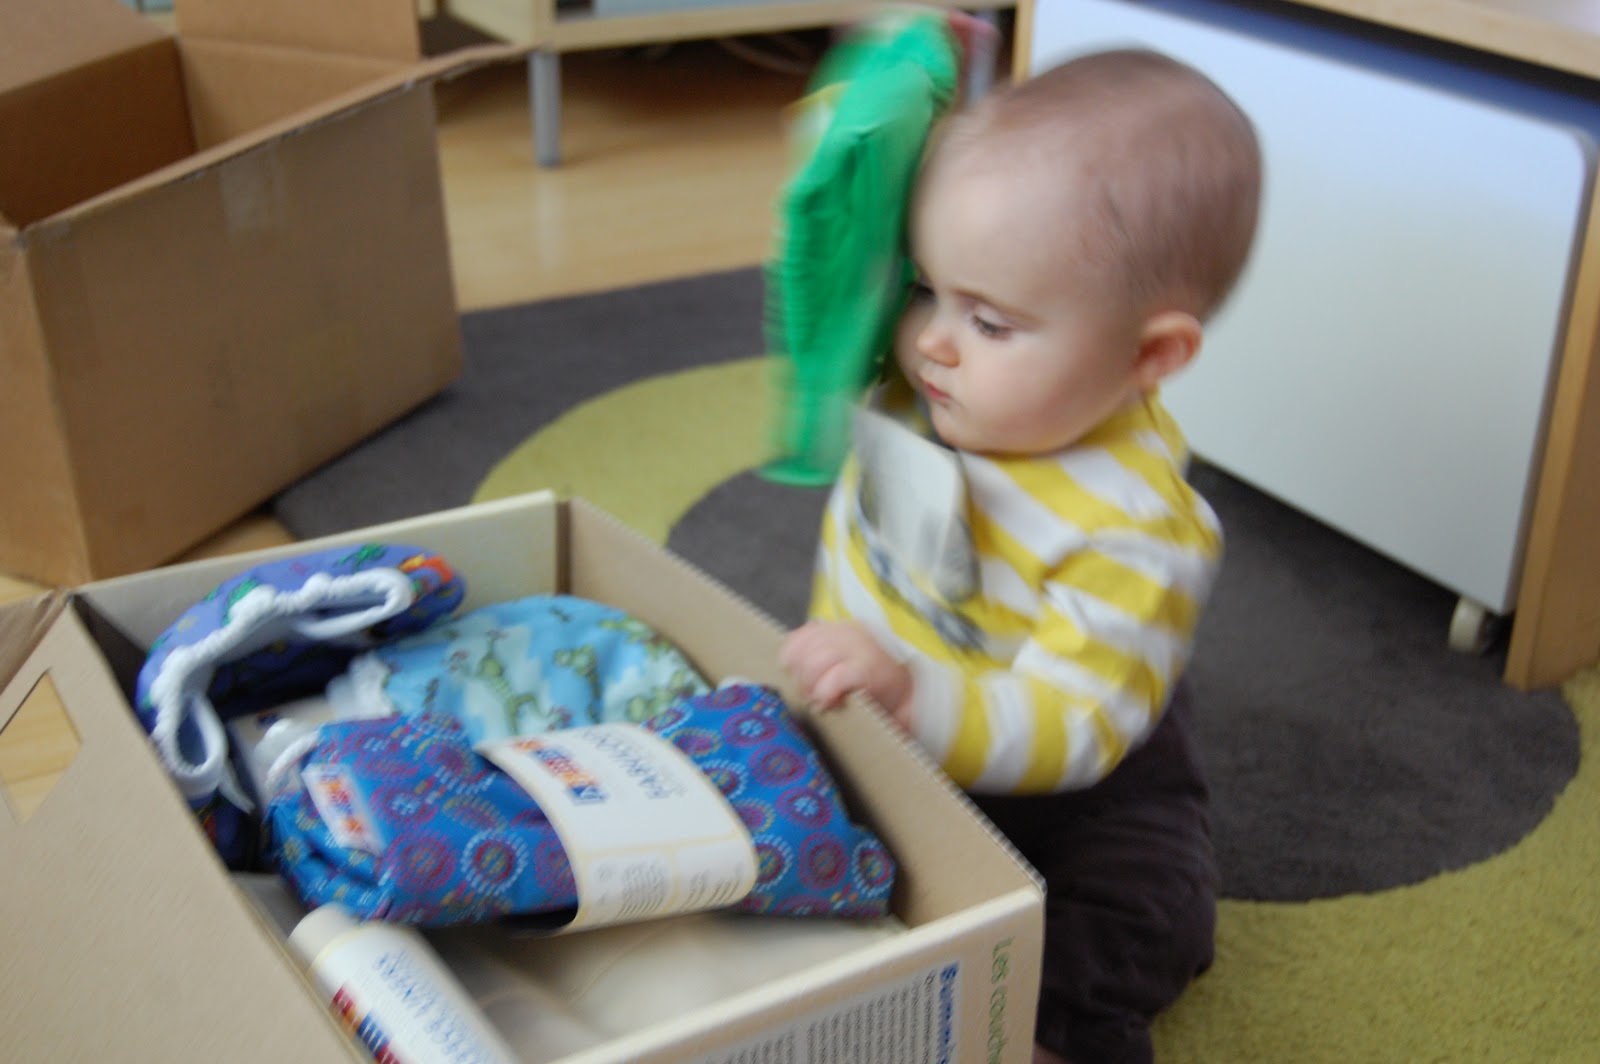
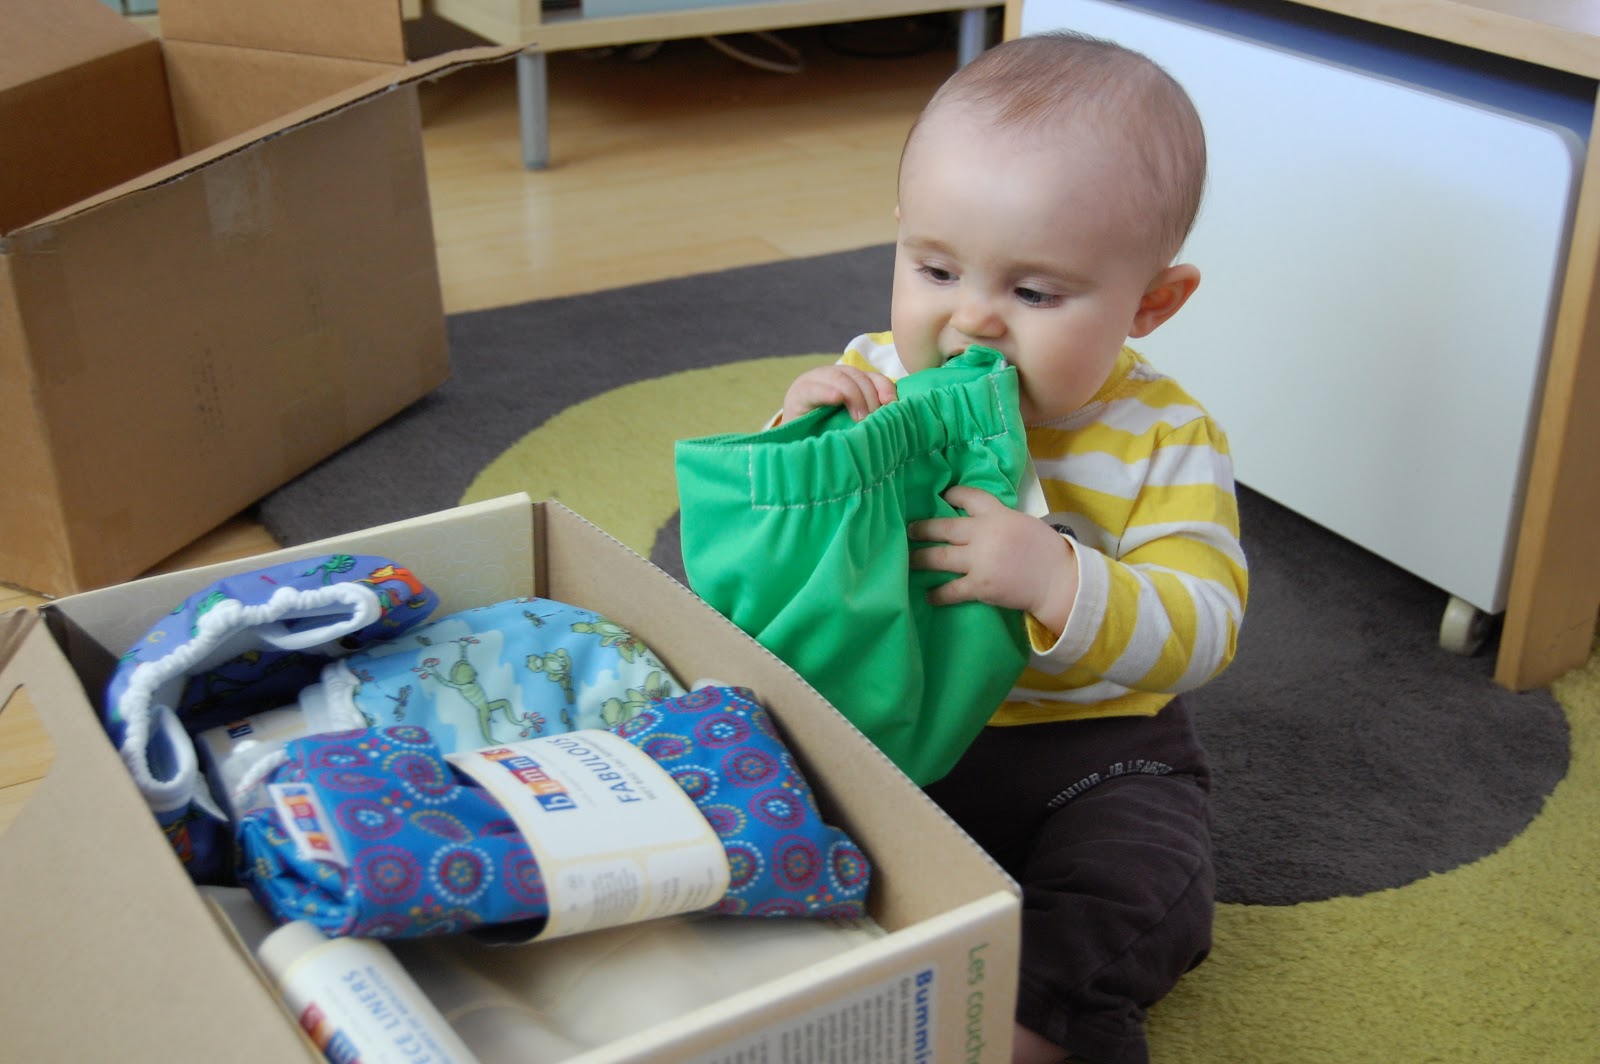
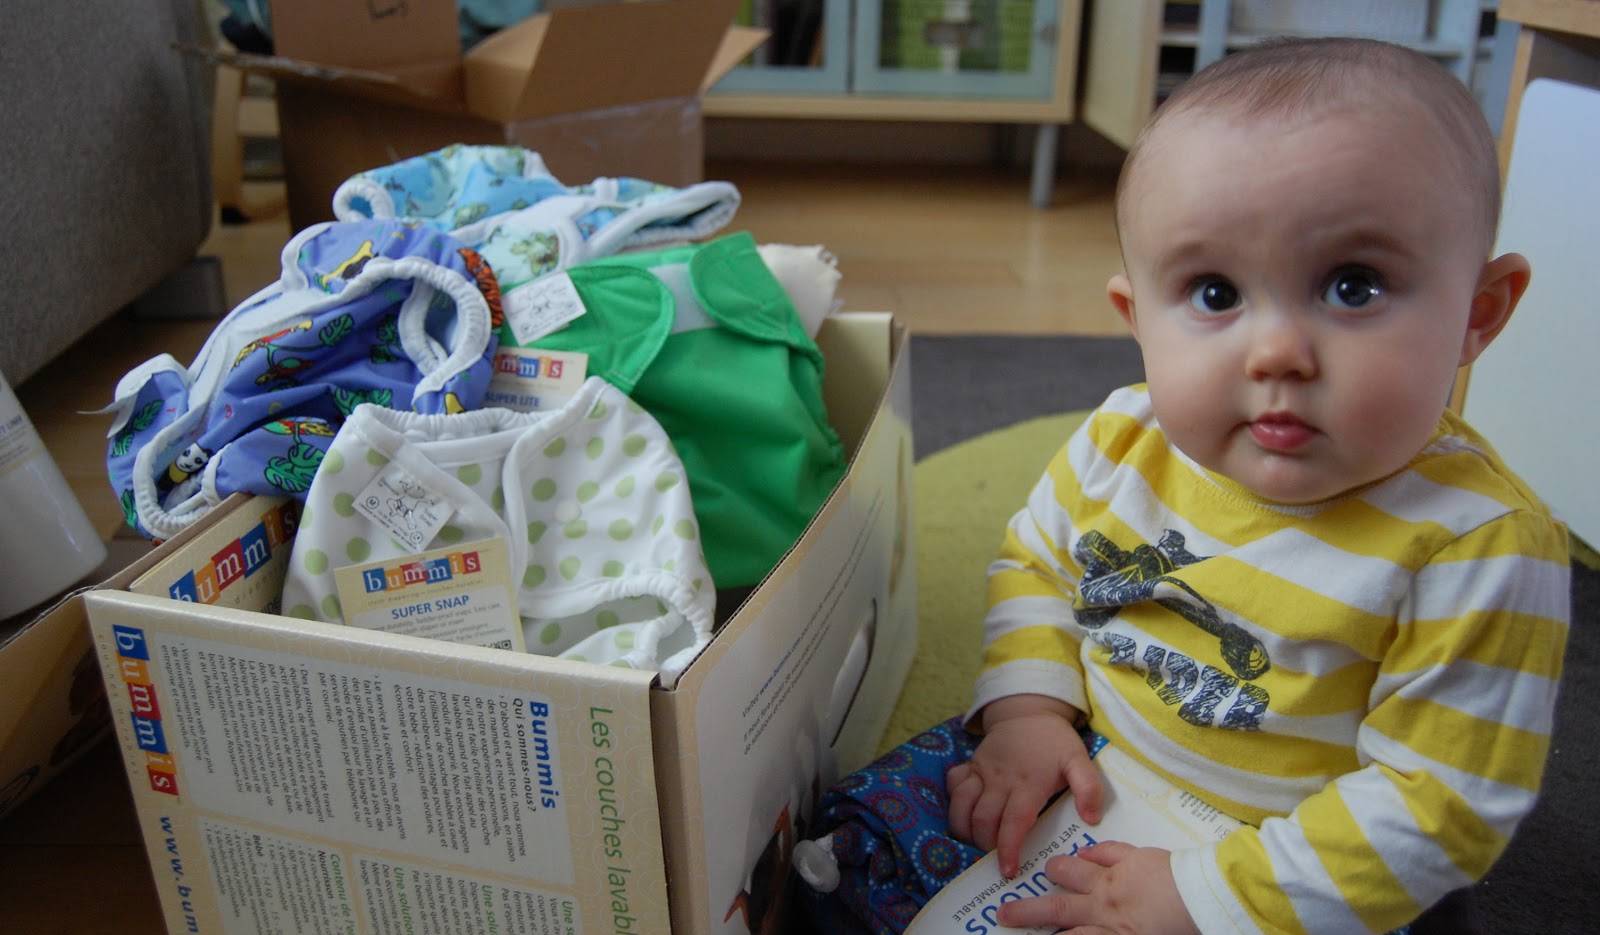
I sewed about a dozen fitted diapers to start us off with (I also have prefolds), using the Rita's Rump pattern. It is super easy, and if they fit well, I think I will sew a dozen more as pocket diapers using PUL on the outside and adding snaps (these will need a cover as they are not leakproof). I just love all of the cute flannel prints!

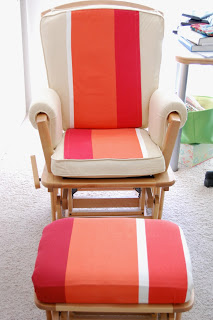
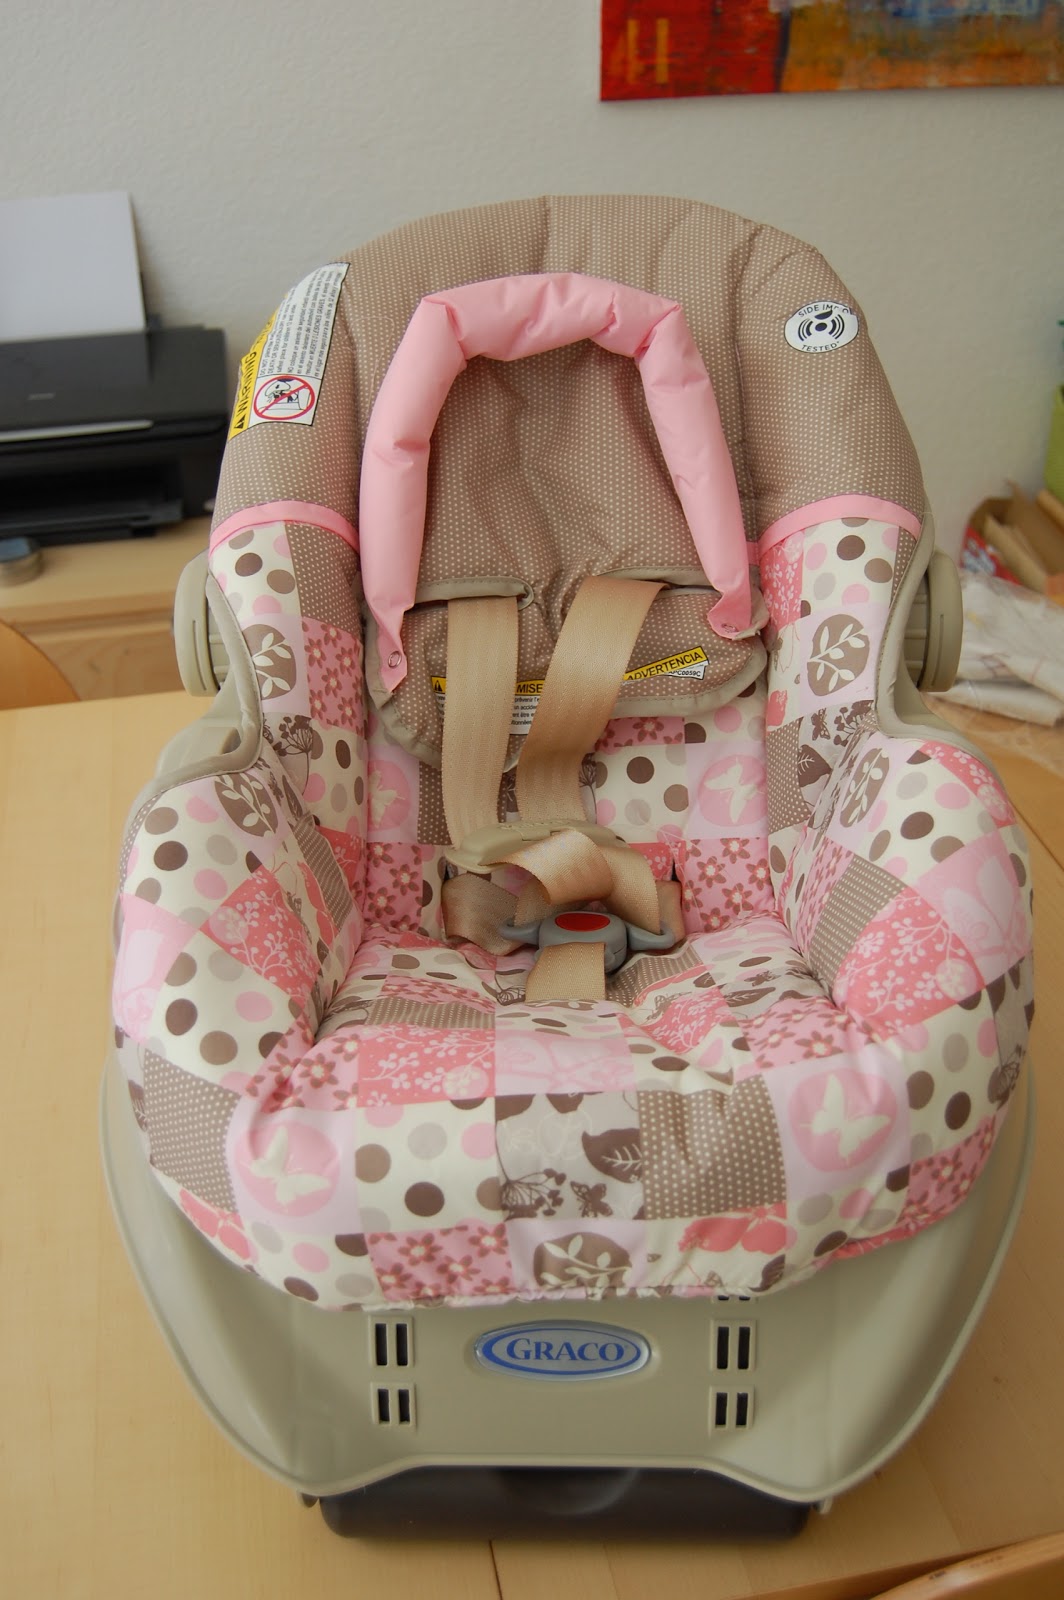
For me, a glider is just as essential as diapers. We got rid of ours after the kids got older, but my mother found this one on Craigslist for a great price. The chair cushions came out of the wash looking fine, but the footstool was stained. I recovered it using an Ikea canvas curtain panel found at Goodwill for $5. I didn't have enough material to recover the cushions, so I decided on a racing stripe, instead. It was a little tricky maneuvering the cover under the machine, and I did realize that I had reversed the striped piece on the bottom cushion, but that's what you get for sewing at 11 pm when you're pregnant. I can live with it, and eventually I will recover the entire chair (the cushions look beige in this picture, but are actually more of a yellow cover and don't quite go with the rest of the room).

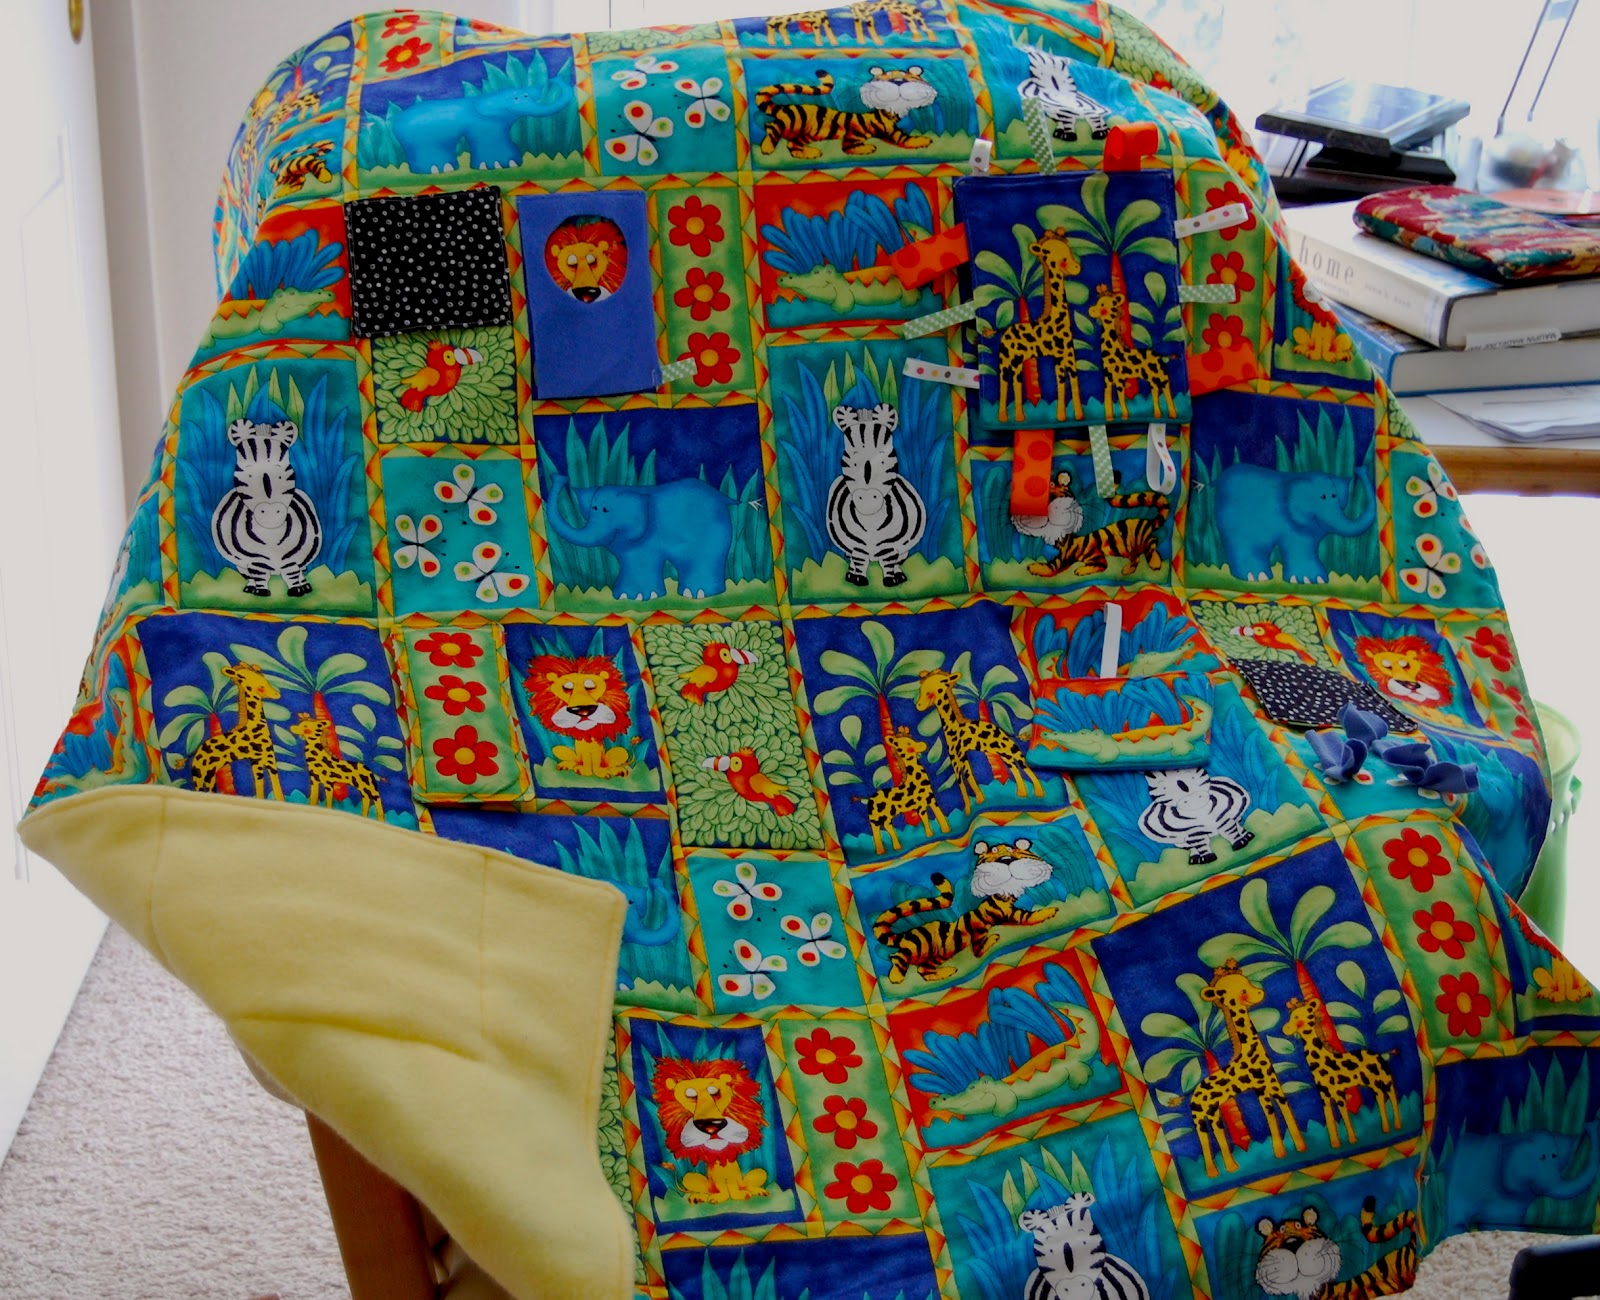
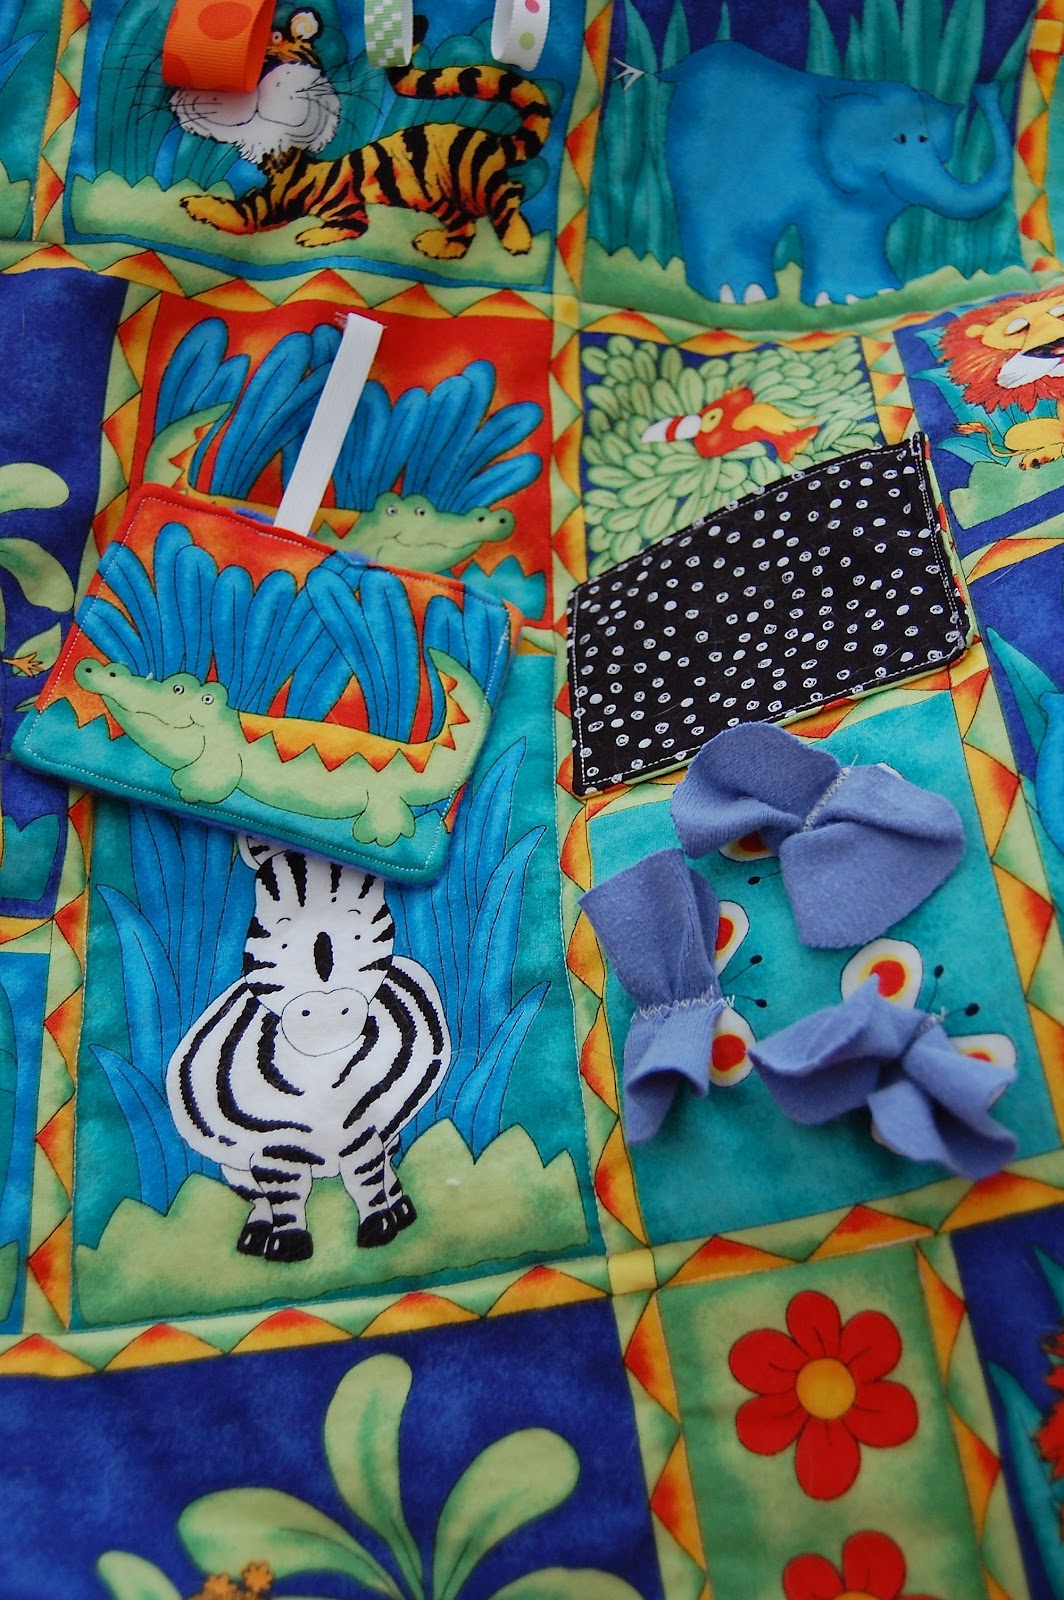
Last but not least, the activity blanket. The top panel was from a dear friend, who hung it above her own daughter's crib. At first I thought of making it into a quilt, but the bright colors and playful pattern just screamed fun, so it became an activity mat. I cut about 8 inches off of the bottom to use as pieces for the rest of the blanket. The inside has a layer of cotton batting and it is backed with a yellow fleece for comfort, and to keep it from sliding on the floor.
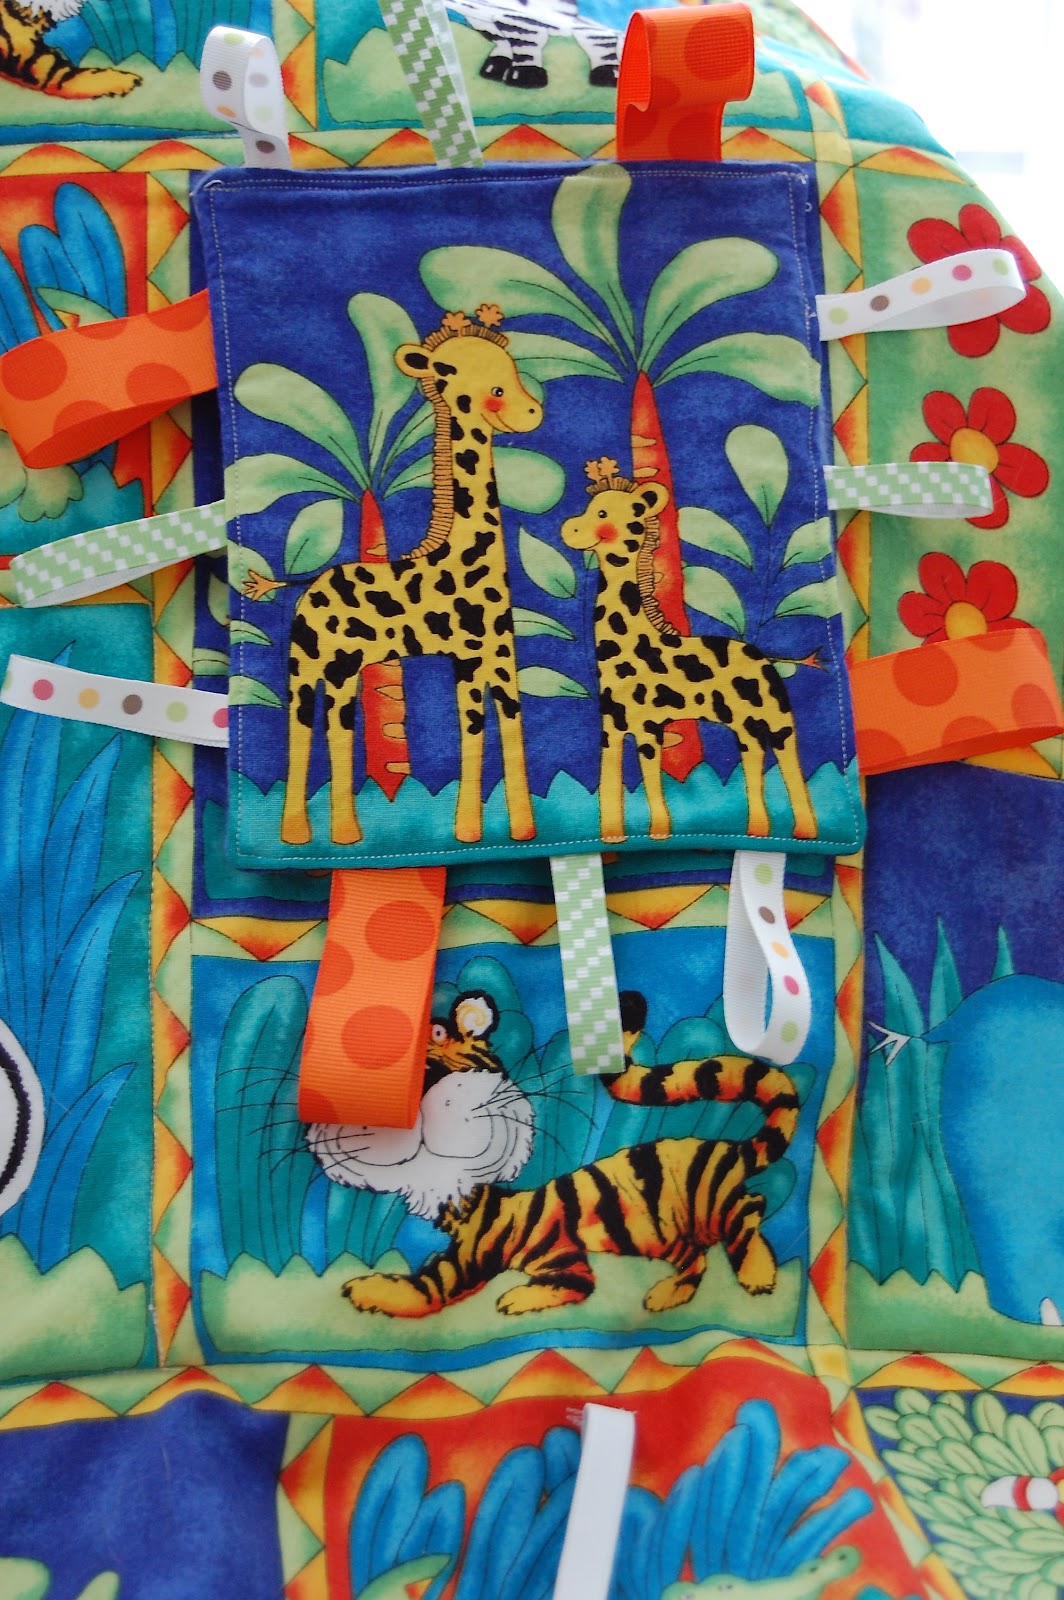
This panel was backed with fleece and edged with ribbon tags, since we all know that babies love the tags best.
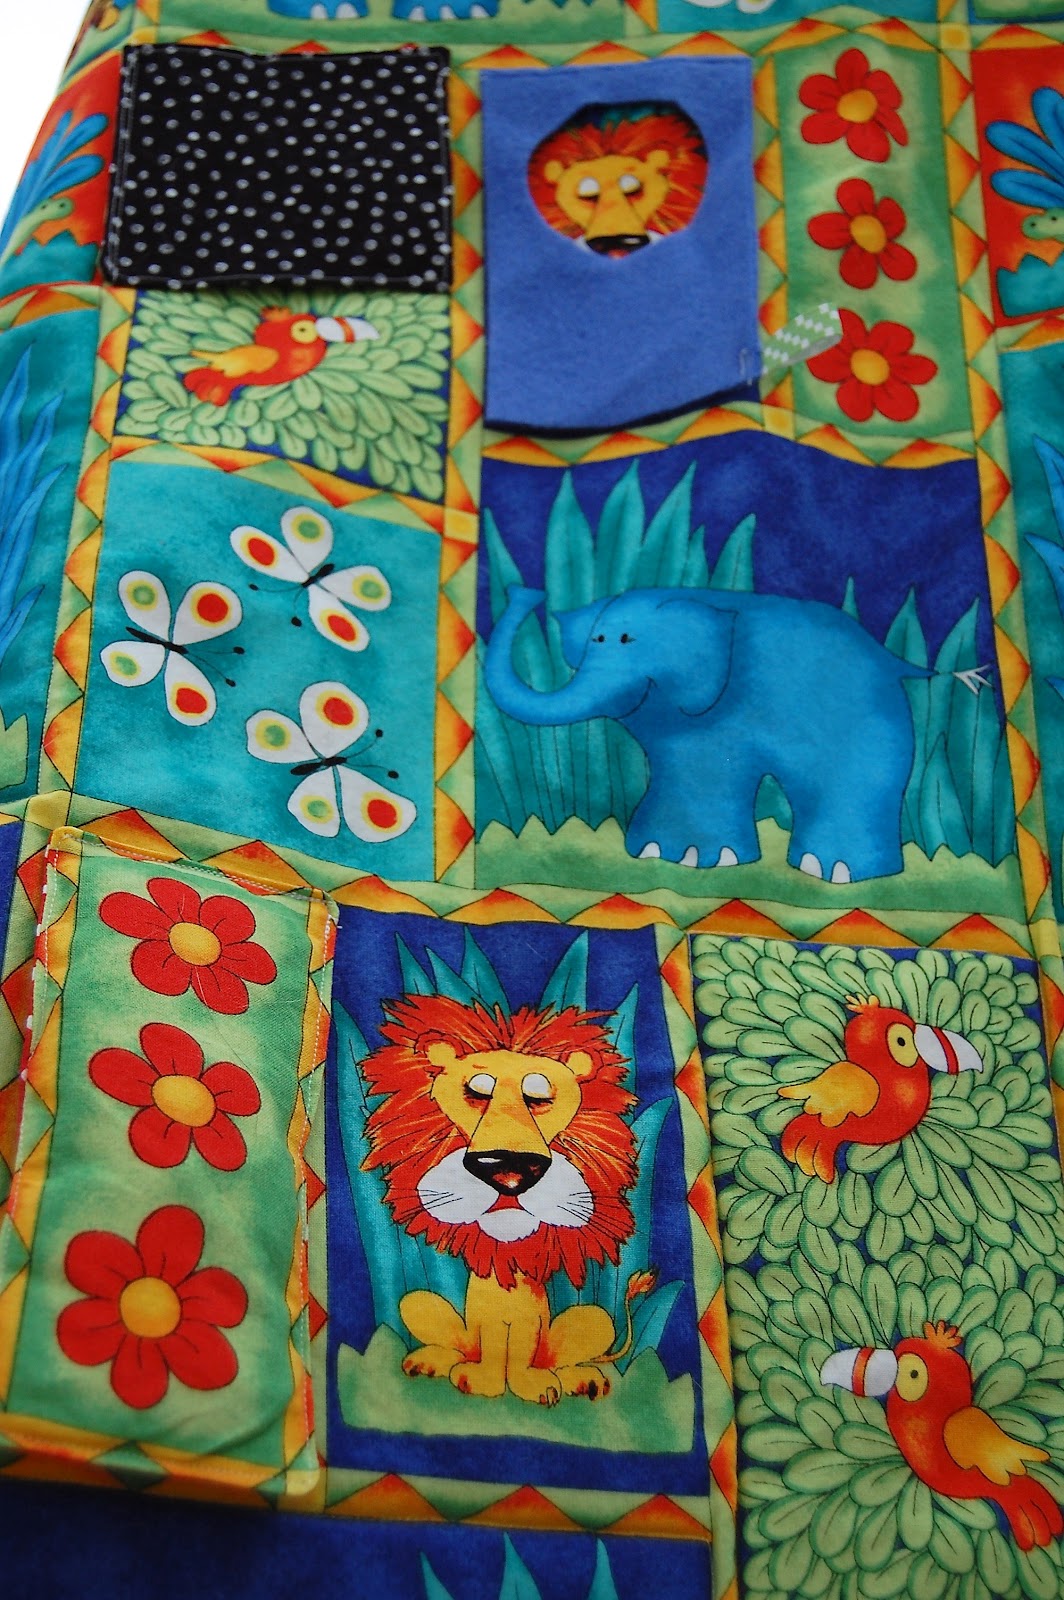
The alligator piece is attached with elastic to pull on, and the butterflies are covered with a knit fabric to finger. The dotted panel above opens to reveal a parrot.
There is a second flip panel on the top left, and a peek-a-boo fleece door over the lion. The flowers on the bottom left are actually a strip filled with celophane so they crinkle when you grasp them.

Now I'm just trying to convince the little bean to come so he can enjoy his goodies!

Monday, April 16, 2012

Car Seat Transformation

I found a great deal on an infant car seat before we knew that our little one is a little boy. While I don't feel the need to collect everything in blue with baseballs on it, I do know that :
1. DH would never let his son ride in a pink car seat
2. I don't like the print anyway
So I did what any DIY gal would - I recovered it. Yes, I know some people would not feel comfortable with this, but since I simply replaced the top fabric and used the same underlying pads (and actually kept parts of the original cover), I'm okay with it.  Here is the before:
Originally, I had planned to recover the whole seat. But the top portion is a light brown polka dot, and the canopy is also a sort of taupe color, so why do extra work? I found a blue polka dot print at the local quilt store that matched the brown, and I still had about a half a yard of a fabulous cowboy print in the sewing closet, so I combined those with the brown top and reused the same taupe bias tape that came with the chair. I really don't like those safety stickers printed on the top, but time beat out esthetics on this one! I used a similar method as Make It and Love It used for her tutorial.
Here is the result! Recovering the padding was not very difficult. Time consuming, yes, and you'll make good friends with your seam ripper, but not too hard. The worst part was the bias tape, as I used the nylon tape that came with the original seat, and that's slippery stuff! The canopy... well, that's another story.
I kept the original taupe parts and just replaced the pink trim. I thought that would be easy enough. Wrong! The back channel with the blue trim was easy, and adding the red padded trim to the front was also easy, but getting the front channel in to hold the canopy arms, well, that was horrid! I'm sure the nylon was part of it, but I think I ripped that thing out at least three times! The channel is still a little puckered, but I can live with it. I literally spilled my own blood on that part!
I was able to recycle the newborn head rest, too, just swapping out the trim fabric. This was a very time consuming project, and not the most fun sewing in the world, but I am so thrilled with the results! I saved a bunch of money on the car seat and I have one with a print I really adore, not just one I've settled for.

Tuesday, February 14, 2012

Maybe...

Probably. It is still up for grabs, though. The doctor did an ultrasound last week and thought it was a girl. I had the big one today, and the ultrasound tech thinks it is a boy, but she could only see a scrotum, not a penis. The little bean was moving like crazy the whole time. I have a stack of fabric, both male and female prints, but I just can't bring myself to attack the boy stack, yet. We'll see if the nurse midwife wants to do another in office ultrasound at the end of the month. If not, maybe I'll try the new 3D private service in town. Darn. The kids want to know who gets a bunk bed. I want to sew. The baby wants us to wait. And we still don't have a boy name.

Tuesday, January 3, 2012

For the New Year

This may explain why it has been pretty quiet around here over the last few months. The little bean is doing well and expected on July 7. I'm also starting to feel like a regular human again, so hopefully things will pick up around here.


As for the New Year, have you picked your word yet? Mine is "mindfulness" this year. Ali Edwards is holding a new one little word class at Big Picture Classes, but I signed up last year and never actually did the monthly projects, so I saved them all and have ambitions to do them this time around. After having the kids pour through scrapbooks recently and then ask why there weren't any recent pages about them, I have vowed to try to keep a simple monthly schedule of three layouts this year. Mind you, these will be simple, but that's okay with me. I have plenty of other outlets for design, but I am mostly concerned about recording their stories. I so cherish the pages that I have, and wouldn't have remembered half of those moments if I hadn't recorded them.

The plan? I had a bunch of bags of leftover scrap kit pieces, which I sorted into 12 bags and divided by season. The plan is to use whatever is in there, along with white, black, or kraft cardstock, to create three layouts a month. One will be about Max, one about Madeline, and one will be a family page. Once the baby comes, it will either be one per kid or just an additional page. I'm thinking of printing a page of layout sketches and just choosing from them each month, or keeping the basic layout the same every month and just changing embellishments and patterened paper. We'll see which one is easiest - I'm all about easy right now!

Well, there, I've put it in print. I suppose now I'll have to actually follow through;)