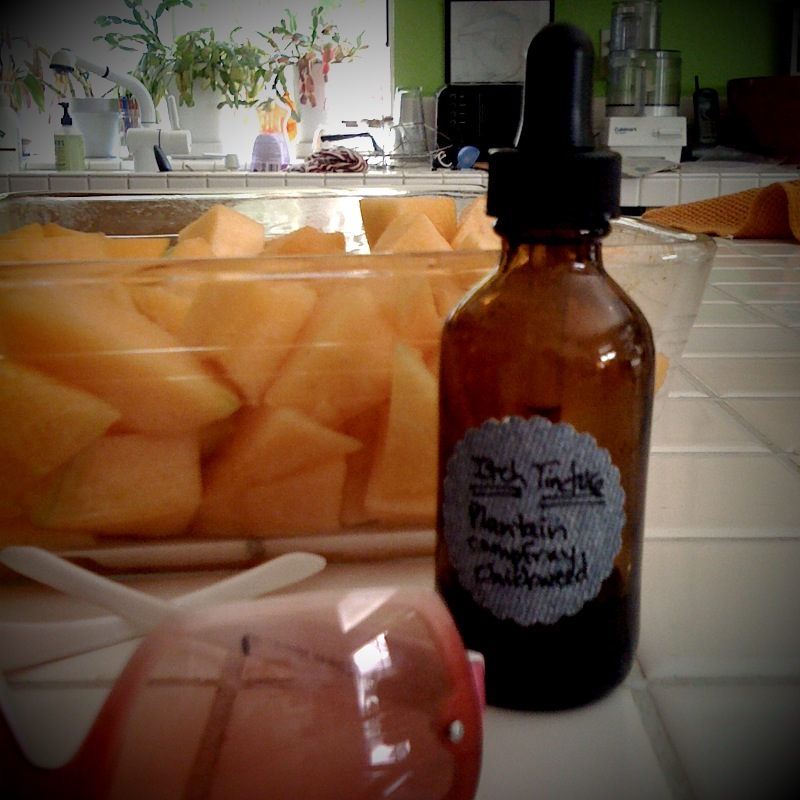
Wednesday, June 30, 2010

Dr. Mom

Ah, summer - sprinklers, gardening, trips to the beach... and rashes and bug bites. This itch relieving tincture has been getting a lot of use around here lately, so I thought I'd share the super simple recipe with you.

Ingredients:
Vodka (any cheap kind will do)
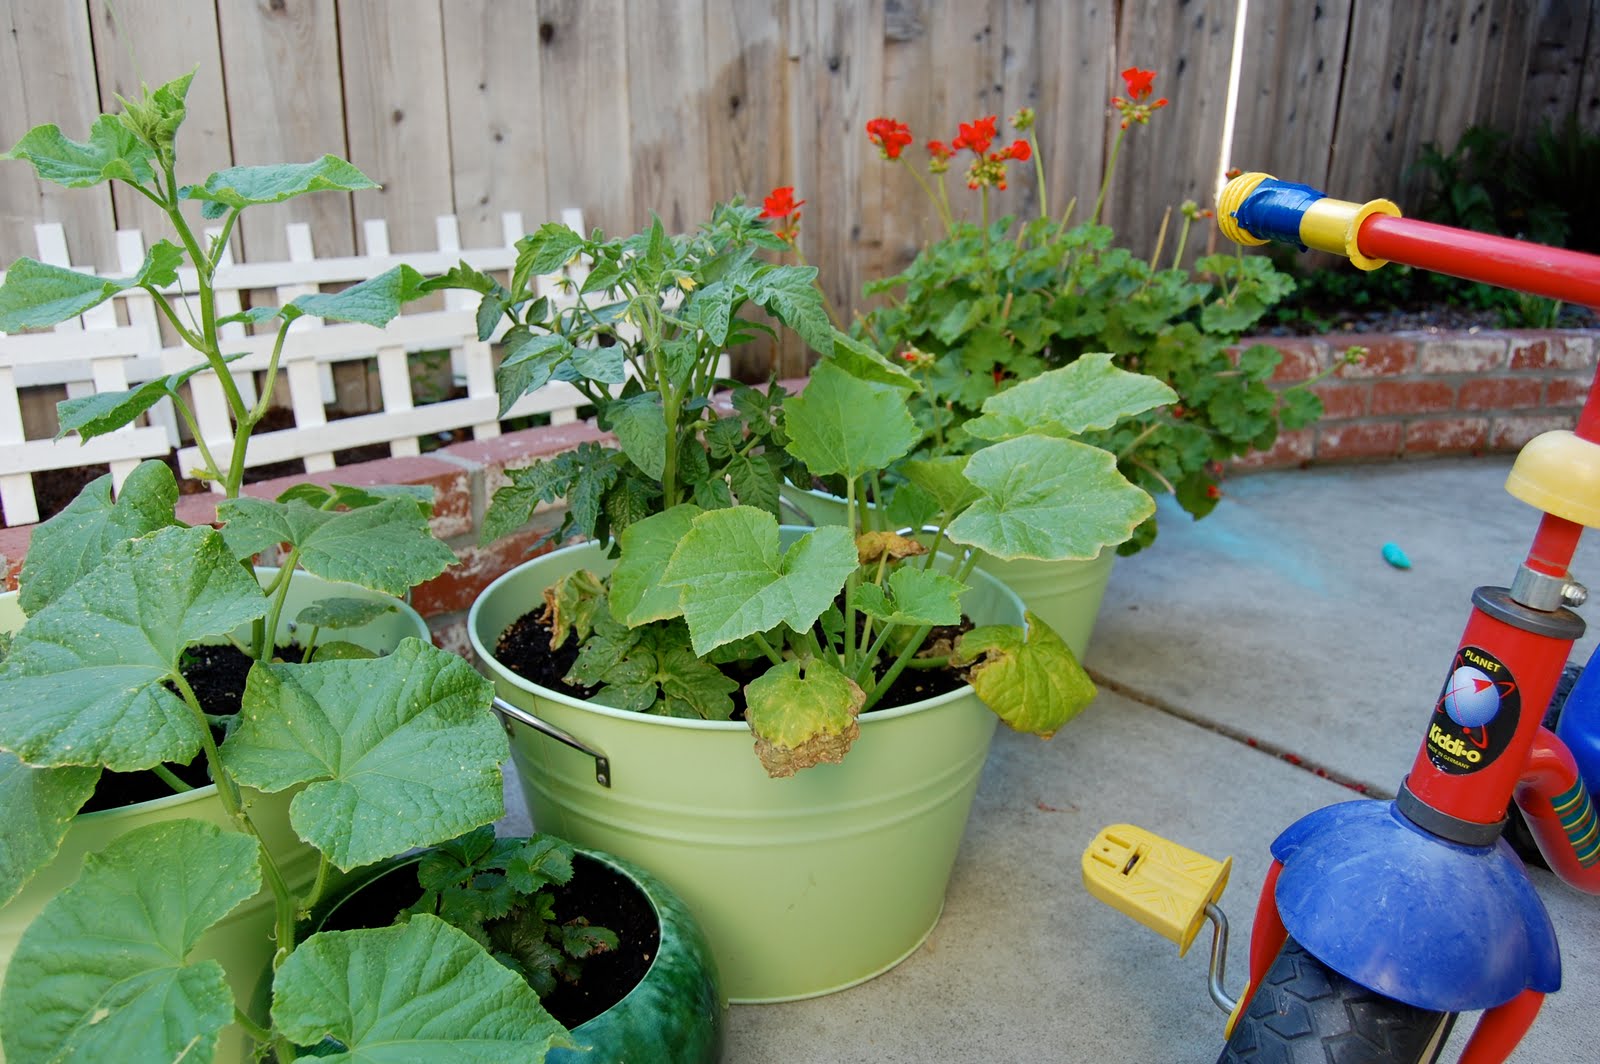
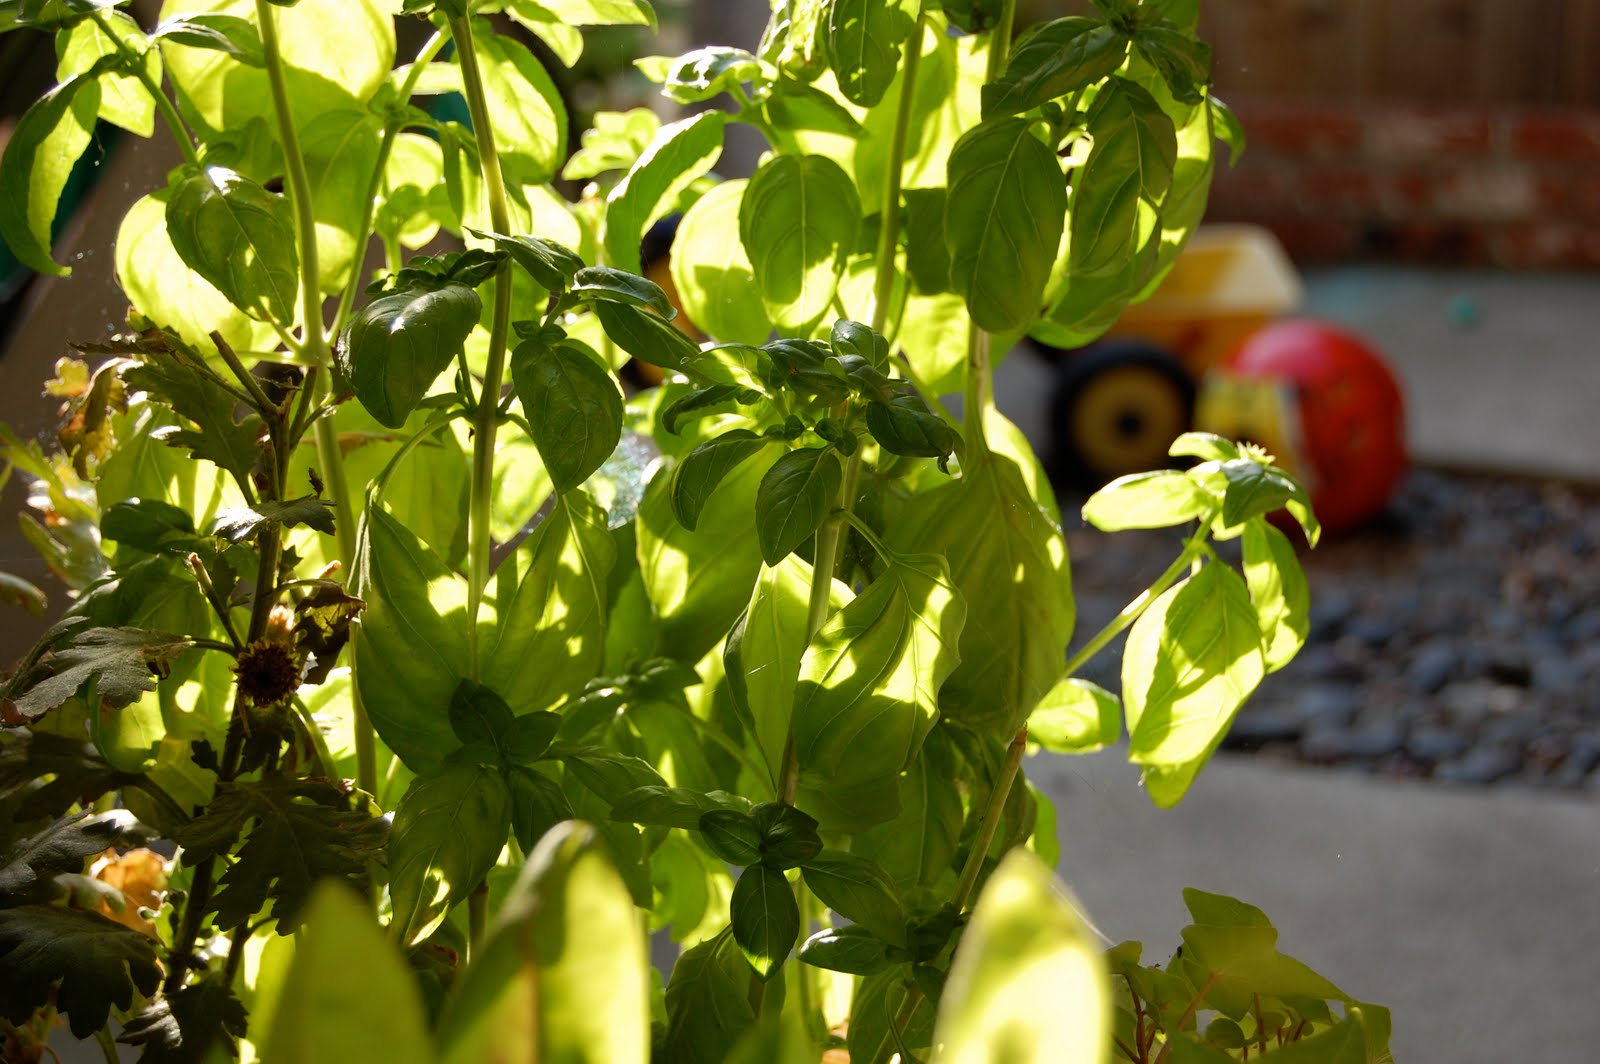
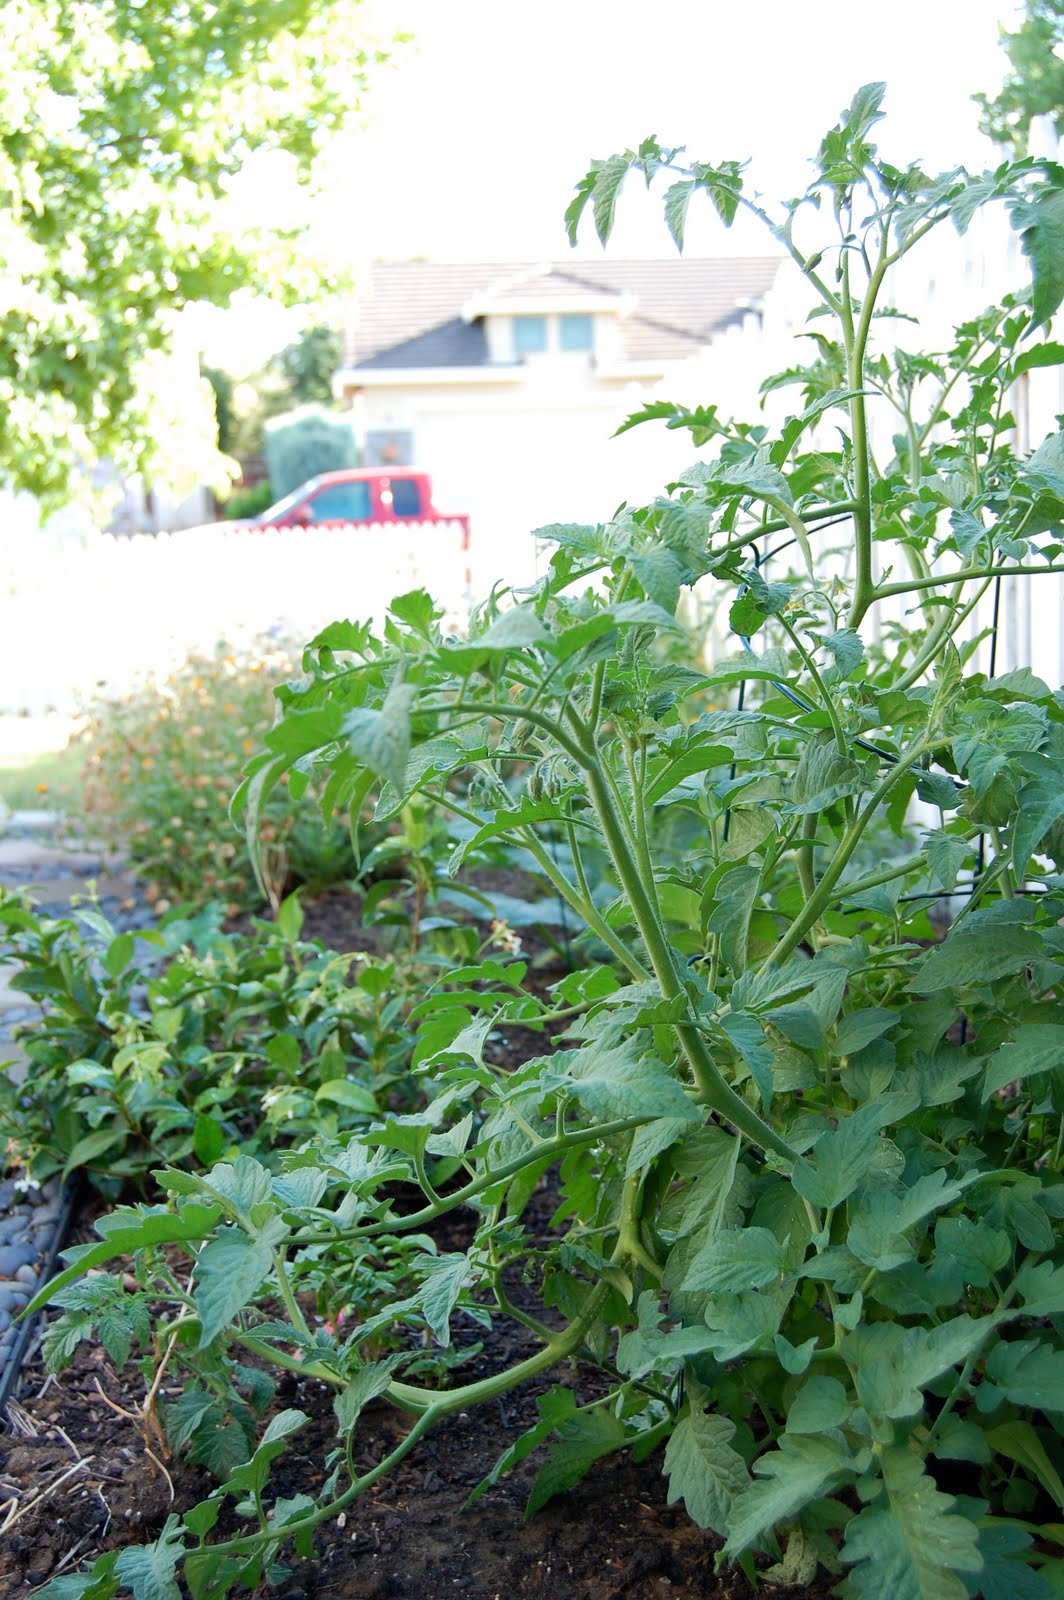
Chickweed
Plantain
Comfrey

Fill a glass jar 3/4 full with equal portions of the herbs. Add vodka to cover herbs completely and cap jar. Let steep in a dark cupboard for a minimum of two weeks, but I like to go for four. Shake daily, if you remember. If not, it still works. Strain tincture into a clean glass bottle. This is a tincture (extraction through alcohol), so DON'T use on scraped or broken skin (ow!), but it's fabulous on heat rashes and bug bites.  I keep it in the fridge, because the cold also helps soothe itchy skin.

For broken or scraped skin, mash up dried (or fresh, if you have it) plantain with a little water, then put a glob of it on your cut. Cover with a damp cloth and leave on for about 10 minutes.

For my latest tincture, I also added mallow root to the mix. I buy most of my herbs through Mountain Rose Herbs or Starwest Botanicals, and both are fabulous companies.  You can also steep the herbs in olive oil to use in lotions or simply apply the oil. Oils should steep for at least six weeks.  Easy, frugal, good for the Earth, and it works!

Monday, June 28, 2010

Carrot Cake Cupcakes

I had a tub of cream cheese in the fridge, but I can't eat bagels anymore. Not one to be wasteful, I decided to make a batch of cream cheese frosting. If you have frosting, you have to have something to spread it on, so I made a batch of carrot cake cupcakes, too. I absolutely love carrot cake - anything with nutmeg and cinnamon is always tops on my list. Now it can be tops on yours, too, because here is my absolutely bestest carrot cake recipe ever. It is gluten free, but you should be able to substitute wheat flour (leaving out the xanthum gum) and get equally good results. Warning - this is a full on dessert recipe - no applesauce to replace fats here. They do freeze well, though, so you can eat a few and freeze the rest! Or you could do like I do and eat three in one day. Each meal deserves it's own dessert, don't you think?

GF Carrot Cake

3 cups organic brown sugar (I make my own by mixing molassas with evaporated cane juice, the fancy name for white sugar that has not been processed with chemicals)

1 cup coconut oil (adds richness and it's good for you!)

4 organic eggs

1 tsp vanilla

3 cups grated carrots

3 cups Bob's All Purpose gluten free four (or your preferred mix)

1 1/2 tsp xanthan gum

2 tsp cinnamon

1 tsp freshly grated nutmeg (it makes a big difference in all of your baking baby, so if you don't have a nutmeg or microplane grater, go get one)

1 tsp ginger

1/4 tsp cloves

1 tsp baking soda

1 tsp gluten free baking powder

1 tsp salt


Cream the sugar and oil. Add the eggs, one at a time. Add vanilla. Mix dry ingredients in a separate bowl, and wisk to mix. Add the carrots and flour mixture, a cup at a time, alternating each and mixing well. Use an ice cream scoop to fill 22-24 paper lined muffin cups, and bake at 350 for 15-20 minutes. Use a toothpick to test.

I wish I had such a refined recipe for the frosting, but I really don't measure much when I make it. Generally, I cream one stick of butter with 6-8 ounces of cream cheese. I add vanilla, usually two teaspoons, then I beat in about 3-4 cups of sifted organic powdered sugar until I get the consistency I want. However, there are two musts for all of my frostings: you must use a good butter, not the store brand. There is a difference. From my local supermarket I like Danish Creamery. Also, organic powdered sugar tastes superior. My local Trader Joe's stopped carrying it, so I shelled out the $5 for a pack at my grocery store. Then I read on-line that I could have made my own by whirling my $2.99 bag of organic evaporated cane juice (ie sugar) in the blender for a few minutes. Guess what I'm doing when this $5 bag runs out?

Friday, June 25, 2010

My Favorite Outfit

Oh, this is definitely my favorite outfit so far! Madeline and I were at our local quit store, Sew Ewe Quilt last week, in line for cutting with an arm full of fabric bolts, when she saw the yellow print. "I want to make shorts out of this," she said. Now you must understand, if it's not pink, or doesn't have cats on it, Madeline usually has no use for it. Yellow, orange and red? You bet, baby! We had the red polka dots in our stack, and it just matched so perfectly. "Why don't we put these two together?" "Sure" she said. Taking her to the fabric store is just as dangerous as letting me go!

The pattern is Simplicity 2677, bought for $1 at a recent Joann sale.  I added pockets and the cuff to the shorts pattern, but the only alternation I made to the top was using the different fabrics. Oh, I love those prints!

I think it's time to put the fabric away for a few days. I'm sure my husband is tired of seeing the ironing board in the living room,  my back is giving me grief, and three t-shirt designs are swimming around in my head. Need to squeeze in some sketchbook time today. Three dresses, three pairs of boys shorts, one t-shirt, one nightgown, and this shorts outfit. Not a bad haul for summer sewing, and more patterns have been cut. Of course I should be working on my Etsy store; sorry to those who keep asking! Can you send me a few more hours in the day, please? I would put them to good use!

Wednesday, June 23, 2010

Growing

In my slow evoution towards suburban homesteading, I am trying to grow more food. This has been a difficult task for two main reasons: a. the backyard is 90% patio and mostly shade  b. our soil is clay.  Last year Max received a container garden for his birthday, and two of the tubs are brimming with cherry tomatoes, cucumber, zucchini and oregano. The little fenced portion in the back there is the only patch behind the retaining wall that gets a decent amount of sun, but something keeps eating whatever I plant there. I've never been able to actually find any critters on the plants, but they get munched nonetheless. My spearmint seems to be surviving this year. Yes, I know mint is invasive, but let it invade all it wants, as long as something green grows in that patch! It's a nice bonus that we can eat it, too.

The basil is pretty happy in the backyard, as well.

The front yard gets sun, although the soil stinks. Yes, I have ammended, but I've always had a hard time getting things to grow along this little strip. So, when my lavender died from frost, I decided to try some veggies over the summer. My tomatoes seem to think it's a lovely spot.
The zucchini like it, too.
We're even getting a few carrots.
We've had strawberries tucked in with the landscape flowers for years, but the snails get to most of them before we do. Dang snails.
And the hydrangeas? Well, I know you can't eat them, but they're just so pretty! So next year, I'm definitely putting more food in the front yard. For fall I think I'll try lettuce again (if I can keep the snails away) and calendula flowers. I'm not sure what to put in over the winter. It is the front yard, so I hate to keep a bare patch of dirt, and since we are in California, we don't get any snow to cover it up. Any suggestions for winter crops?

Monday, June 21, 2010

70's Flashback Nightgown

I had ordered this Patch Blue Storybook fabric from Sew Mama Sew in January, without any plan for using it. I just loved the retro 70's look. It reminded me of sheets I had when I was a kid. Madeline saw the fabric recently and said we should have matching nightgowns. Well, I'm not so keen on nightgowns, but I made one for her. It is a quilting weight cotton, so it doesn't drape as nicely as a lighter fabric, but it still looks darn cute on her. It's Butterick 6659, with a little alteration in the length. As for the matching part, I had to order another couple yards for me, but I think I'll be making some sleep shorts for myself.

I made a quick pair of shorts for Max from an old men's knit shirt, and cut out a shorts and top set for Madeline last night. I really should pick up my sketchbook today; it's been neglected for far too long. It is the Solstice though, so I think banana ice cream pops and playing in the sunshine would be a better plan for today. What's on your sewing/craft table?

Friday, June 18, 2010

Bored Yet? I have a solution...

Like most kids, my children have a bazillion toys and games to play with, and yet the "b" word still gets uttered around my house - bored! As I'm sure many of you out there have experienced, every time I suggest a specific toy or activity, it is immediately shot down. I have made the activity jar full of suggestions, but that, too, has failed. So this summer I have taken a different tactic. I created challenges instead; a list of items to gather that must then be turned into a game. Objects to collect outside for use as an obstacle course. Challenges involving water, since it is summer, after all. I typed up over 30 ideas, printed them out, glued them to patterned cardstock and laminated them with my Xyron. We now have a deck of Kid Creative cards for emergency periods of boredom, and from the use they have gotten so far, have met with approval from my kids. If the "b" word is flying around your house this summer, I've uploaded a copy of the challenges for your emergency intervention; just click here. You could print them and mount them on cards as I did,  print the list, or even read one out loud from the computer. If you do try them at home, please give me your feedback. I'd love to hear it!

Wednesday, June 16, 2010

Craft Hope for the Gulf

Craft Hope is an organization that arranges charitable craft projects that everyone can participate in. Their latest project is collecting crocheted, knitted, or sewn wash clothes and hand towels for use in cleaning oil drenched wildlife. The deadline is July 3, although the organizer in Florida said she will accept donations as long as they come in. Since the towels can only be used a few times before they are so decrepit they must be tossed, the recycling of sheets and old toweling is encouraged. The website has the size details and the address to ship them to. Last weekend we took the kids to the Monterrey Bay Aquarium (and became members, too!) so I thought this would be a charity project that they could really identify with. Every bit helps, so please check out the website.

On a lighter note, I'm working on a little freebie for Friday that my kids have been helping me test this week. Check back in a few days to see what it is!

Monday, June 14, 2010

Birthday Sewing

My darling goddaughter is turning three, so that means a new dress. I made a dress like this one for her last year, and this year I also returned to my favorite elastic thread for some shirring. This year it is shirred around the waist, with elastic at the top. It's never very impressive looking on the hanger, but oh, so cute on.
I played with the back this time. I love the bustles and ruffles from places like Chasing Fireflies (sigh, their clothes are amazing!), so the back got a little fancy:
And since a three year old may not find clothes too exciting as a birthday gift, there were also art supplies and this smock, from Bend The Rules Sewing, to go with it:
I just love that IKEA fabric. Cathleen, I think the baby needs some bibs and such from this fabric, don't you? The sewing machine is still humming...

Thursday, June 10, 2010

How I Applique

Fabric is still scattered all over the dining room table, and shorts and dresses are still spilling forth. My kids adore customized clothes, and applique is a favorite technique for dressing up plain shirts and skirts. There are many techniques, but I thought I would share what works for me. It's fast, easy, and holds up great in the wash (because really, who hand washes anyway?)

I usually draw my own designs or adapt coloring book images (there are millions of sites on the internet, just google the name of the image with "coloring page"). I then trace my image on Heatbond, (or similar iron on fabric bond), and cut it out with a margin around the edges. This ensures that the bond will extend all the way to the edges of the fabric when you cut it out.


Iron the image to the wrong side of your fabric, following the directions for your particular brand. Once it is cool, cut out your image following the outline lines. Remove the paper.

For small trims such as ribbon, I like to use spray baste. It's like a very light spray glue, but it will not gunk up your machine. Just spray the back and stick on to your fabric.

Iron the applique onto your piece of clothing. Here I'm using a t-shirt.
Sew around the edges. You could use a variety of stitches for this - satin, straight, or what I usually use, a small zigzag. If you use a straight stitch the edges may fray, but that's usually the intended result. I like a zigzag because it's secure, fast, and seems to blend into the applique so you don't notice the stitching as much as a satin stitch.
Sometimes I add stitching inside the applique to add details. For this, I use a water soluble fabric marker to draw in details, and then stitch along those markings. Once you are done stitching, spray the marker lines with water to make them disappear.

That's it! It took me about 20 minutes to do the shirt from start to finish, and that includes searching for the ribbon. It's a great way to dress up those $2.50 t-shirts from Michaels. Max thought the Devo bowl hat added the finishing touch. I'd have to agree.

Monday, June 7, 2010

Weekend Detour

Instead of sitting in front of my sewing machine, we spent the weekend pricing out floors, vanities and tubs for the bathroom. You see, there was a minor flood in  the kid's bathroom, and the hubs ended up pulling up half of the vinyl. Once we started looking at new floors, we thought why not the whole thing? Never liked the stuff that's in there anyway, especially the dreadful tub enclosure. So now the bathroom looks like a disaster zone, and fabric is still stacked on the table. Oh well.

We were able to set aside a sizable chunk of time to relax in the warm weather. Cleaning the car lead to an art project (makes perfect sense, doesn't it?); custom car seat covers. I had painted their previous covers, but this time the kids wanted to do it themselves. Getting the paint out of the little bottles was a harder task than they expected, so the headrests ended up with a modern art look. I admit that I asked to "help" Max with his, which was looking more like someone had smeared a few paint bottles and crayons across it rather than an intentional piece of art, but all in all the work is still his. And they had fun.

What about the snail traps, you ask? Well, a quail momma and papa and eight little babies moved into our front yard this weekend! How I wish I had pictures - the chicks are little balls of fluffy on spindle legs! We were afraid that the babies might drink the beer, so the traps have to wait. I hope my lettuce and zucchini can wait, too!

Friday, June 4, 2010

Snail Bait


If you know me, you probably laughed at this sight, just as I do every time I walk by my counter. No, I'm not the 32 ounce Miller High Life type (and the gluten in it would make me sick for days), but I'm on a mission. A deadly mission. Tomorrow, the snails in my front yard must die, with a little help from Mr. Miller.

I'm still on a sewing binge, as the mess on my dining room table aptly demonstrates. Hopefully on Monday I'll have lots to show and tell, or maybe even a tutorial. Summer officially starts today for us, so we're off to enjoy a little outside time. Hope your weekend includes a lots sunshine, too!

Tuesday, June 1, 2010

View from my dashboard

It's the last week of school, and I'll be spending most of today in the car, running from one place to another. Then I'll spend the next two days in the classroom, running from one place to another. I hope you'll have a more peaceful week than me! (image from the Hipstamatic app)