Thursday, April 29, 2010

Yudu Success

My second attempt was much better than the first.  I made a run of t-shirts with a sketch of Max's most beloved friend, Piggy. A few things I learned about the Yudu for this run:

*Use a lot of ink. The instruction video shows just a squirt along the top, but you really need a big, thick goop.
*When rinsing the photo emulsion film off after burning a screen, let the water sit on the screen for a few minutes. After rinsing for a few minutes, use soft pressure with a sponge on the emulsion side on spots that haven't rinsed out.
*I made extra platens from foam core, by simply tracing around the plastic one. When I loaded it on the machine, I just stuck an extra platen underneath, or a stack of magazines to make up for the lack of foam. I simply tightened the fabric around the platens with masking tape.
*The $4 foam core worked just as well as the $20 plastic platen.

Now the orders are coming in from friends and family. That's okay. They can wait for the Etsy shop like everyone else;)

Tuesday, April 27, 2010

Amazing Blog and Giveaway

This is just too beautiful to keep to myself! Kathleen of the Grosgrain blog fame is giving away this blouse. Yes, giving it away! She is also hosting an amazing tutorial this week, Frock by Friday, taking you step by step each day in sewing a dress for yourself, with a free PDF pattern! So generous! So stop by now and check it out (but if you win, you're giving the blouse to me, right?)

Monday, April 26, 2010

Believe Card Tutorial

I must apologize for the tardiness of this post. You see it was a warm, sunny, glorious spring weekend here in Northern California, and although my sewing machine has been calling me, and the fridge was getting a little bare, I preferred to spend my time filling (and throwing) water balloons with the kids. So for today, a tutorial from my class archives. Use this design as a loose guideline for using up your own scraps and supplies. I know my craft closet needs a good spring cleaning!

Supplies needed:

Patterned Cardstock (cut to your preferred card size)
Stamp & Ink (I used gold, brown and red)
Old book page
Brad


Fold over the right corner of the card. Stamp flourish in bottom left corner with red ink.

Attach brad to folded corner and secure green printed panel behind card.

Ink text page with gold, and cut three free form hearts, one small and two larger, from page. Edge hearts with brown ink and secure to card.


Cut out stamped text and edge with gold. Secure to card.


Thursday, April 22, 2010

Linky Love

Whew! What a busy week! The weekend doesn't look any better, so I'm wondering when I'll get a chance to catch my breath. In my spare moments, these did catch my breath this week:


A great series of guest posts and tutorials celebrating everything girly, not just moms! So click the button, already!

This painting, which you could actually win! (sigh.) Visit her blog at Little Black Crow Studio.

Very excited about getting my first bag of soap nuts! I ordered from Naturoil.

This, or any print from Orange Studio - I love them all!


Finally, I'm keeping up with documenting our week for Ali Edward's challenge, A Week In The Life. I don't plan on getting very fancy when it comes to putting the album together next week, but I've saved a lot more bits f daily life this year. I'm hoping that the kids will get a real kick someday out of seeing the grocery receipts and schoolwork I've set aside this week. Isn't that why we record our stories, be they online or in a scrapbook?

Tuesday, April 20, 2010

Six

The king of bubbles is six years old today! Where has the time gone? Sigh...

Happy Birthday, big guy!

Thursday, April 15, 2010

Sigur Ros - Hoppipolla


A little Friday joy. It's worth the four minutes of your day. Promise.

Wednesday, April 14, 2010

Bits and Pieces

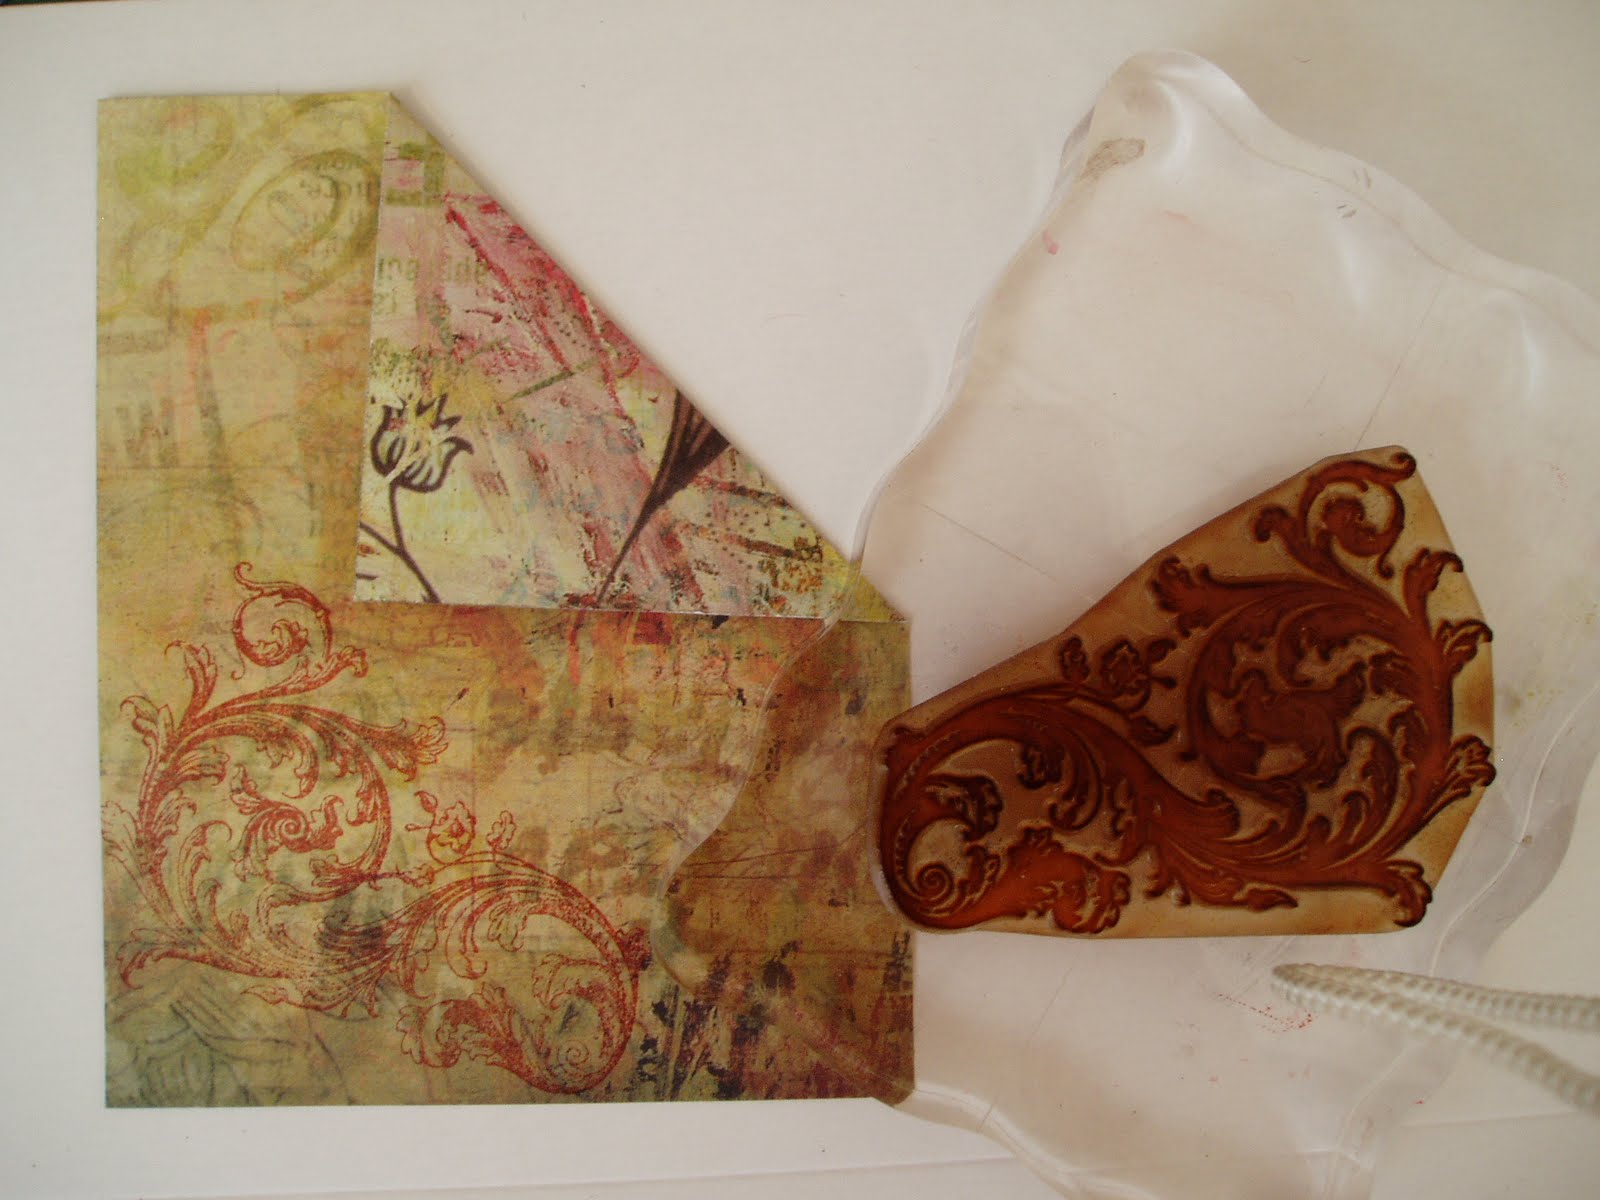
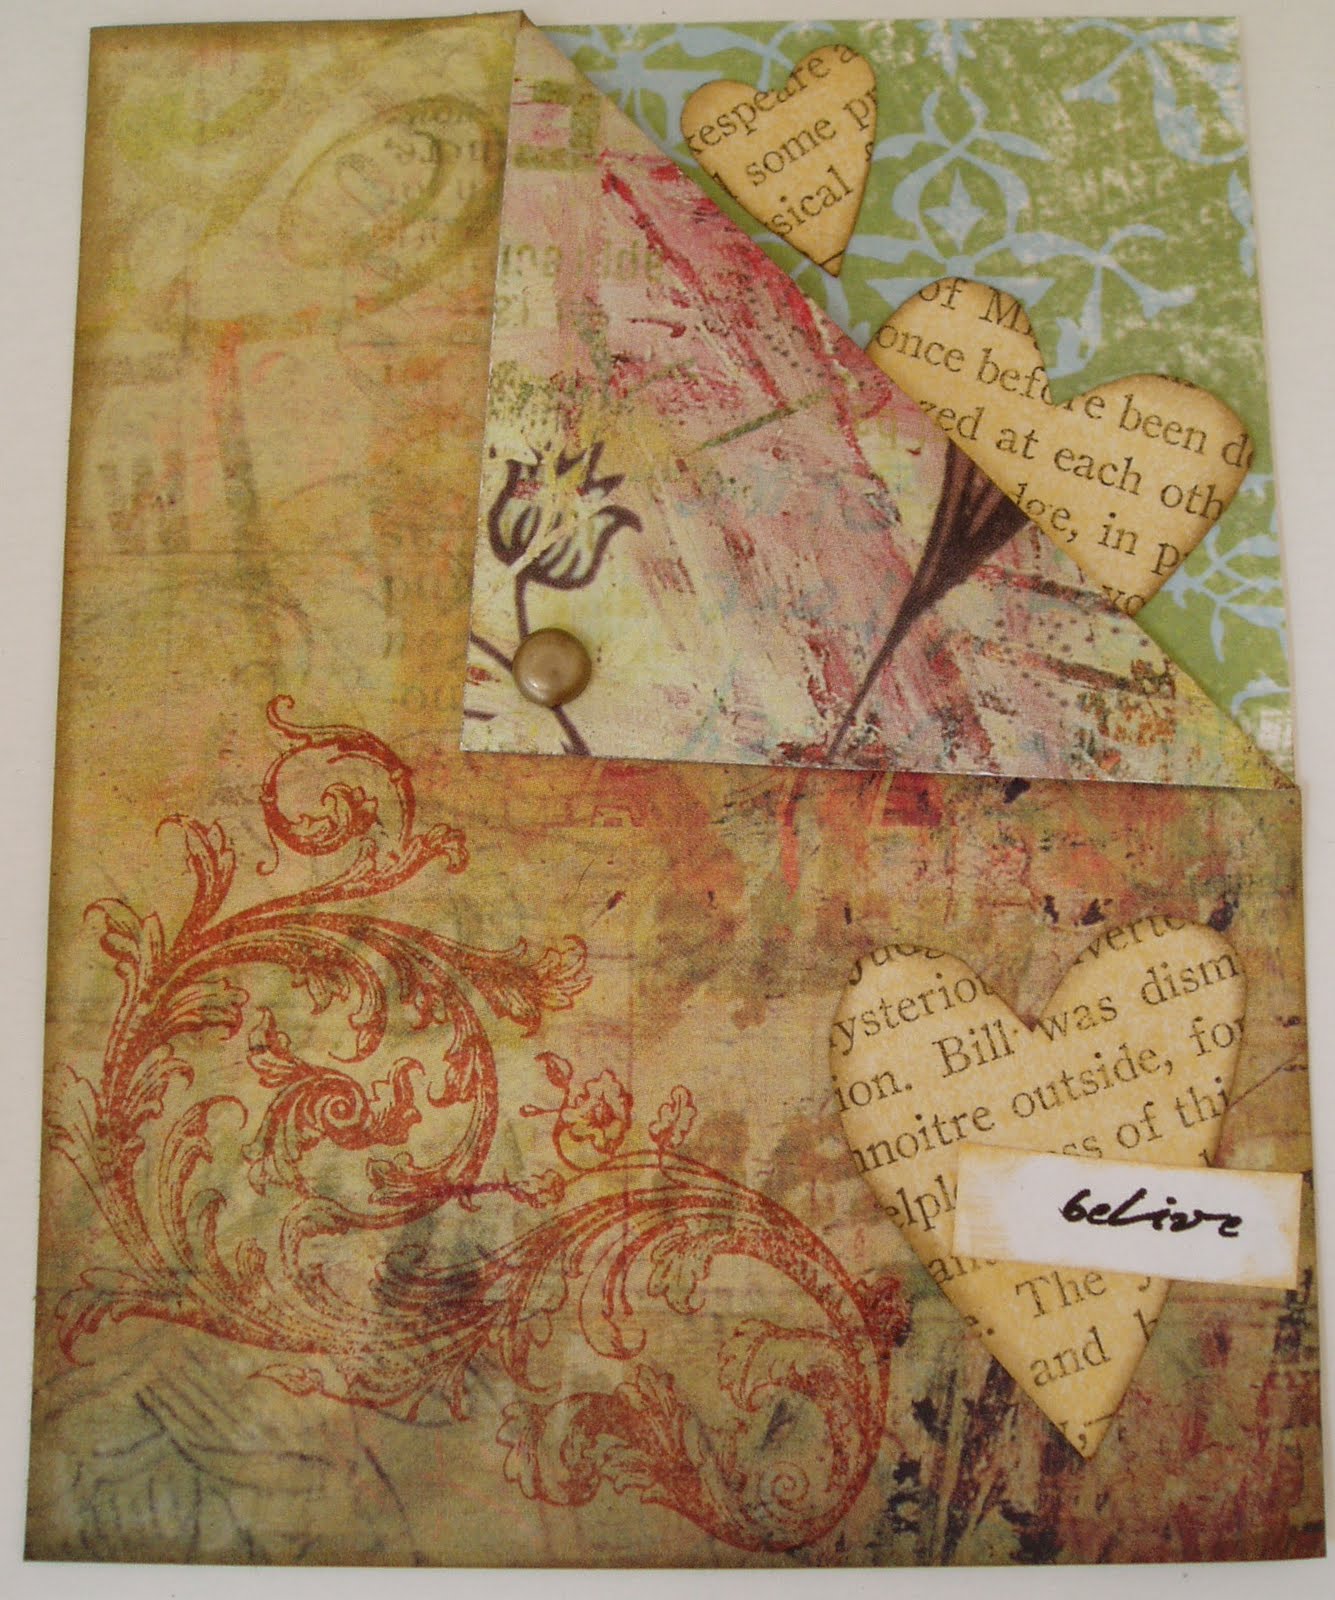
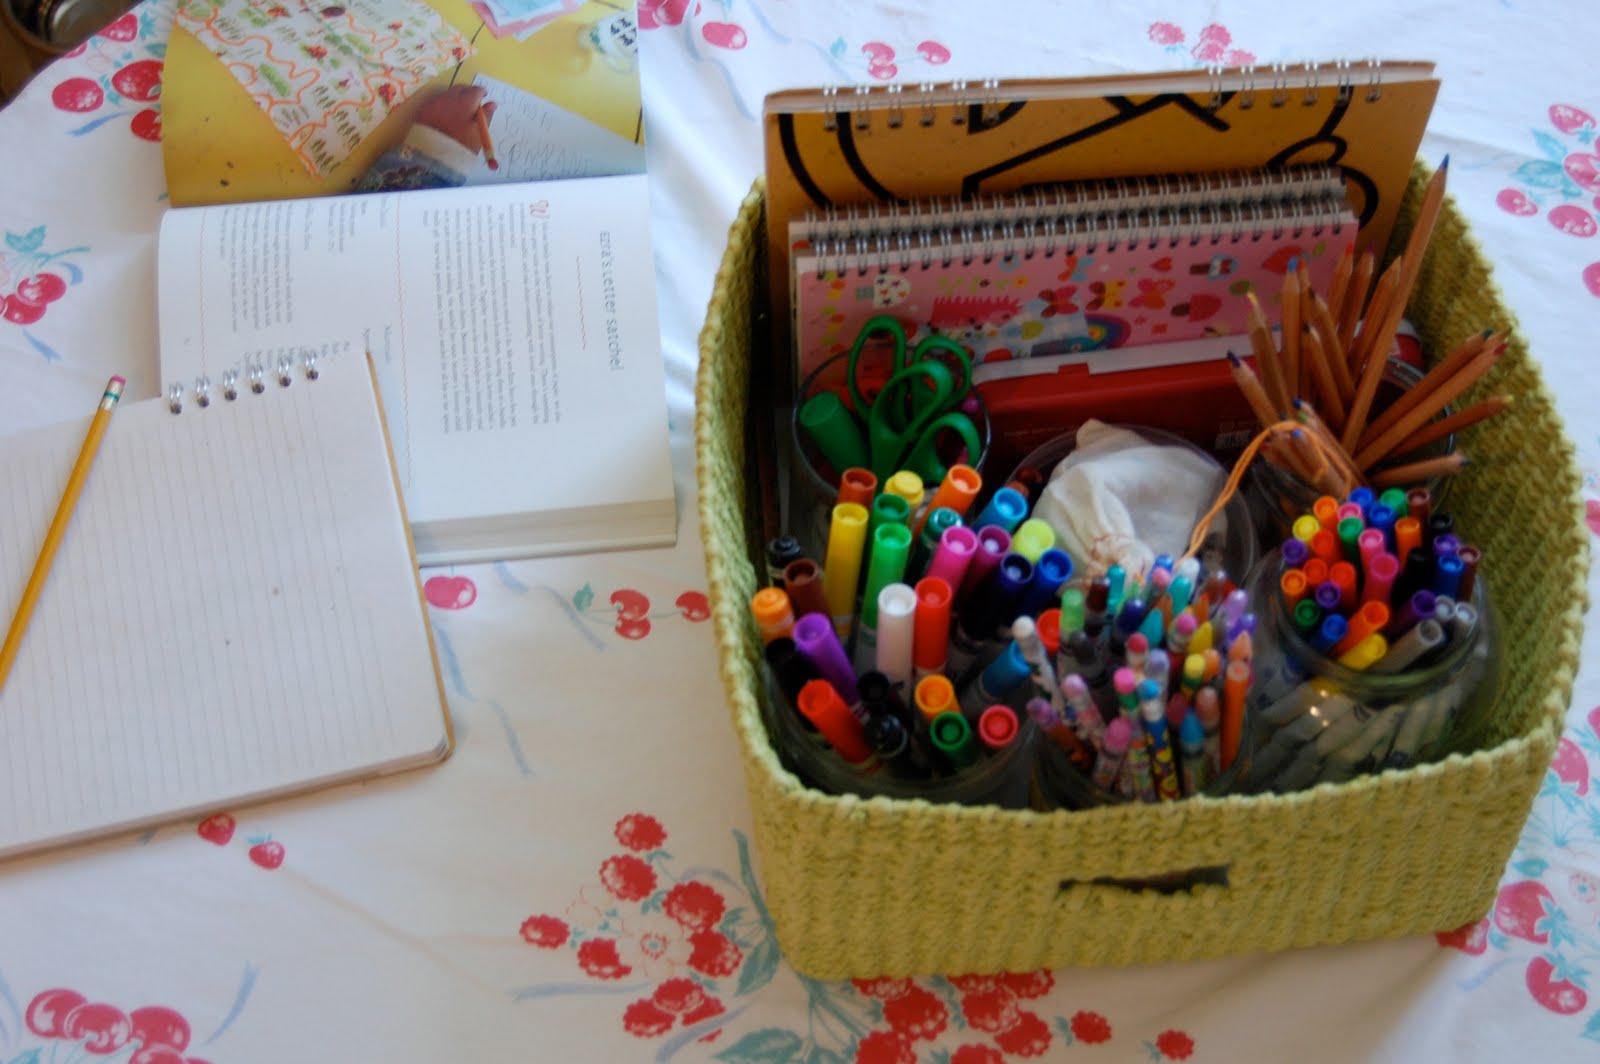
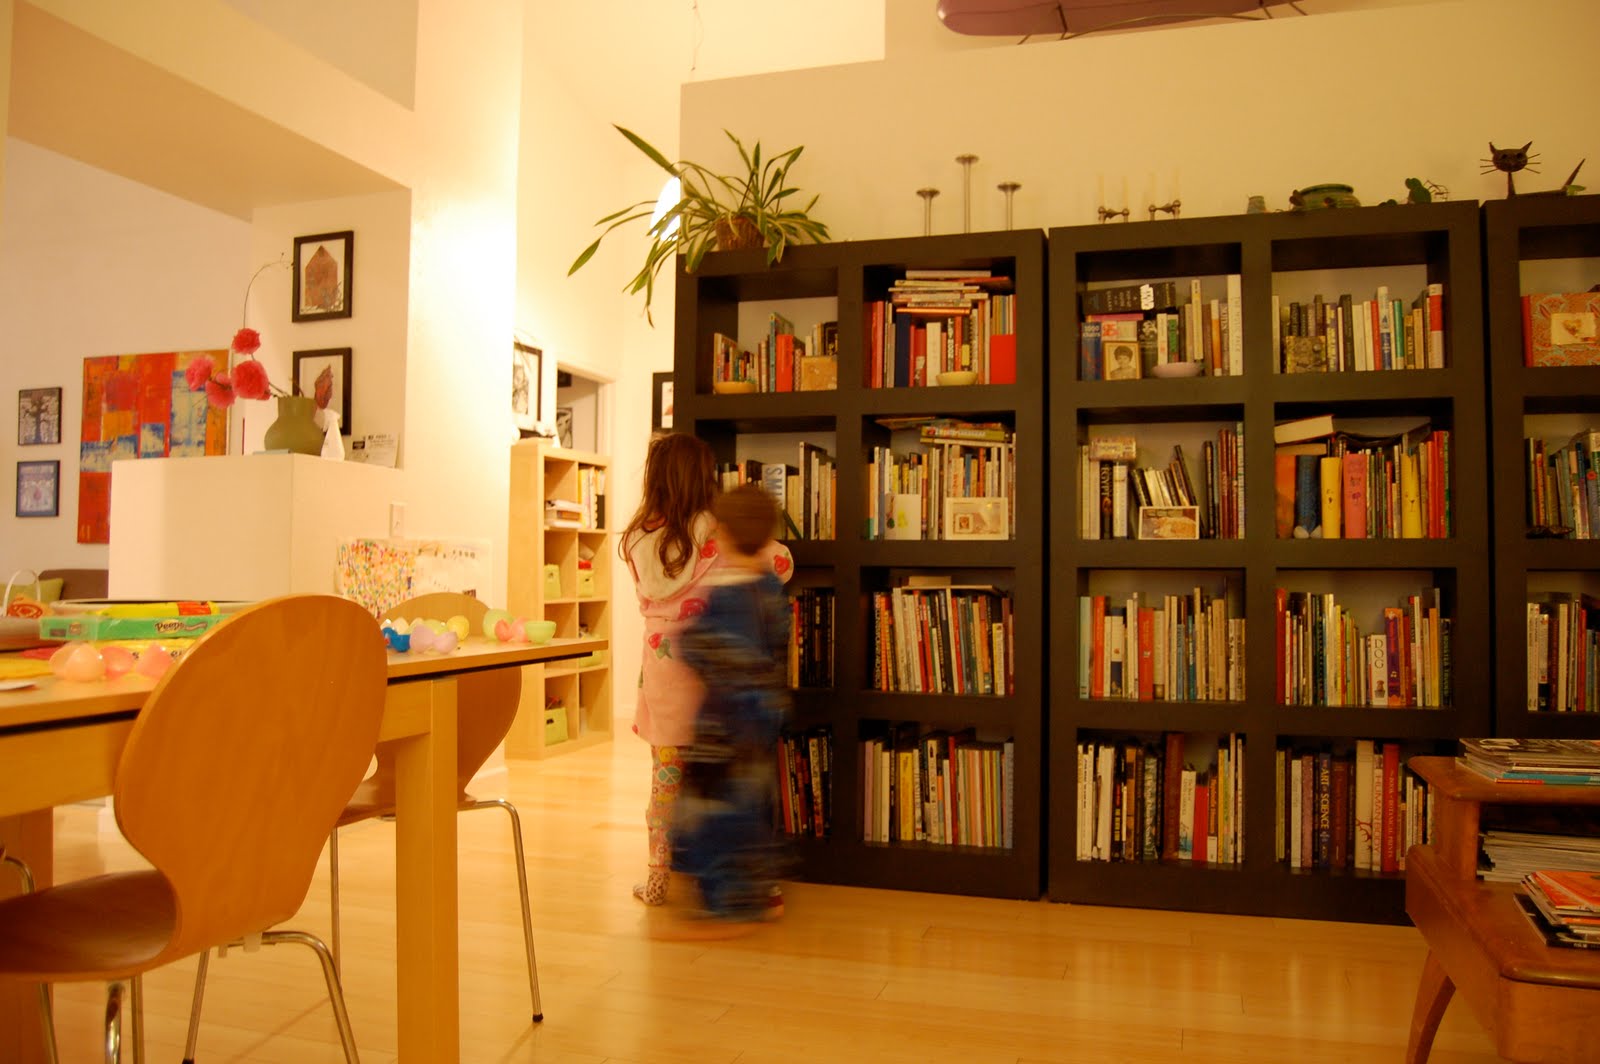
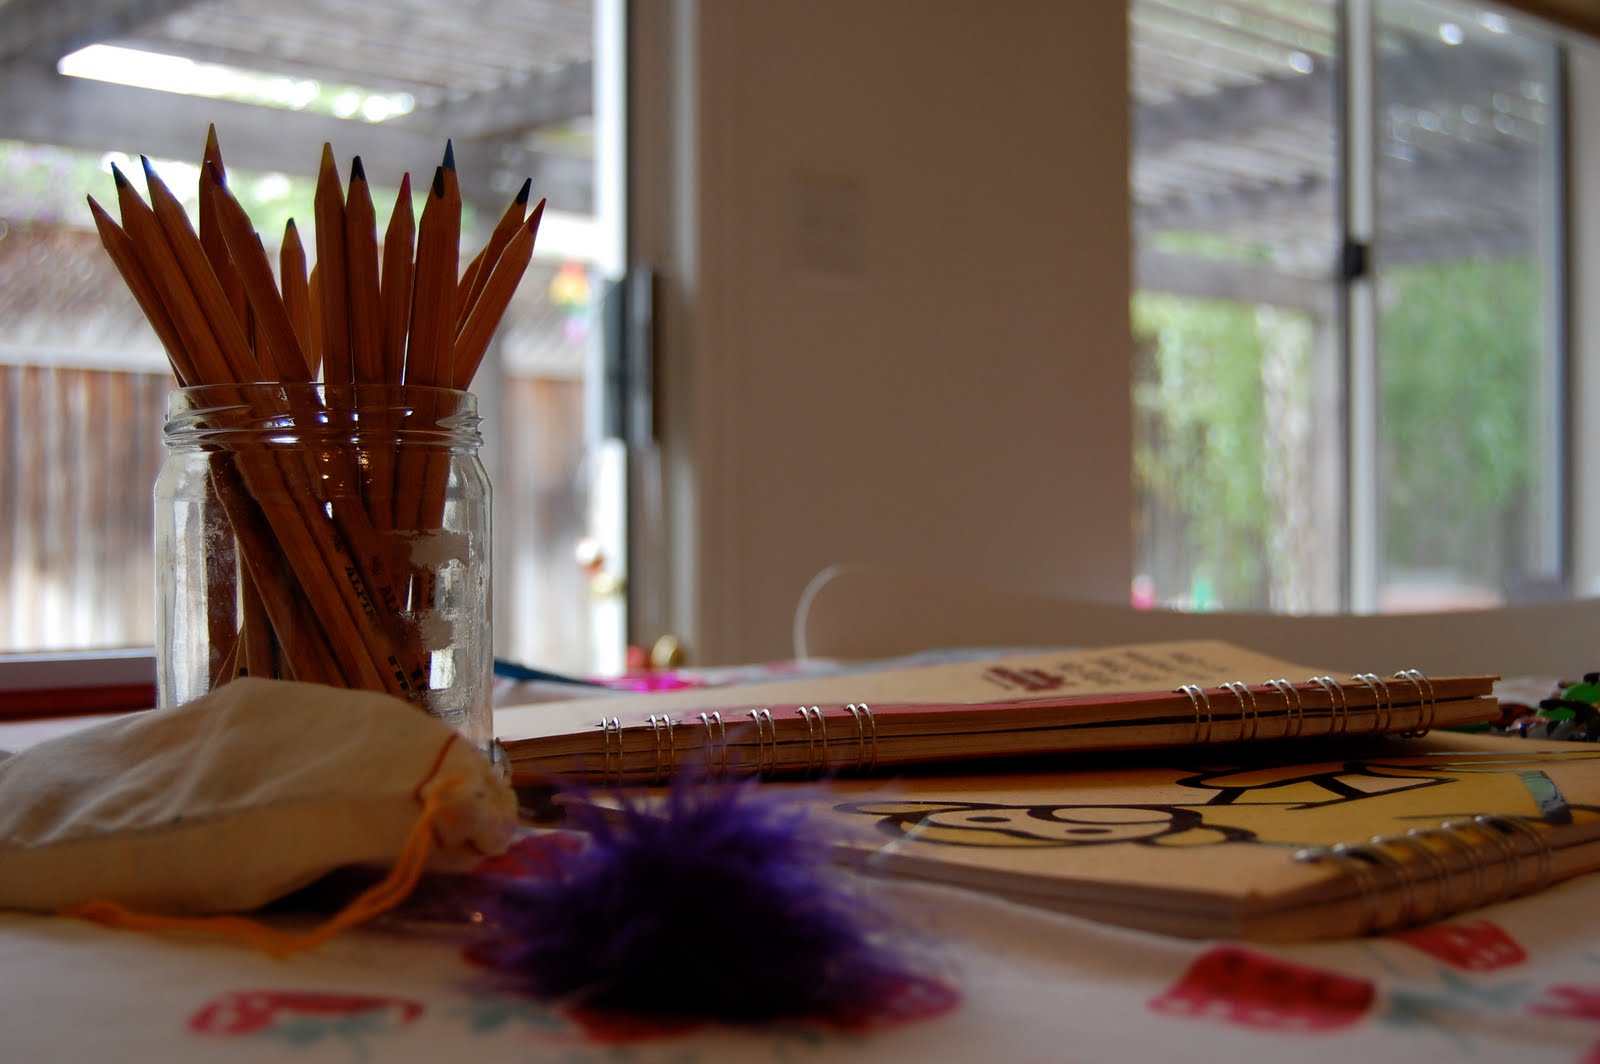
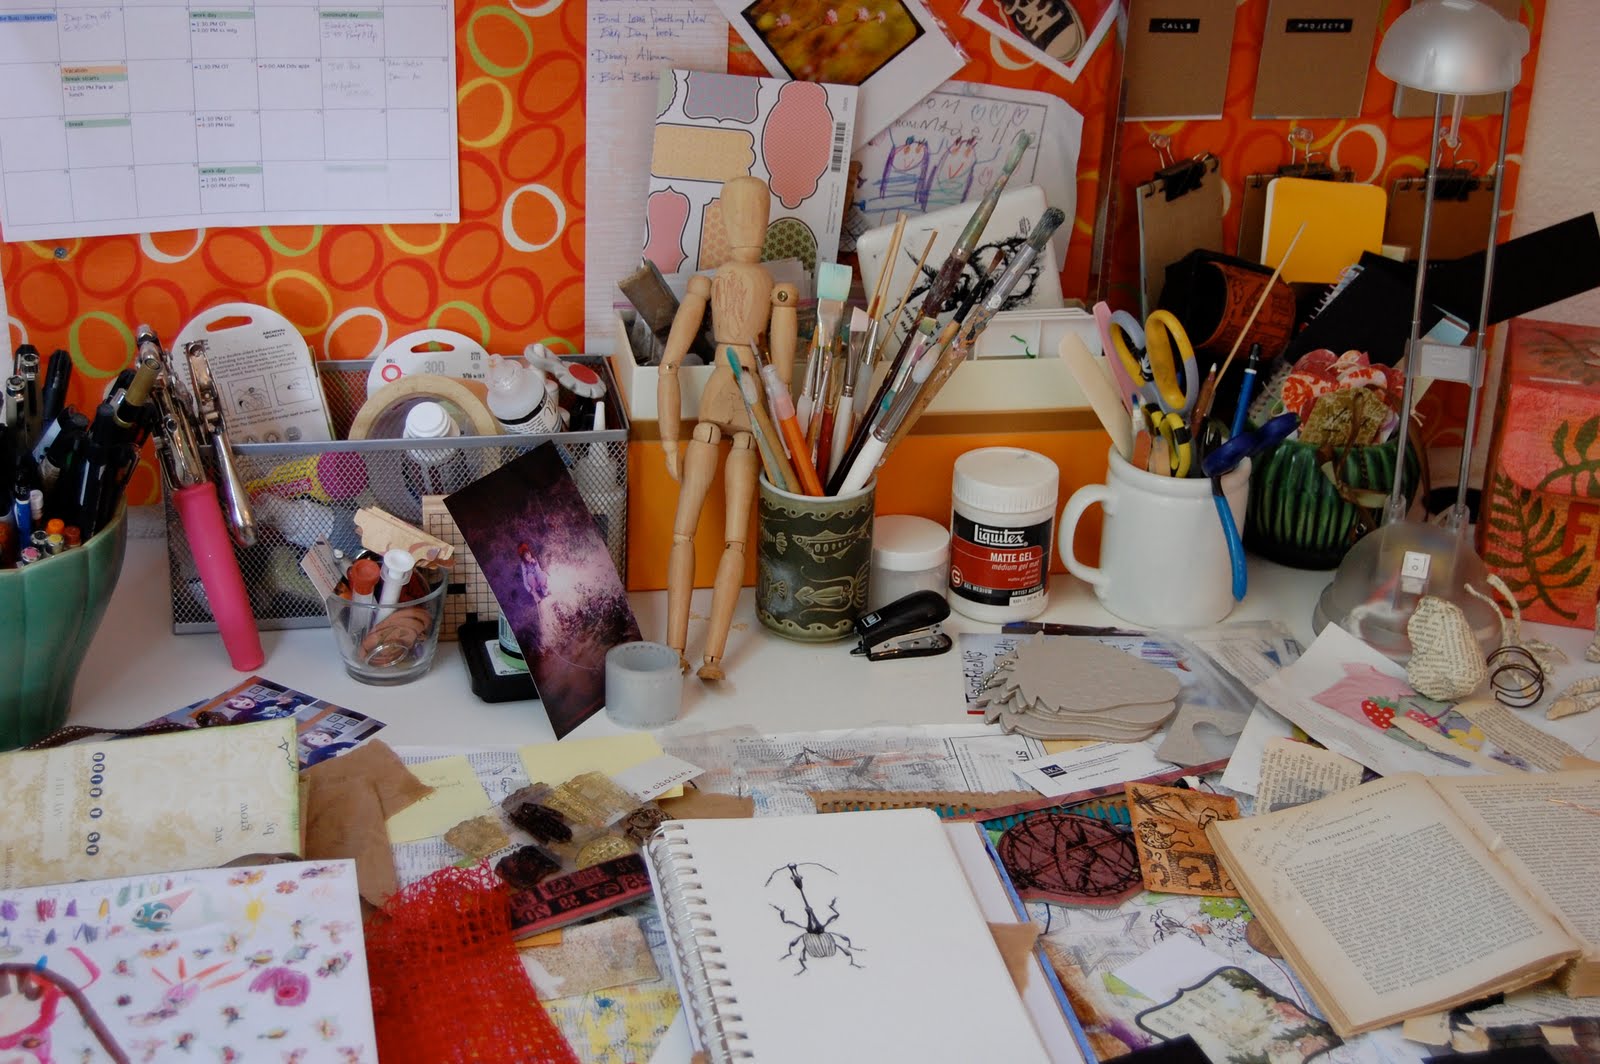
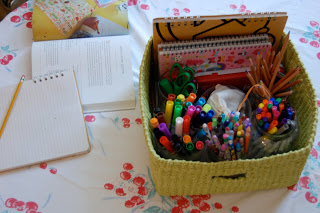
Charlie Brown's black little cloud is still following us around here, with the littlest one still recovering from bronchitis.  Hence, I've spent A LOT of time at home, reorganizing this and re-purposing that. One of my daily frustrations is the kitchen table. It's a very buy place - the kids eat most of their snacks and meals there, do homework, art projects, sometimes the laptop ends up there, or a pile of current reading material... you get the idea. We always keep a jar of pencils/colored pencils on the table, but since Easter, more art supplies and sketchbooks have decided to roost here as well. However, I love having that stuff out for the kids, because several times a day they drift over to draw a picture or write a card. I think I've finally come up with a solution - the portable art basket. I actually have four of these baskets in the kid's craft supply cabinet, filled to the top with paper, crayons, markers, glitter glue and such. Inside the tabletop basket is a curated selection of those supplies, organized by recycled jars, and space left over for sketch books and journals. It has become the permanent centerpiece, and when it's time to eat, I can just set the basket on the counter. No rocket science, I know, but I think I've finally found a solution for us that encourages creativity while keeping the table tidy.

The book you see is Amanda Soule's Handmade Home. Soule Mama, her blog, is my daily moment of Zen. I truly love it. I'm half way through the book and really enjoying it. To be honest, none of the projects are earth shattering or complicated, but they are not meant to be. Like her blog and her life, they are simple, and filled with meaning. One of the projects we will make for the summer is Meg's Art Tray. Yes, it's just a decoupaged tray, nothing new in that, but the twist is, she uses her kids' artwork to decorate it, and then they are used as portable drawing tables. I love the idea of using child's artwork, and having trays to take outside in the summer while we draw in our nature journals, well, that's just perfect.


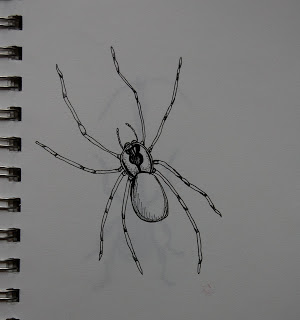
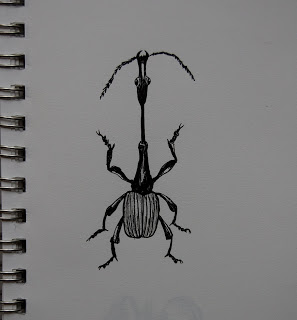
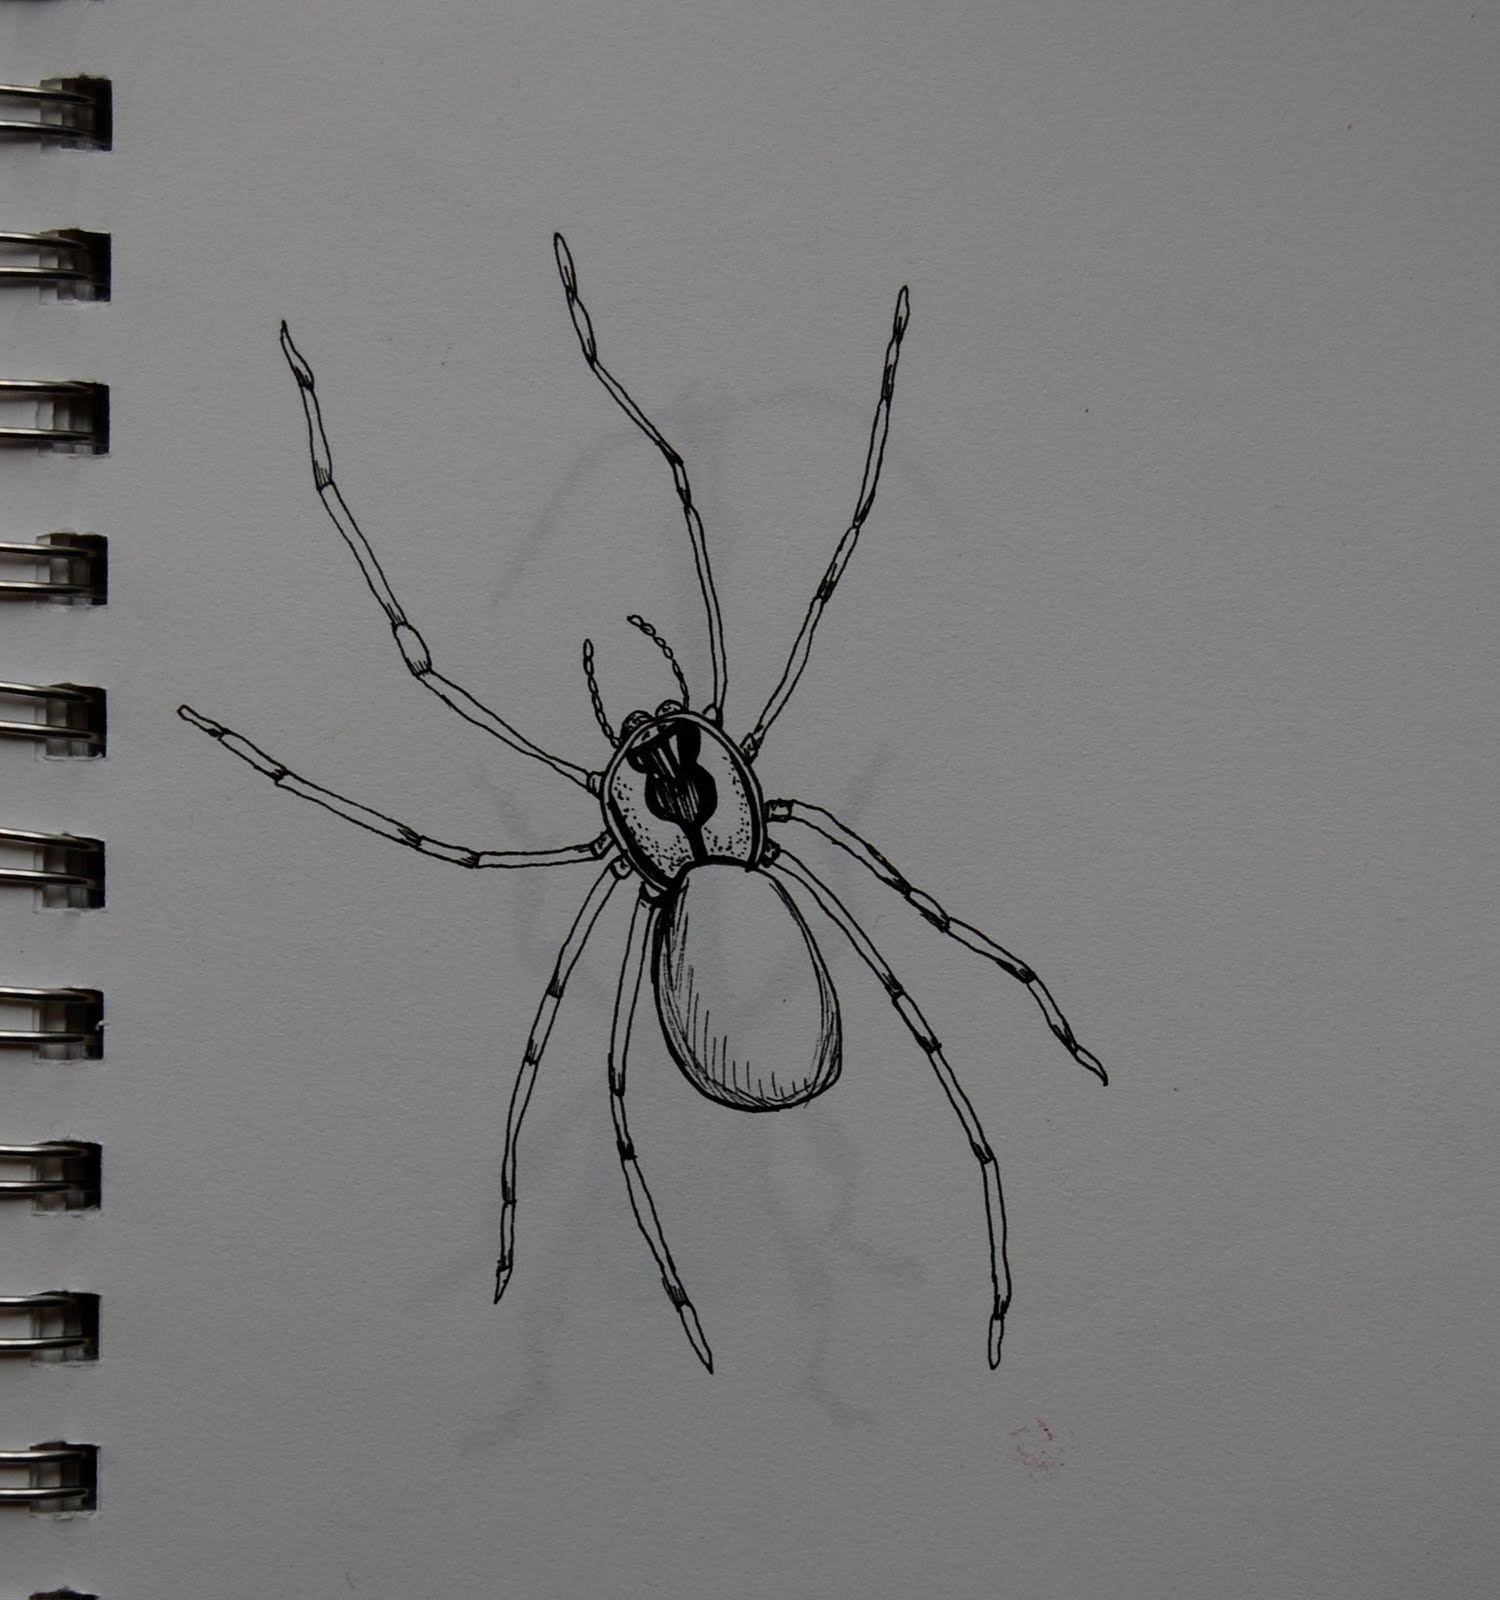
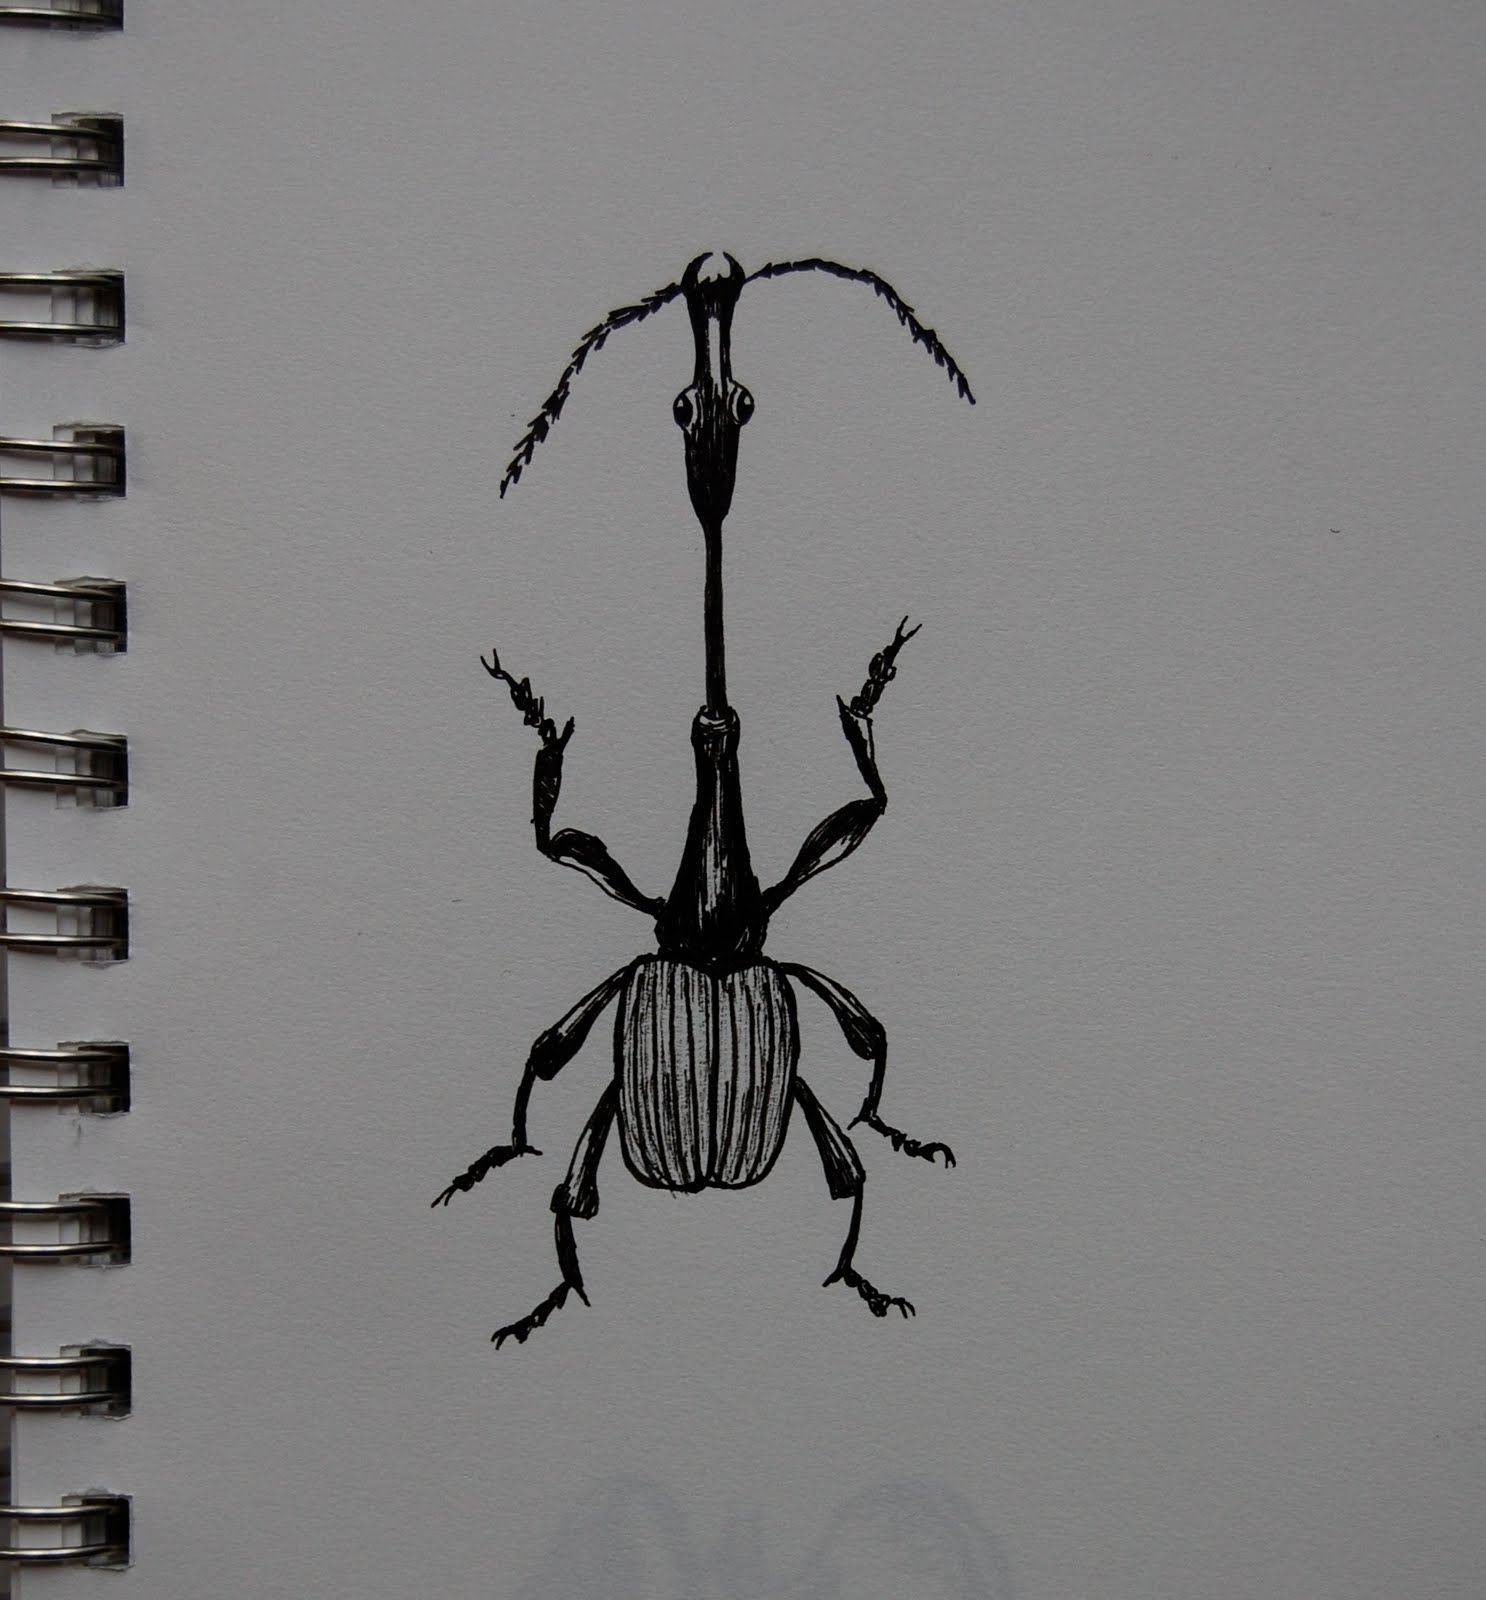
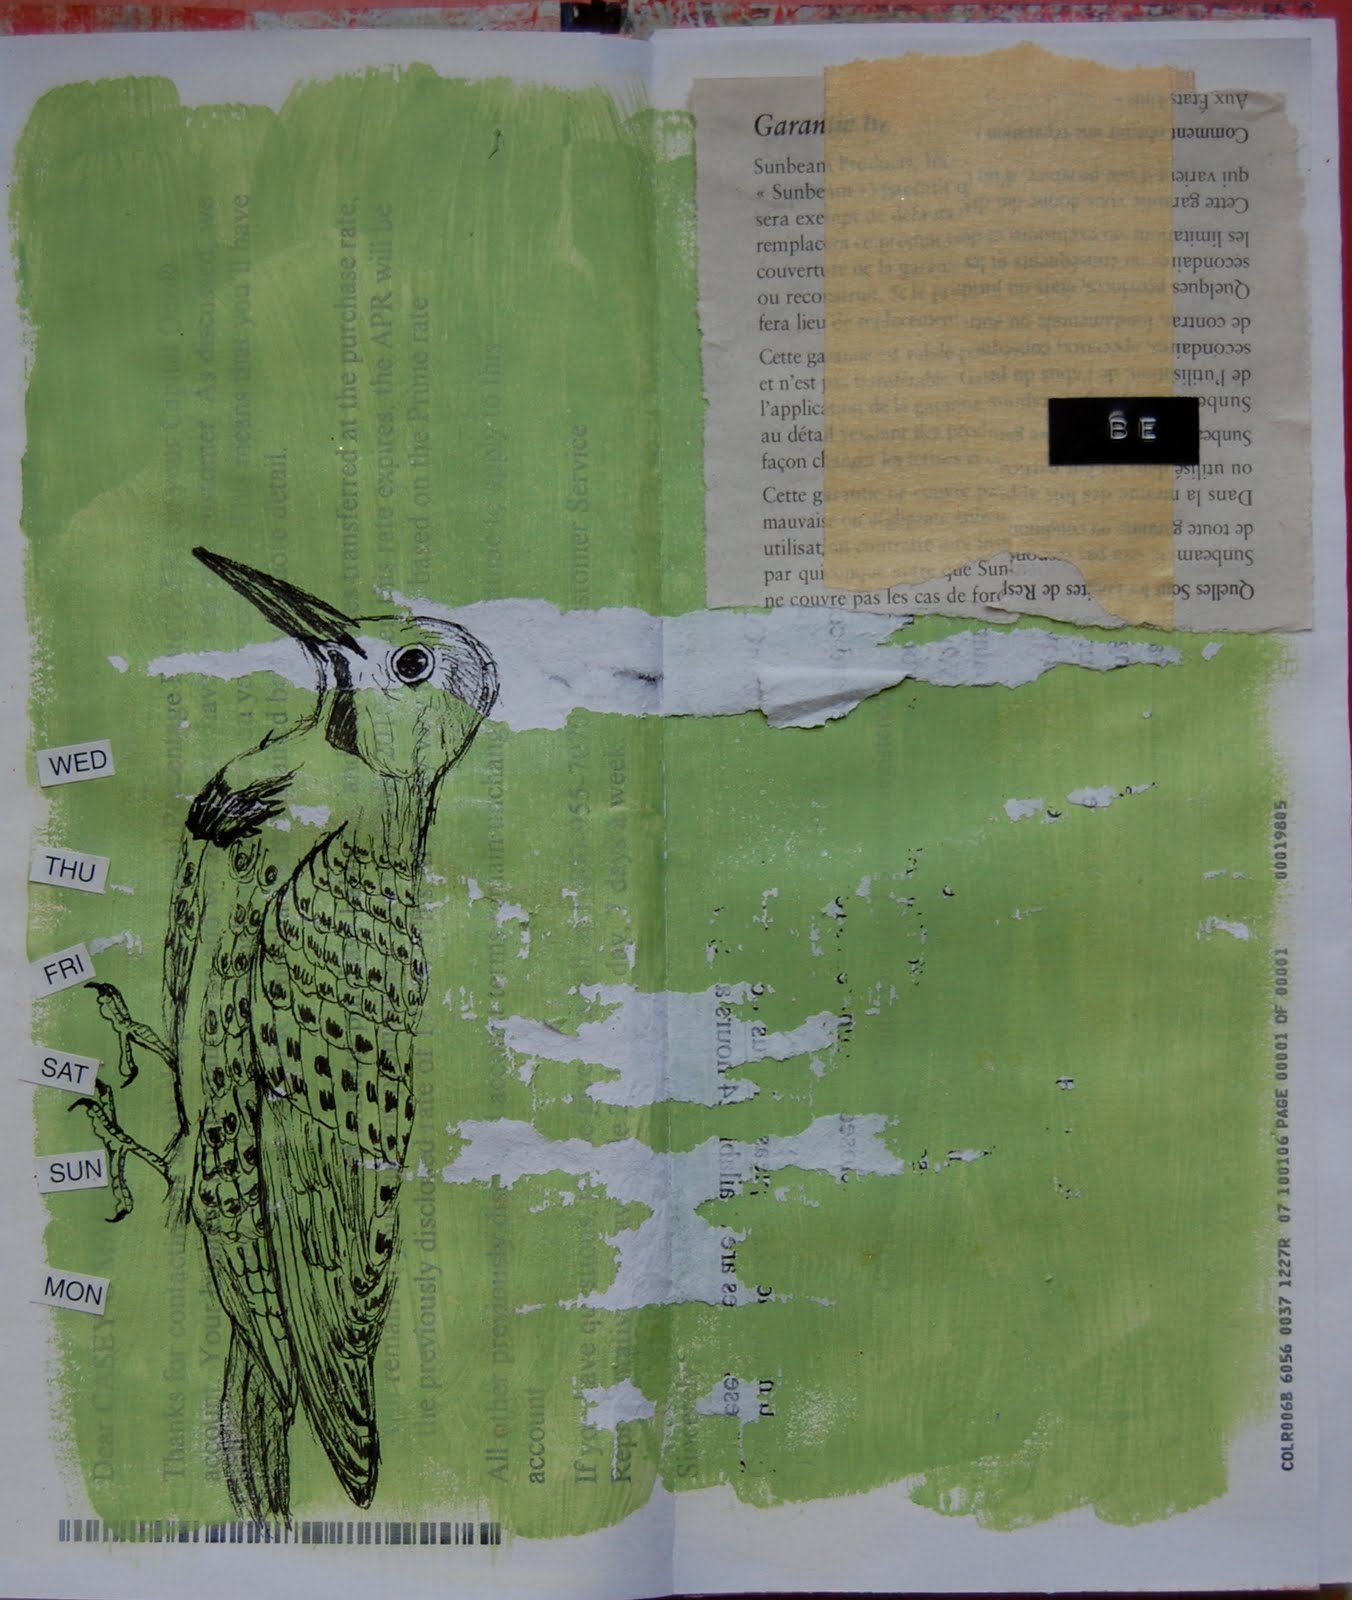
And speaking of drawing, here a two from the sketchbook. I haven't had much time for it lately, but it's back to bugs again, one of my favorite subjects. I can't say I'm as fond of them face to face, but I do love to draw them. They are almost like aliens in appearance, so odd when you inspect them up close. How I do love odd things.

Monday, April 12, 2010

Plastic Bag Card Tutorial

Despite my best intentions of always having a reusable bag with me, there are times when I forget, and I end up with another pile of plastic bags.  Since I've made a cute little scrap fabric lint bag for the laundry (that tutorial next week), I don't need them as trash bags anymore. What's a girl to do? Make cards with them, of course!

You will need:
Ranger alcohol ink, blending solution,  plastic bag, cardstock, stamps, archival ink (or Staz-On)


Directions: Drop a few colors of alcohol ink on the plastic (note: regular ink will NOT work. Alcohol ink is made for non-porous serfaces such as plastic and metal).

  Fold plastic over to sandwhich ink and spread with your hand.

Open and let dry. You can crinkle the plastic before applying the ink for a more distressed look.


Now the real fun begins. You can use the plastic as a background for cards or scrapbook pages. The colored plastic is semi-translucent, so here I glued it over a piece of patterned scrapbook paper using gel medium. Alternatively, you could wrap it around a piece of cardstock and tape it securely on the back. Although you can melt plastic bags, I try to avoid using heat with plastic, as it releases those nasty toxins. I finished the card with two of my stamped figures cut from cardstock, a painted cardboard heart and a chipboard accent. You can stamp directly on the plastic using Archival ink or Staz-On. Several cards can be created from just one plastic bag! Junkmail art journals, plastic bag cards, and next week a bag made from sewing scraps... I think discards are becoming my favorite art supply!


Thursday, April 8, 2010

Pizza Fridays


Pizza Fridays have been a long standing tradition in our house. When we went gluten free, I didn't know if that tradition would continue. Premade GF crusts are tasteless, I wasn't impressed with the mixes, so I have been experimenting  with making my own. I used to make the regular dough, and quite honestly, GF dough is actually easier! This is our favorite recipe so far, which is based on the recipe on the back of the Bob's Red Mill bean flour package.

For an extra large thin crust pizza:

2 Tbs yeast
2/3 cup bean flour
1/3 cup sorghum flour
1/3 cup brown rice flour
1 cup tapioca flour
4 Tbs dry milk
4 tsp xanthan gum
1 tsp salt
1 envelope unflavored gelatin
1 tsp garlic powder
1 tsp basil
1 tsp oregano
1 tsp onion powder
1 1/3 cup warm water
1 tsp sugar
2 tsp olive oil
2 tsp cider vinegar

In a mixing bowl, combine yeast through onion powder, whisking to combine. Add water, oil sugar and cider, and beat on high for 3 minutes. Spoon into pizza pan, sprinkle with four, and smooth to edges. Pre-bake at 375 for 10 minutes. Add light sauce, cheese and toppings, then bake for 10-12 more minutes.

Enjoy with GF beer, of course!

Tuesday, April 6, 2010

Around The House

Easter morning (early!) was a bit of a blur...

I'm glad the Easter Bunny shops at Stubby Pencil Studio, because the kids got some great sketchbooks, banana paper notebooks and art supplies in their baskets.

Molly finally got the best of BoBo Doggy

I finally got around to putting together a few owls from Mibo

And this will need to get cleaned up before the Scrap For A Cure online crop this weekend. Check out their boards and join in. Lots of good fun and prizes!

Friday, April 2, 2010