
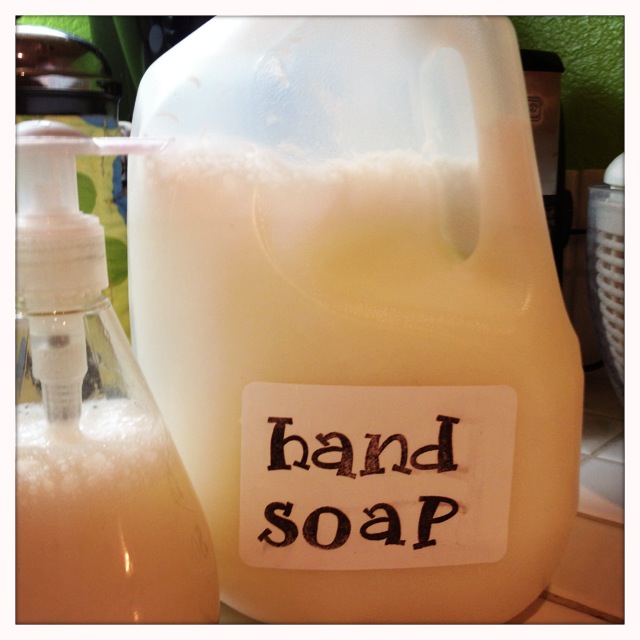
I had pinned this tutorial link from A Farmer's Nest awhile back, but never got around to making it. (Somehow I find plenty of time to pin things! This was on my Great Ideas board.) Now that I am officially a SAHM (stay at home mom), I decided the $5.00 for a gallon of soap she listed sounded much better than shelling out the $3.99 for a small bottle of natural soap at the store. Fortunately, I had all of the ingredients at home - distilled water, a bar of soap, and glycerine. Yes, I have a quart of glycerine in my cupboard; I use it for tinctures and bubble projects with the kids. I buy this brand from Amazon. Anywho... I followed her directions exactly, but ended up with runny soap. This may be due to the fact that I used Dr. Bronner's soap, which is a soft bar soap to begin with and probably higher in water content. However, after browsing other recipes on the internet and finding that they used a much lower water to soap ratio, I decided to buy a second bar and add it in. I simply reheated the soap with the new shavings, and let it cool. The cooled soap looked more like the pictures in her tutorial, but when I blended it I found that it was thicker than before, but still thinner than commercial soap. It is more of the "snot"consistency she described. That being said, it works just fine. It pumps out of my recycled containers without squirting everywhere (like Dr. Bronner's liquid soap does) and it doesn't clog up the spout. Even using two bars of soap, you can't beat the savings! I filled two pumps and still have almost a full gallon in the jug! And since had everything but the second bar of soap on hand, I spent a grand total of $4.45.
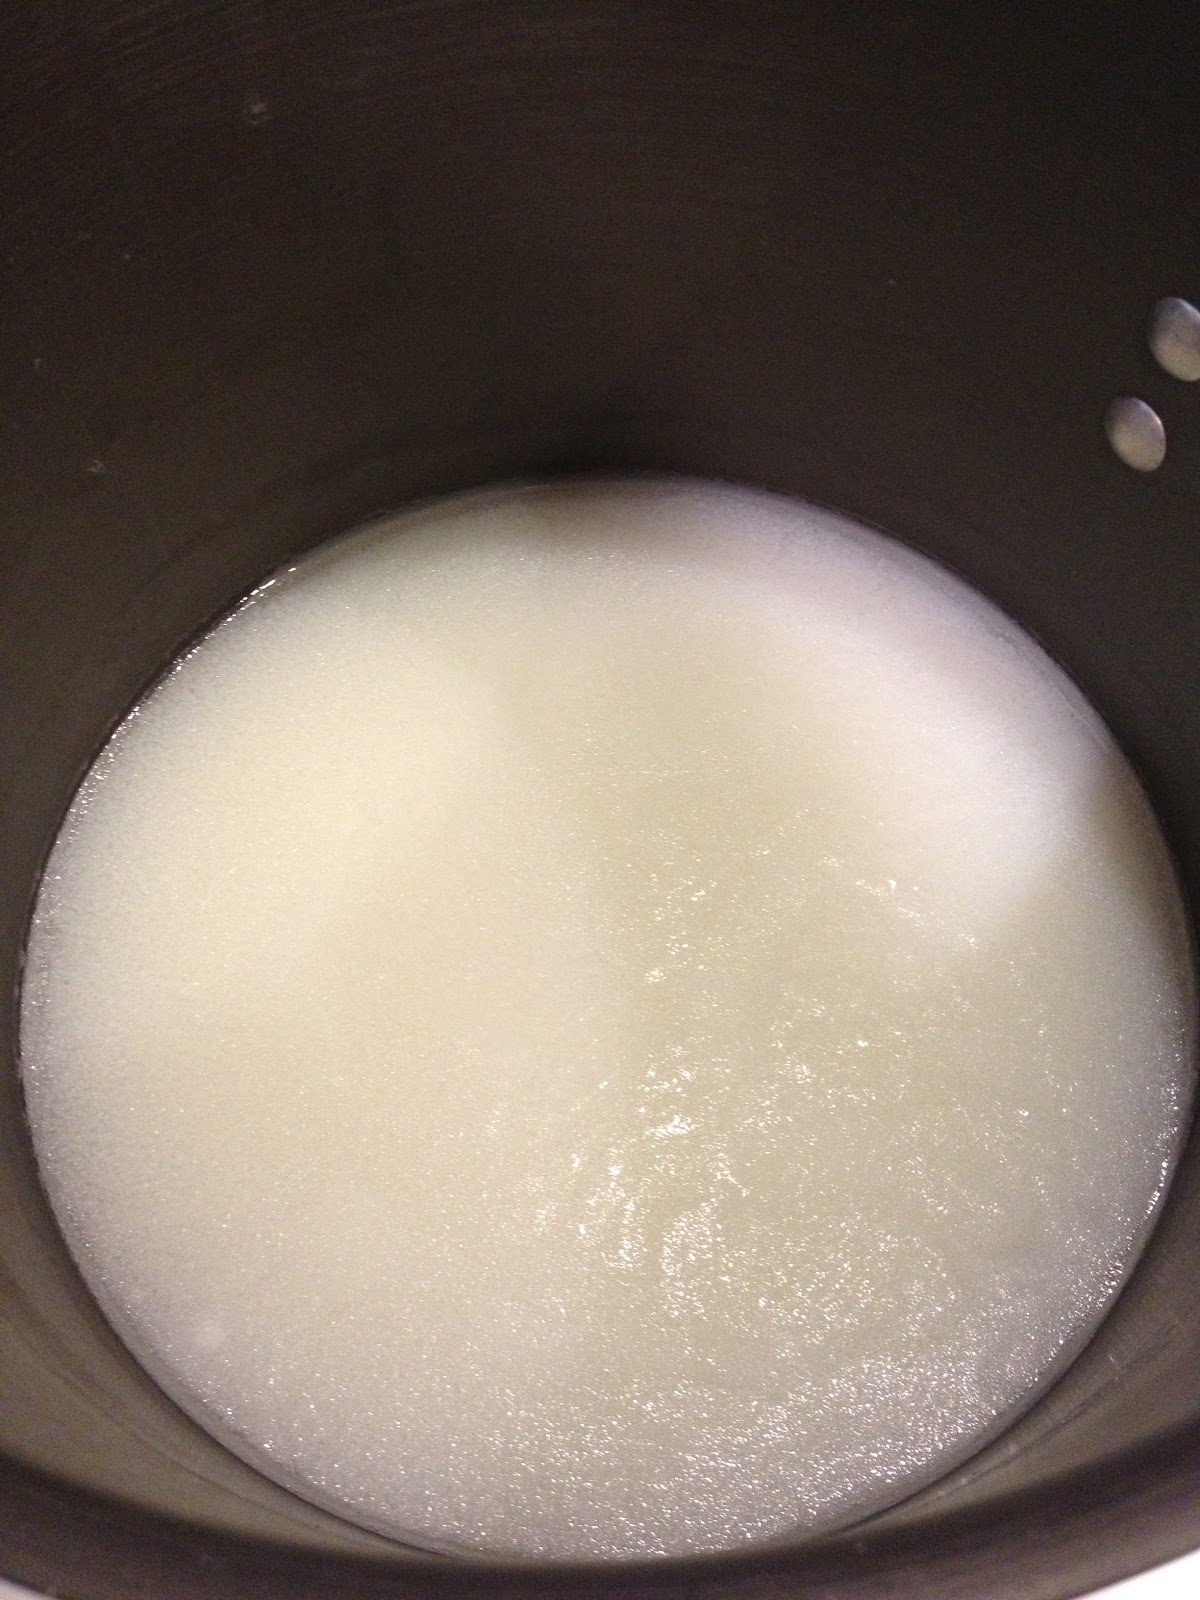 |
| The thickened soap after the second bar was added |
Here are a few of my suggestions if you are thinking of trying this at home:
1. Use a food processor to grate the soap. It literally took two seconds, and cleanup is a breeze!
2. If you are using a soft, natural soap like Dr. Bronner's or one with lots of conditioners added (go for the natural!), use two bars.
3. Make it in the morning or afternoon and let it cool OVERNIGHT. I let the first batch cool for 10 hours and bottled it, then noticed the next morning that it had thickened a little more. I let the second batch cool overnight and it seemed to "set" better.
4. Use an immersion blender to mix the cooled soap, if you have one. It takes seconds!
5. Next time I might add some lavender essential oil to kick up the anti-microbial properties, and maybe some vitamin E, too.
6. Some recipes add a little honey. Why? I don't know, but since I saw so many with honey, it might be worth looking into.
This is a FAST project. The actual making of the soap, if you use a food processor, takes about ten minutes. The rest is just cooling time. I don't think I will buy hand soap again!
Have you ever made liquid hand soap? Do you have any tips to share?
Update 4/10/13: The soap continued to thicken over the next couple of days. By the time I needed to refill one container, it was so thick I had to thin it with water. I had one container of the original soap, which has since thickened to a good consistency. So next time, I think one bar and an extra day of thickening would make a perfect soap!