For the last page:
Page Four Topic:
Another sentence starter’ “By the end of 2009 I hope to feel _____________”
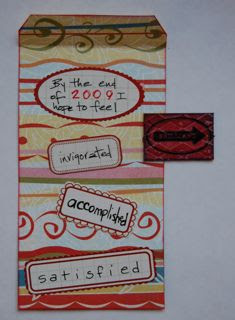
How I made my page:
Basic Grey “Cupcake” line, with red inked edges. Since this is not a double sided paper, I stamped the back with a pattern so it would look finished when the pages were flipped. I hand wrote my text on a variety of Fontwerks stickers.
The Tab:
I colored a rectangular piece of Grungeboard with red ink, and edged it with blue oil pastel. The rub-on arrow is from 7Gypsies.
For the back cover, you can use another large tag if you have one, or make your own from cardstock, as I did here.
The Back Cover:
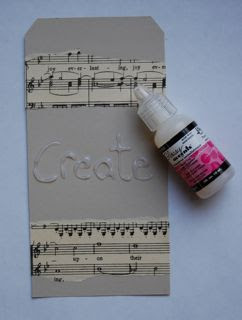
Step One:
Glue torn strips of sheet music to the top and bottom of tag. Using Glossy Accents, Write your word in the center. Let dry COMPLETELY (I left mine over night).
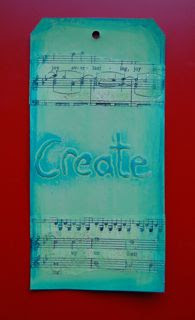
Step Two:
Paint the tag with acrylics, and wipe some away with a damp paper towel or baby wipe.
Lightly rub the edges and word with an oil pastel, and blend with your finger or a paper towel. You could also use a crayon for a slightly different effect.
Rub a little Stickles or glitter glue over the sheet music for shine.
Assembling the book:
You can attach your pages using a large brad or eyelet, but if you have the MDW kit, you may want to try your hand at making a custom closure. You’ll need the small metal “frame” that was in the kit, alcohol ink, and number stickers or rub-ons.
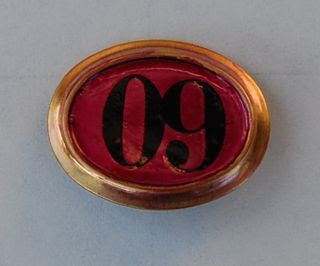
Color the inside of the frame with alcohol ink (I just put a drop in the center). Add the year with rub-ons or stickers. Fill the center with Glossy Accents and let dry. When frame is dry, attach to the head of a large brad with a glue dot. Thread through the top hole of the tags and secure.
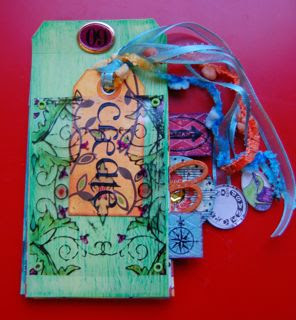
Your book is now complete! Keep it on your desk, scrap space, or wherever you’ll see it on a regular basis. Remember, your word is your focus for your year, so keep it in a prominent place!
I hope you enjoyed this little mini-class. Please feel free to leave a comment or suggestion for improvement. I am planning on running more online classes, through my blog and other sites, and your comments would be helpful. Thanks so much for playing along this week, and go CREATE!
