
I had one awful vinyl cover still hanging on behind the passenger seat. The other had torn apart last year, and this last one was in bad shape as well. Besides, it was made of horrible plastic, and I thought fabric would be ever so much better. Since I needed a material that would hold up to many bouts with tennis shoes, I chose a towel for the main portion, and some cute Ikea fabric to add a little style up top. I already had the fabric, and the towel was $5 at Target, which was enough for both seats. So this project cost me a grand total of five bucks! For two seat protectors for my Honda CRV, I used one bath towel about a half a yard of cotton fabric (although I didn't measure), ribbon and thread. That's it! Here we go:

Step One:
Cut 4 pieces of cotton fabric to serve as the top of your protector. This will basically match the top portion of the back of the driver's or passenger's seat.(I used the old protector as a pattern guide, but you could also just go trace/measure your seats.)

Attach ribbon (or shoe laces) to the tops of TWO of your pieces, pinning it in place. These ribbons will tie your protector to the headrest of the seat to secure it.

Put a second piece ove the first, right sides together. Sew a quarter inch seam around the top and sides, LEAVING THE BOTTOM OPEN.

Turn right side out and press. Turn the bottom under a half an inch all the way around and press.

Cut the bath towel in half horizontally. Take one piece and trim the side to match the width of the topper. You could be good and sew a matching bias tape along this cut side, or you could be lazy like me and zigzag stitch the cut edge. Slip the towel into the bottom opening of the topper and topstitch across (make sure you use the finished edge of the towel as the bottom!)

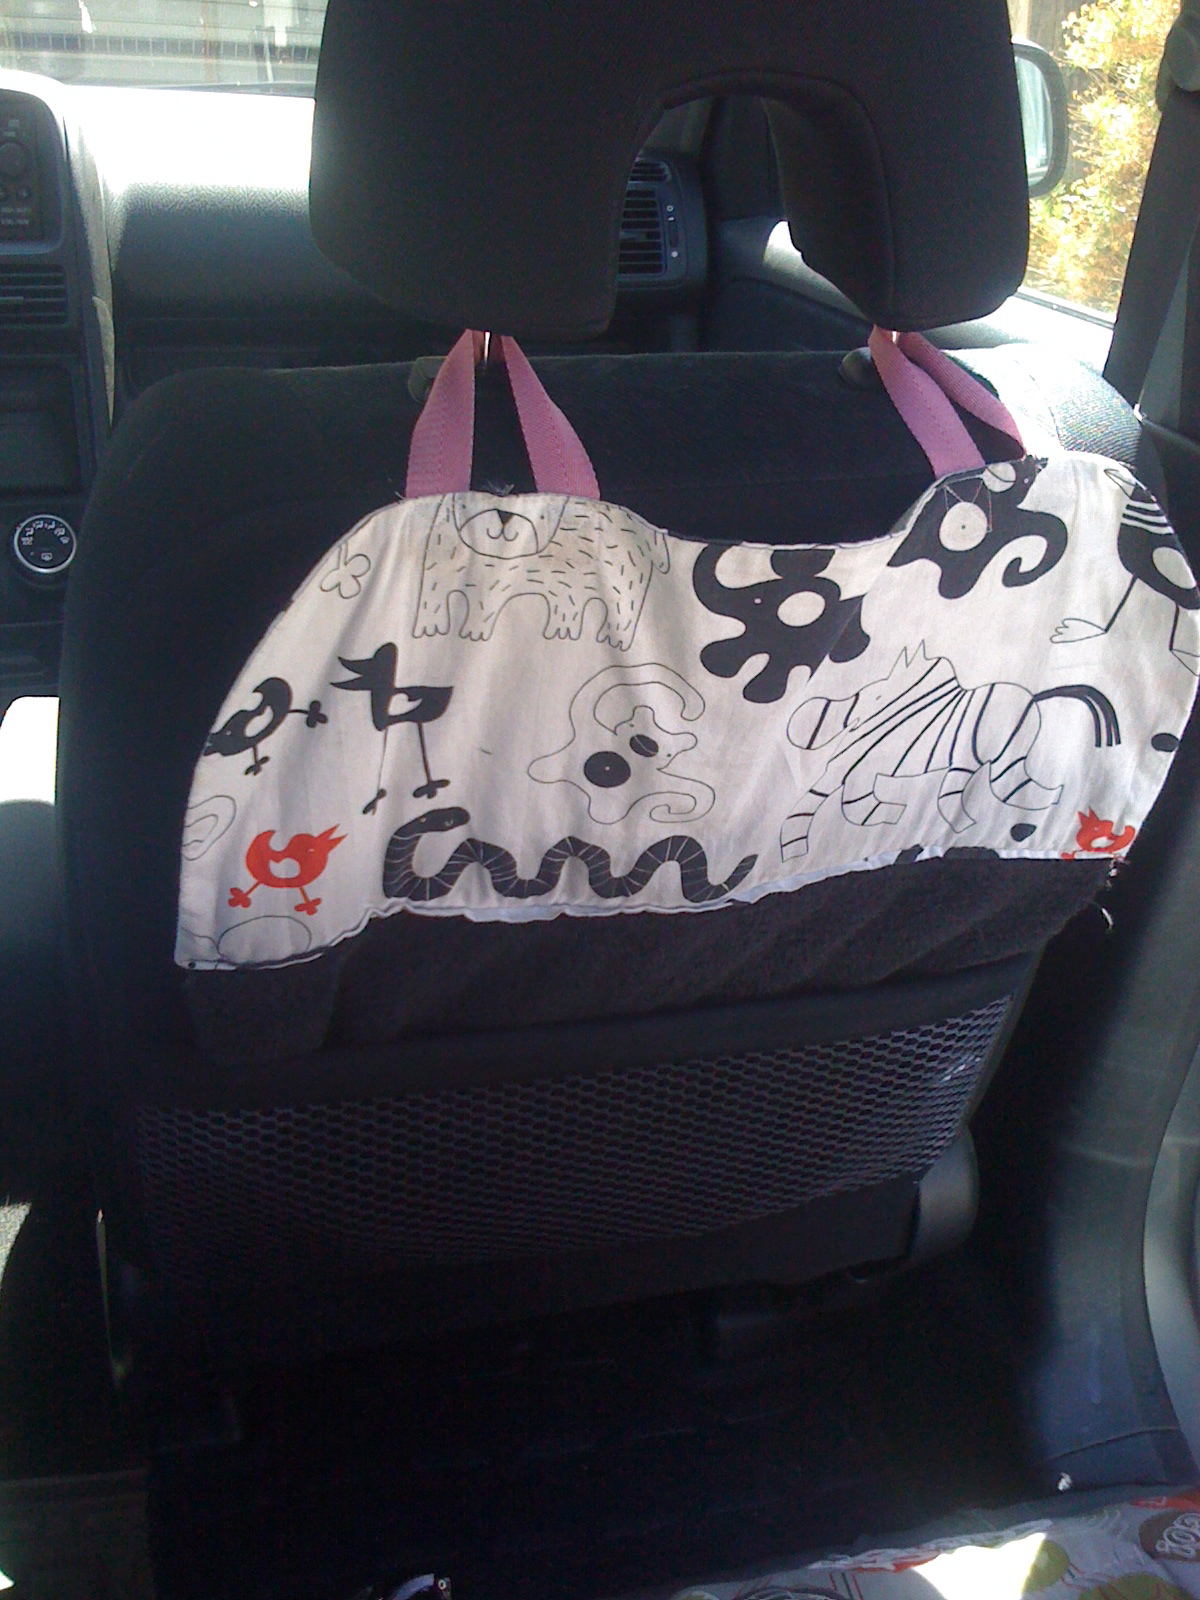
There you have it! Tie the ribbons to the back of your headrest and let the kids kick away! When it gets dirty, you can just throw it in the wash!
Update:
The seat protectors are still going strong, but the ribbons kept coming untied. I removed the ribbons and added twill tape loops, which fit around the head rest poles (remove your headrest, slip loops over the holes, and replace headrest). Problem solved. When I make them again (once the fabric is deemed "too baby", which I'm sure will come) I will add stabilizer to the top fabric, to give it more body. Otherwise, they do their job and still look good!
That is very cute, and I'll brag and say Maya did NOT kick. Whew.
ReplyHi there! Any chance you can post a photo of what it looks like in the car? Thanks!
Reply