Showing posts with label tutorial. Show all posts

Wednesday, July 11, 2012

DIY BooBoo Ice Pack Cover


Whenever anyone gets hurt, no matter what the injury, the first thing my kids run for is an ice pack. Over time, we've lost one and the cover on the other had seen better days. I figured there had to be a way to make your own, and after a quick Goggle search, I found this recipe.

I used the one with rubbing alcohol, and since I had wintergreen, I didn't need to add food coloring (you don't want anyone to mistake it for plain ice!) It works like a charm!
I took a rough measurement by laying some fleece for a warmer side and PUL fabric (which is waterproof, so the sweat from the ice won't go though the fabric) for the cool side, over the ice pack. Quick and dirty folks, since it is going to be draped over cuts and scrapes! You could use cotton for this as well, but the ice will moisten it after a few minutes.
I pinned the fabrics right side together, on three sides, to make a pocket. I didn't even bother trimming the fleece until after I seamed them together.
Trim the seams and cut the corners close to the stitching. Turn right side out.
Pin the open edges under and topstitch closed. Normally, I wouldn't pin PUL to limit the amount of punctures in it, but the ice pack fits below this area.
I added a plastic snap to keep the ice pack in. You could use a sew on snap, button, or velcro as well. I just have an abnormal attachment to my diaper snap setter (and it's fast! You know I love fast).
That's it! I made two, just in case of double injuries:)

Monday, July 9, 2012

Quick T-shirt Nightgown Tutorial

This is my daughter's favorite type of nightgown, and lucky for me, it's quick to make! It's also a great scrap buster and a fast repurposing of an old t-shirt. What more could you ask for?

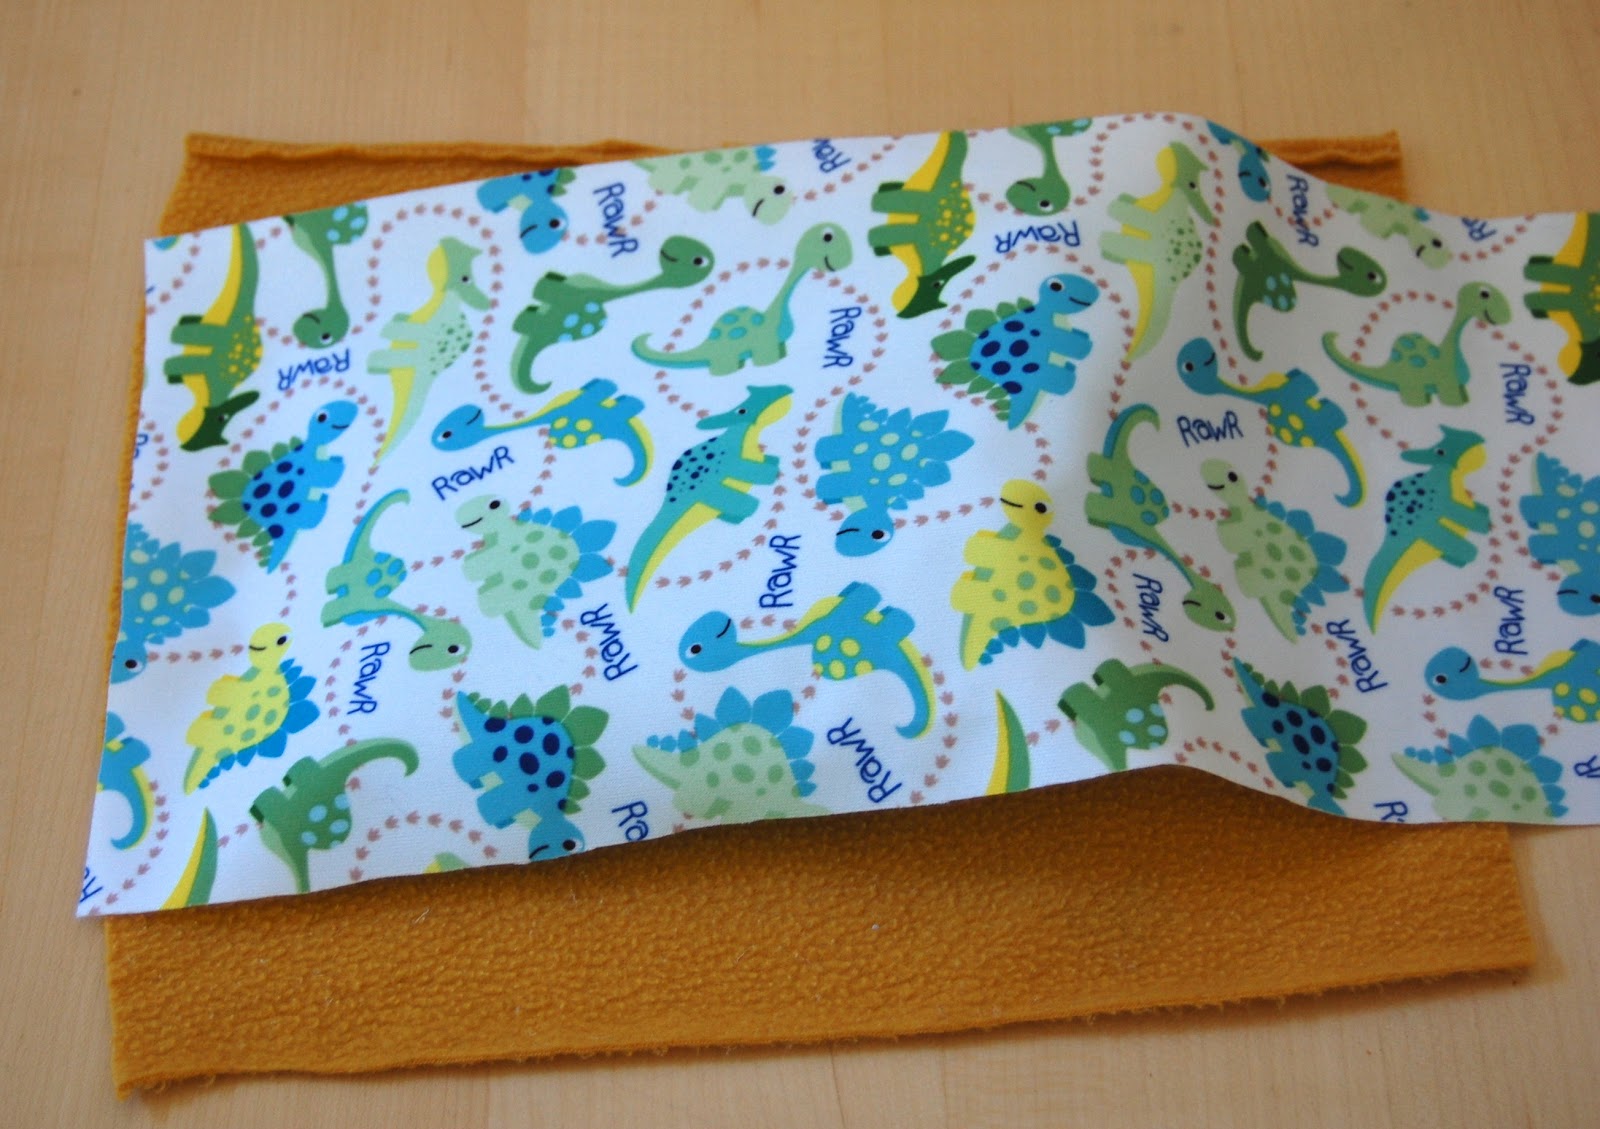
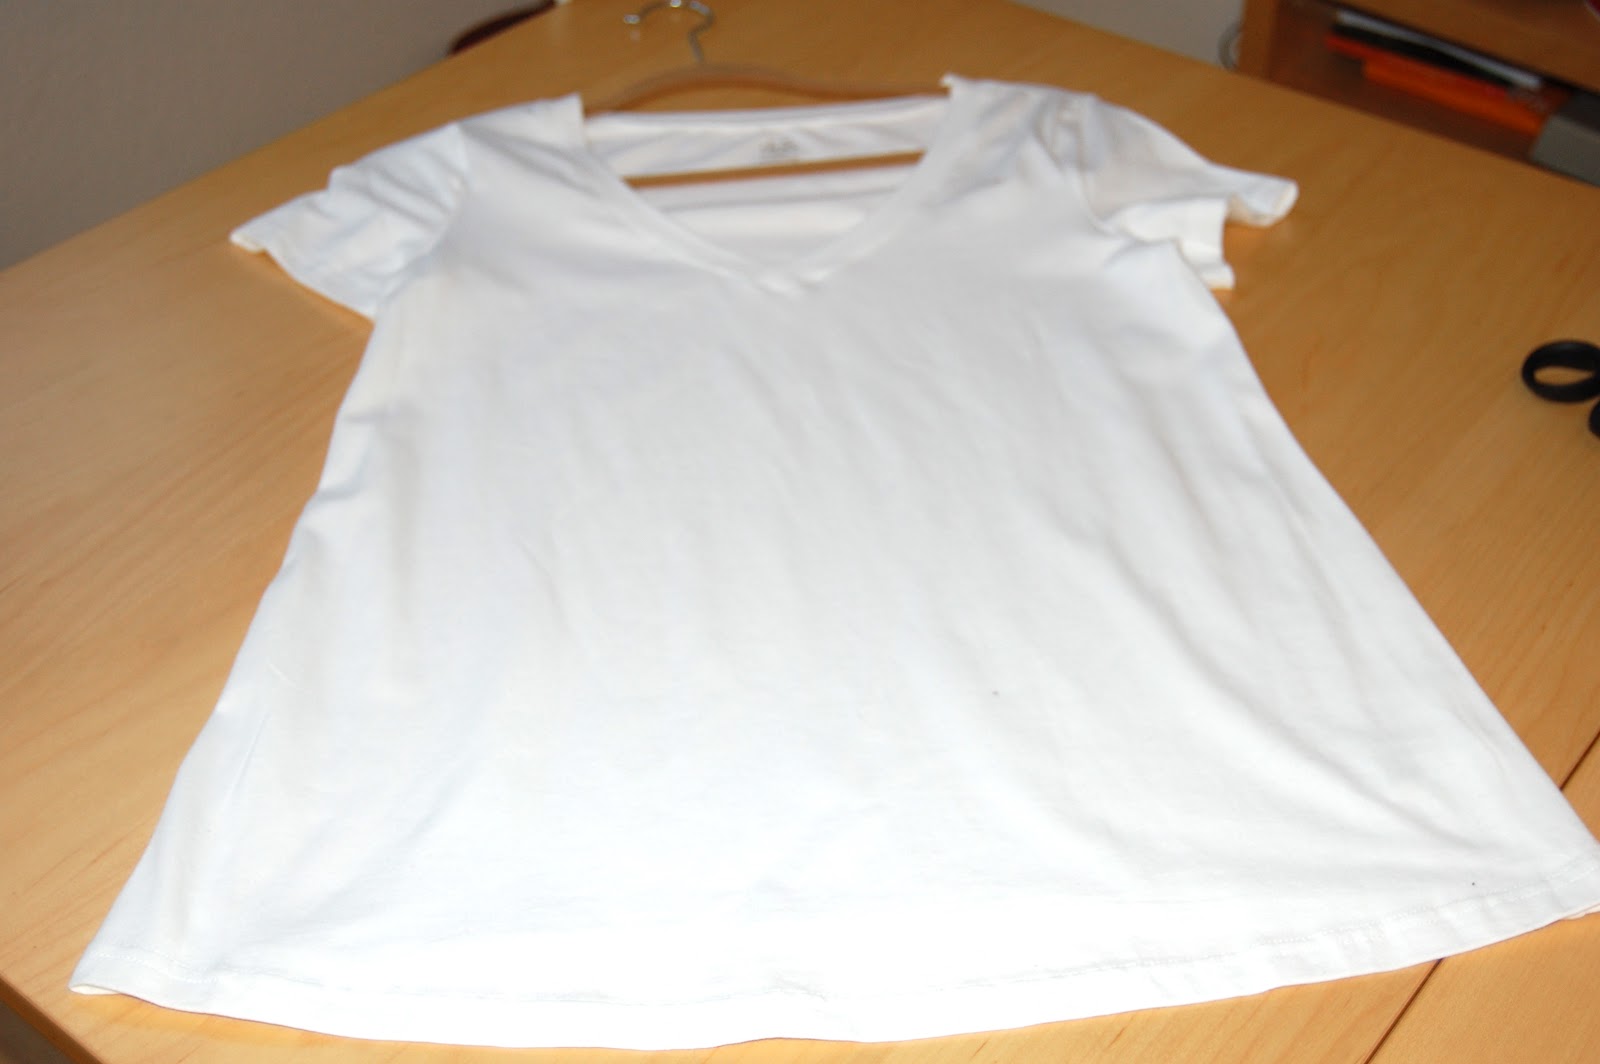
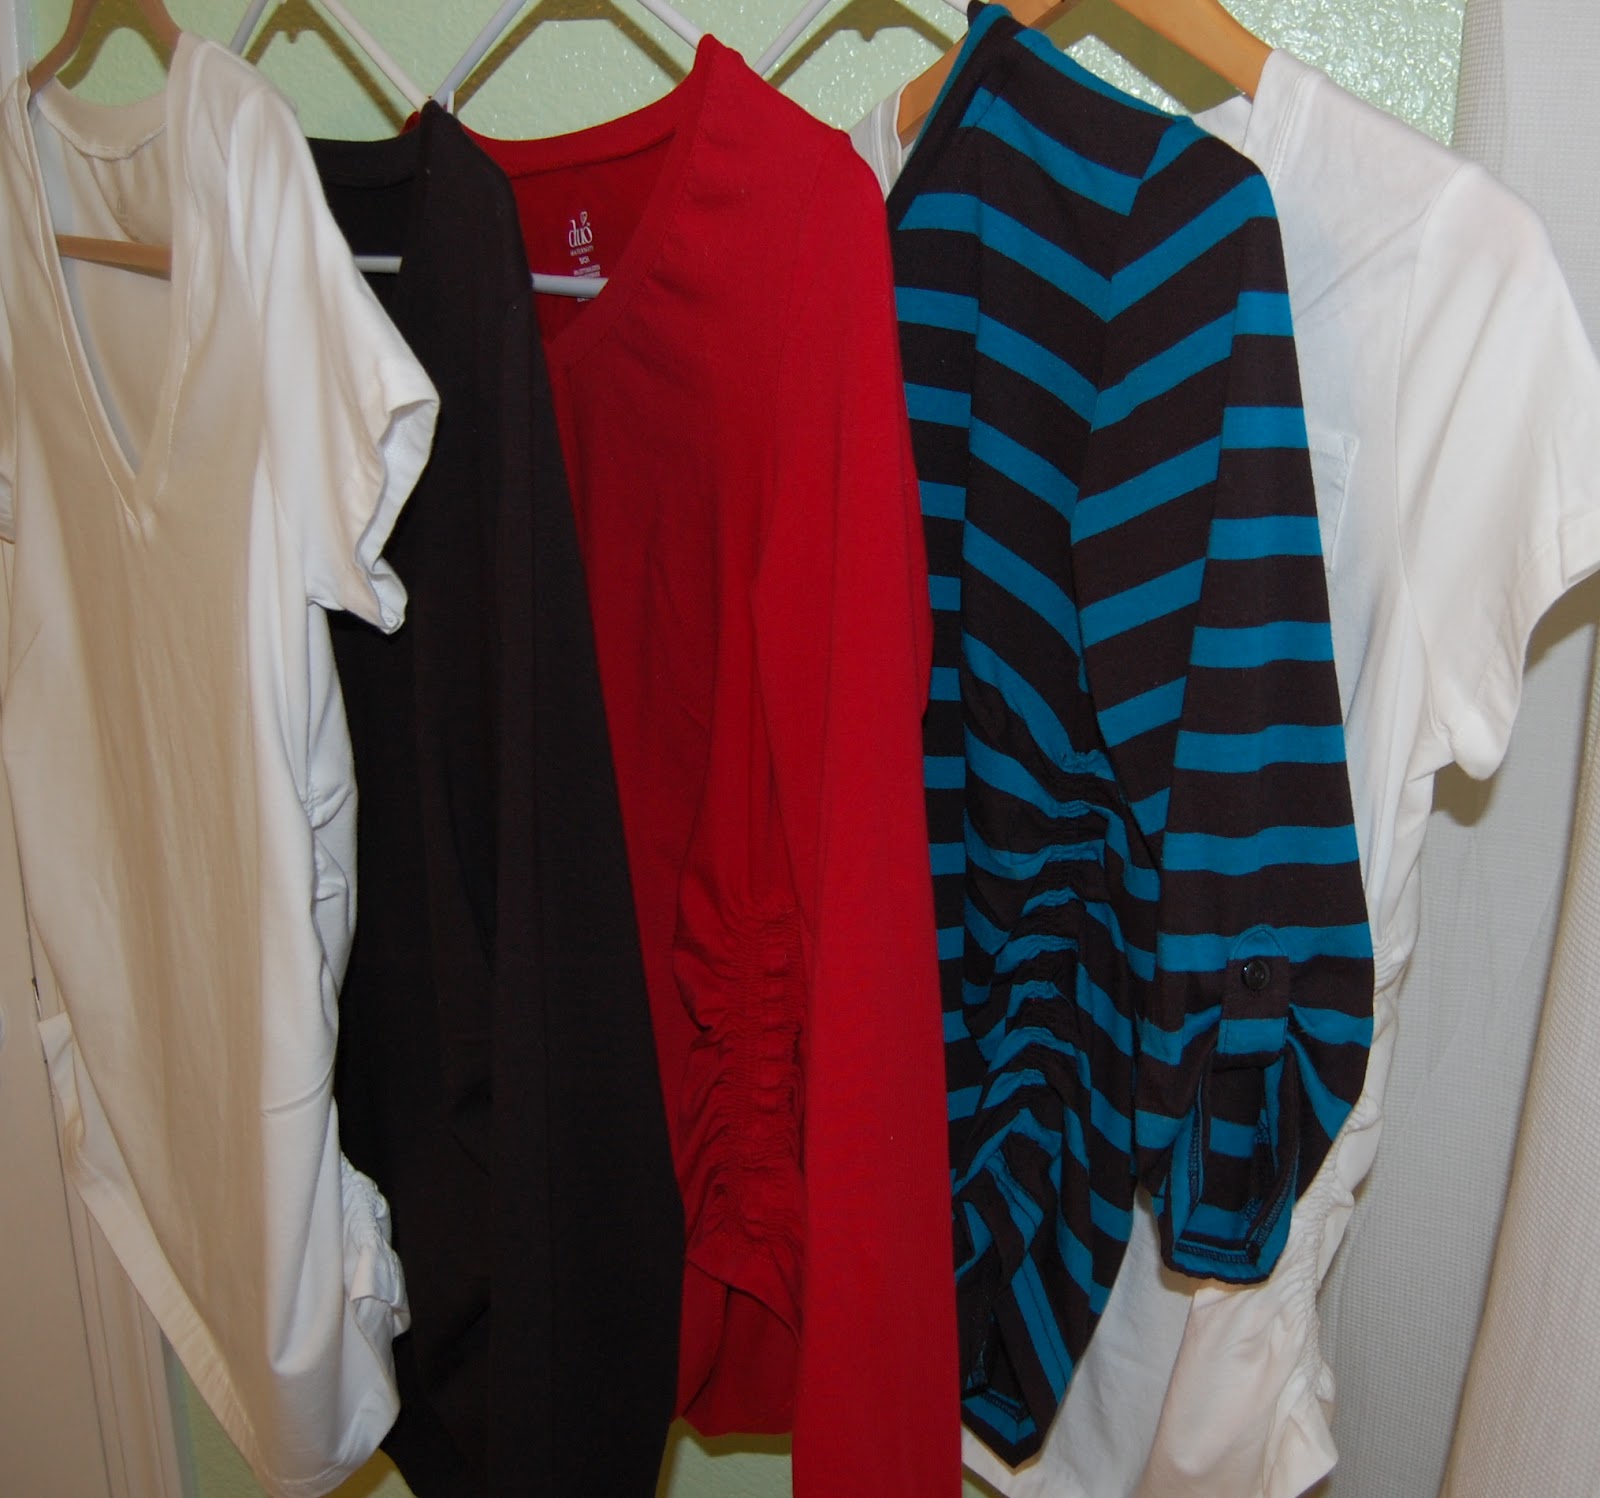
After selecting a t-shirt to use (looser fitting tees work better, as you will come to find out in this tutorial), choose coordinating fabrics for the bottom, or even another t-shirt. Madeline selected all of the shirts and fabrics for her nightgowns. You can use one large bottom piece or combine prints, as we do here.

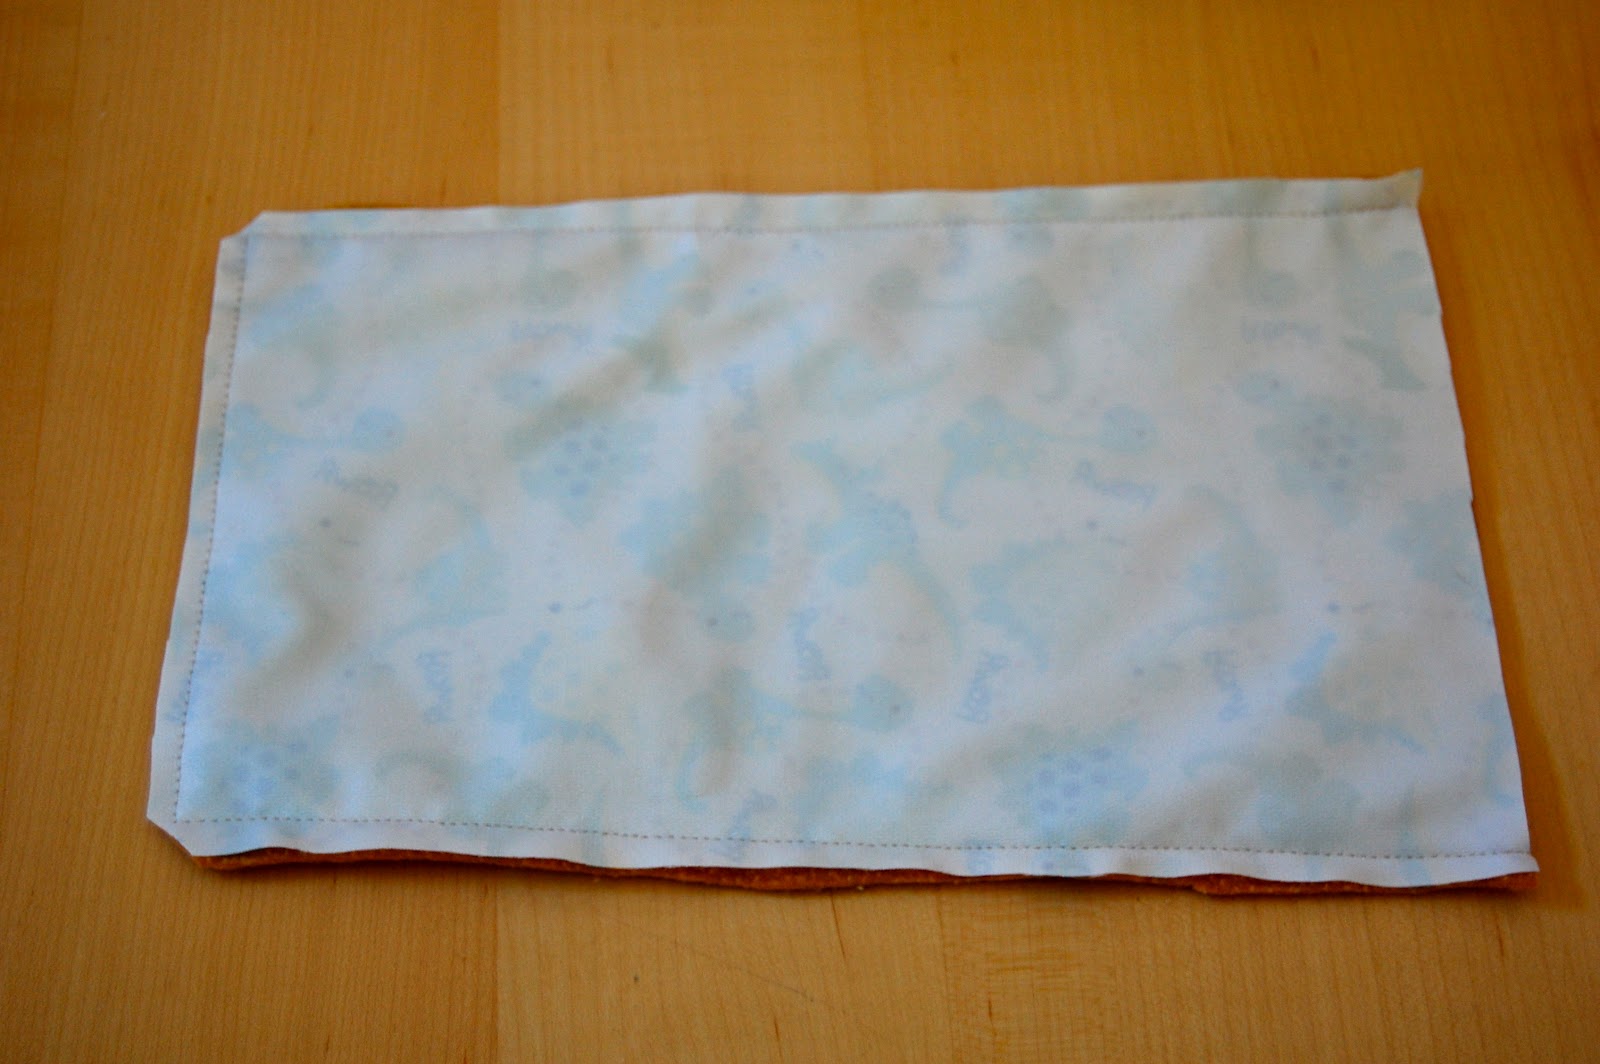
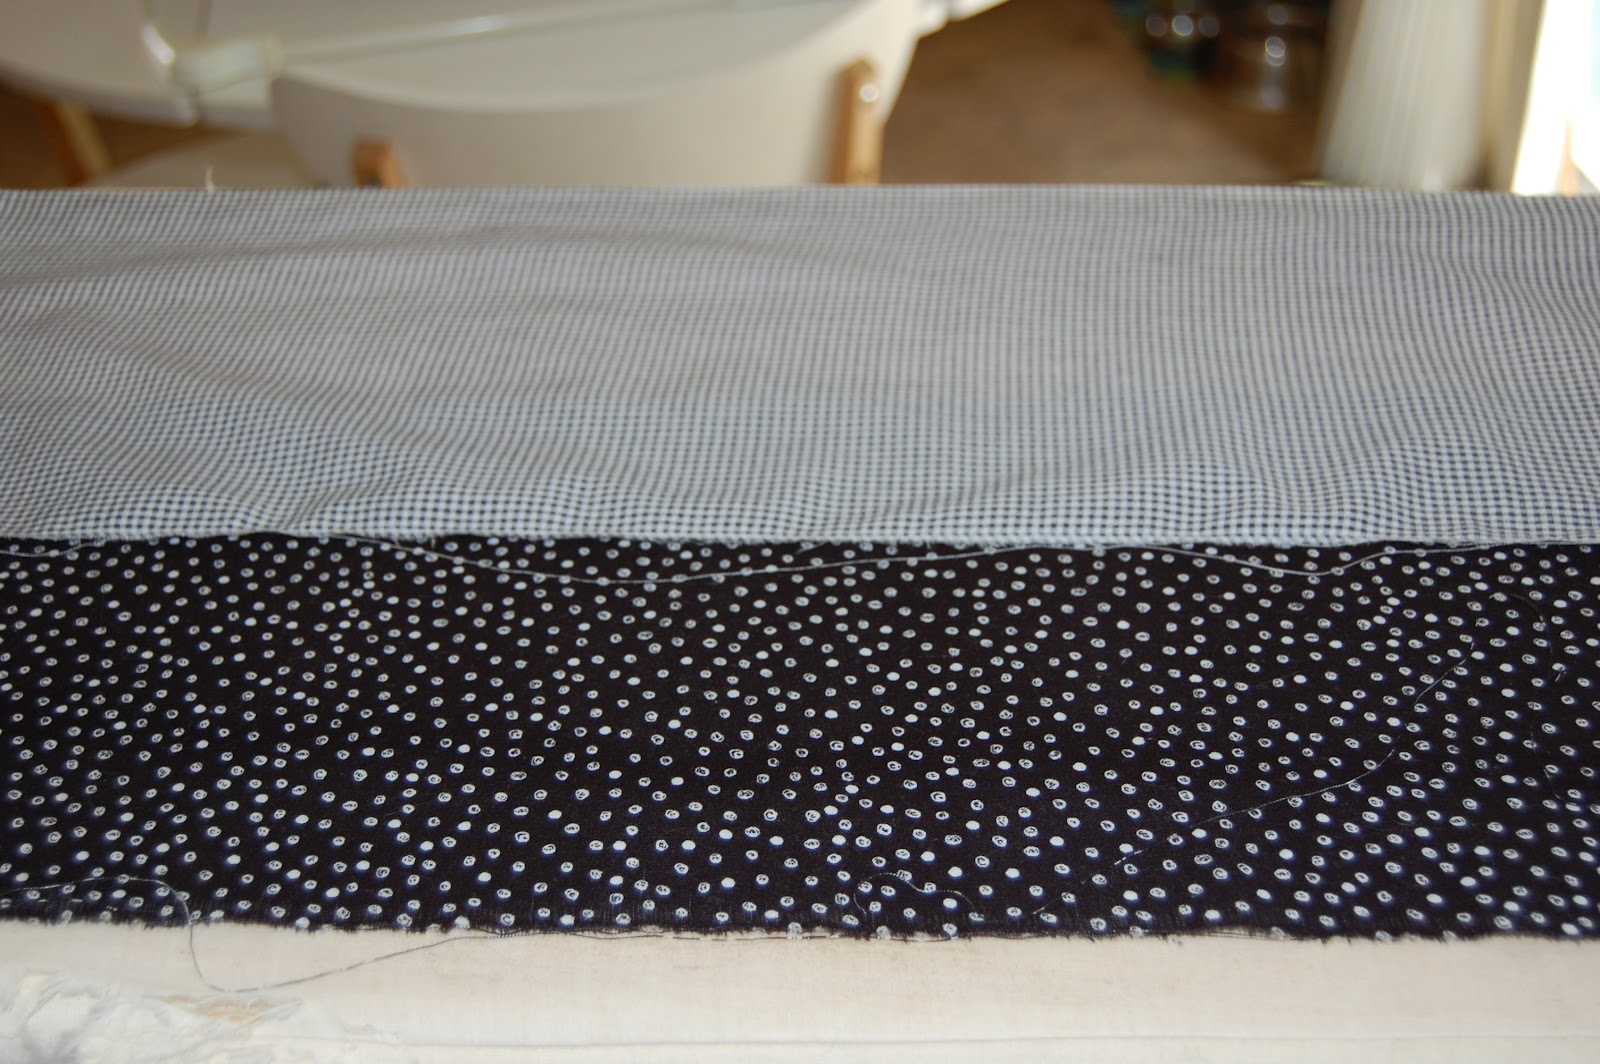
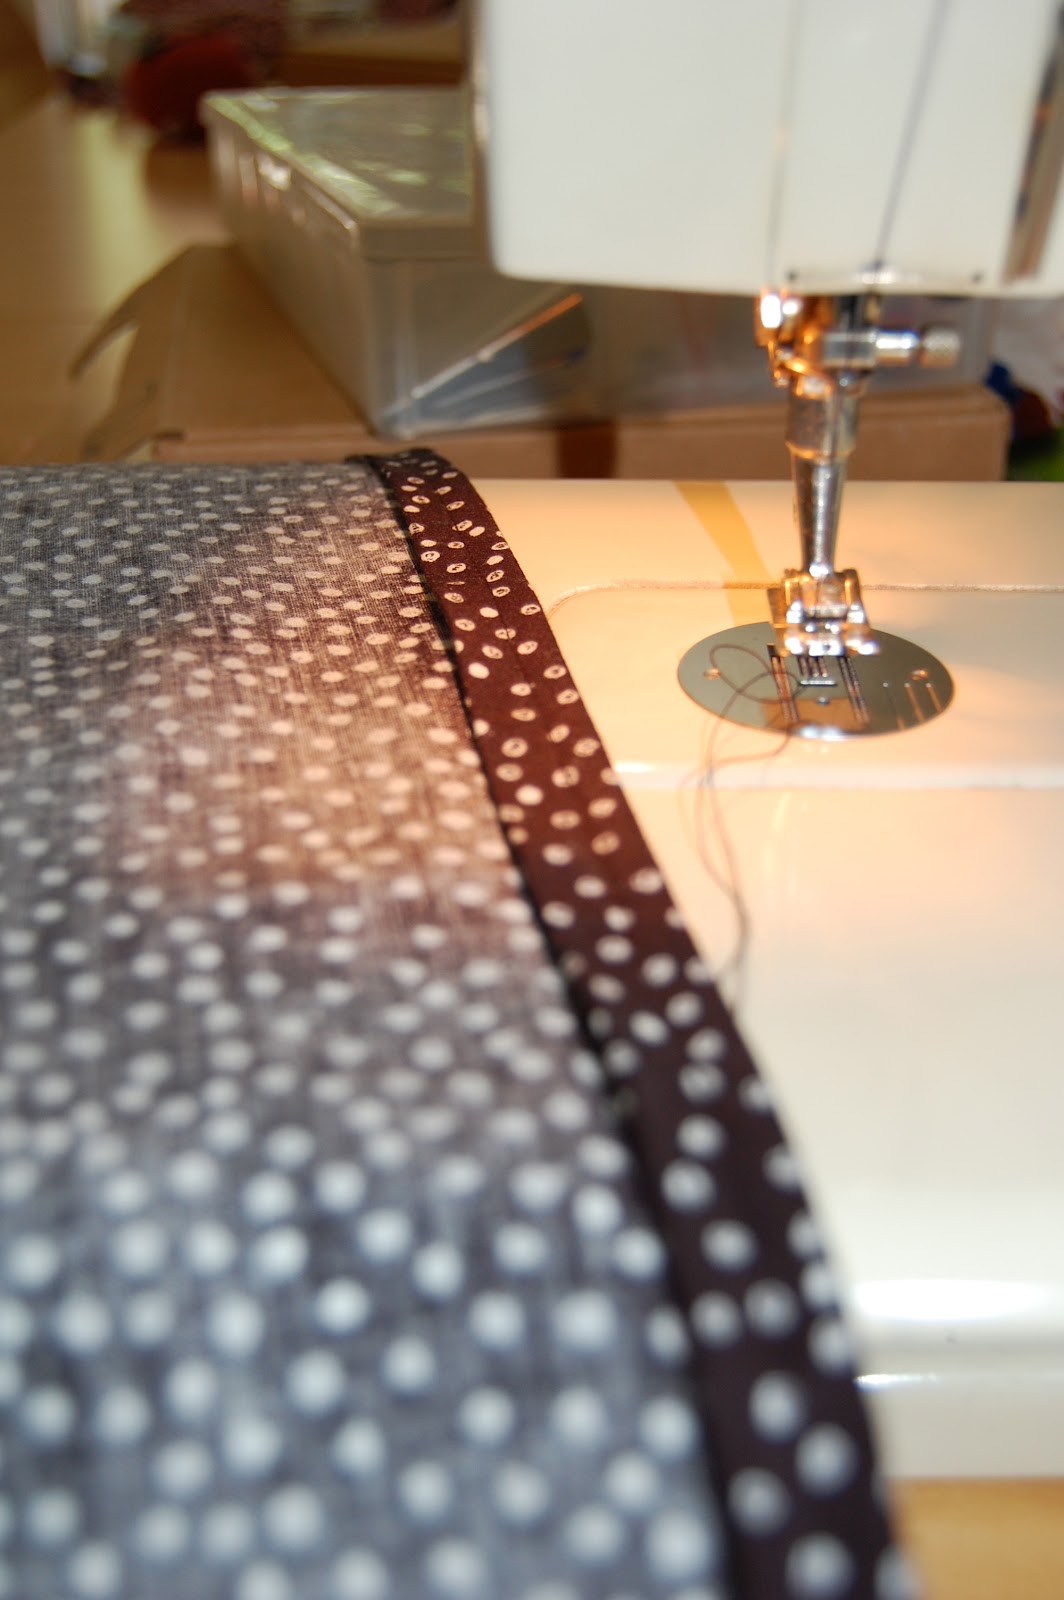
Measure your trim fabrics and sew the pieces together, if using two. Be sure to press the seam open. Since this is a nightgown, and she just HAD to have them right away, I used a lot of cheats. Instead of taking proper measurements, I just held the folded piece of fabric against the hem of the t-shirt and added a bit for the seam.

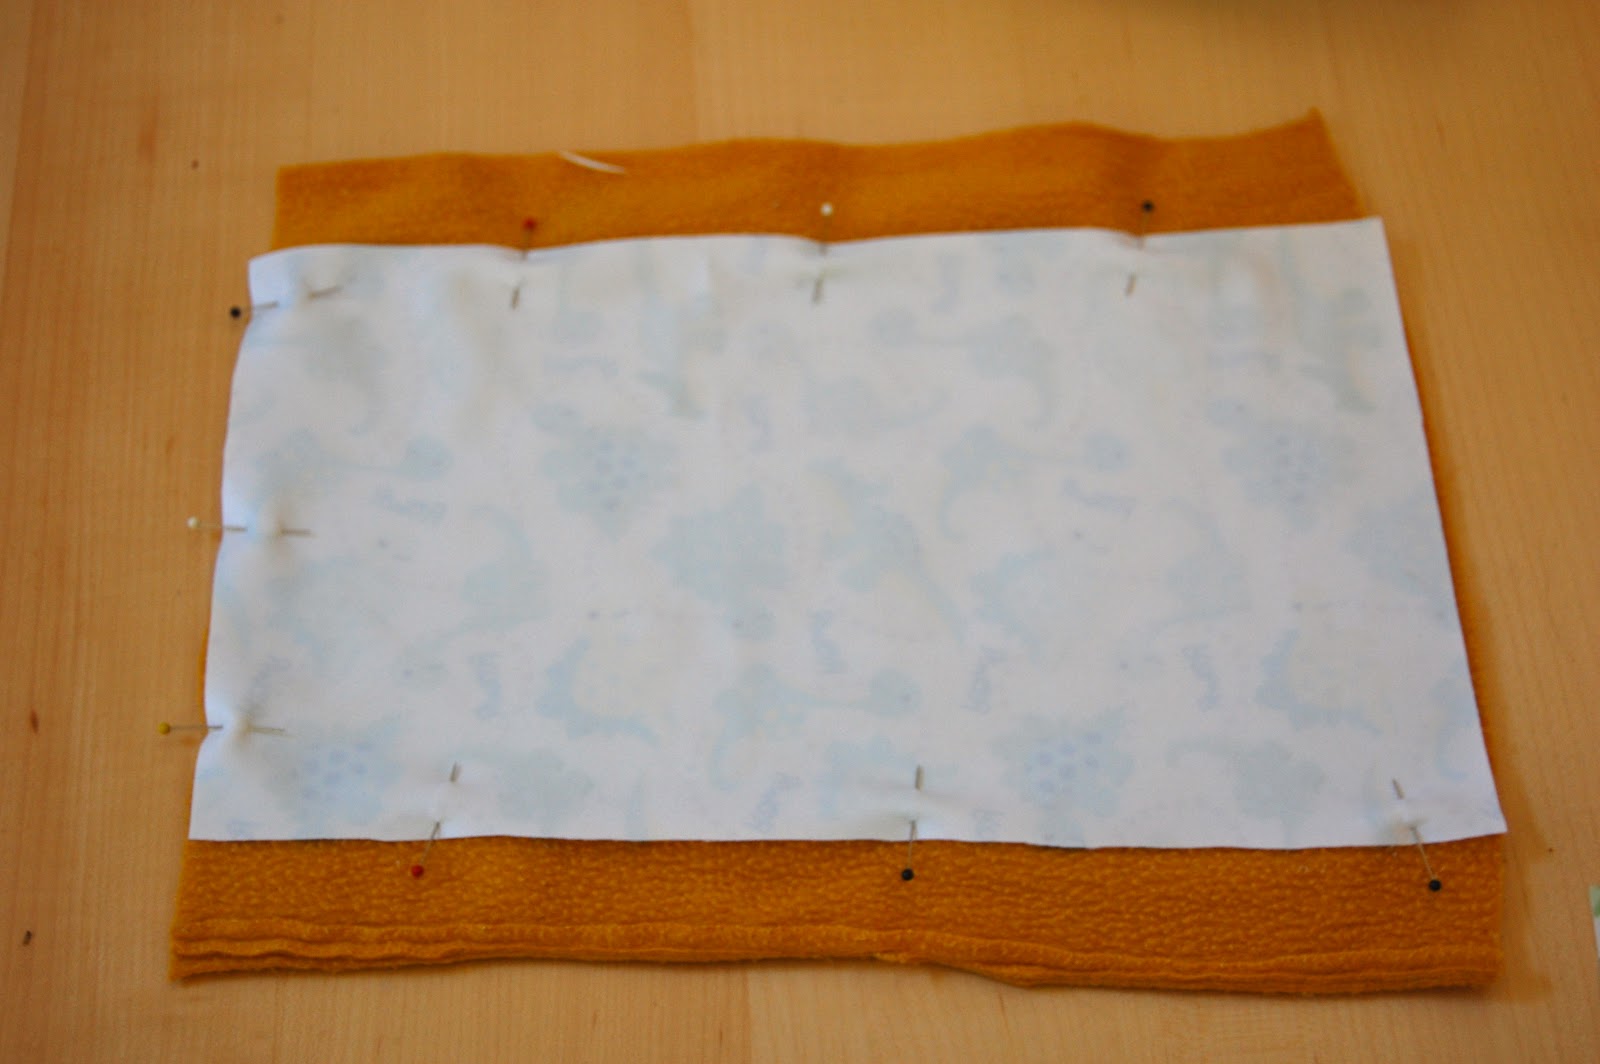
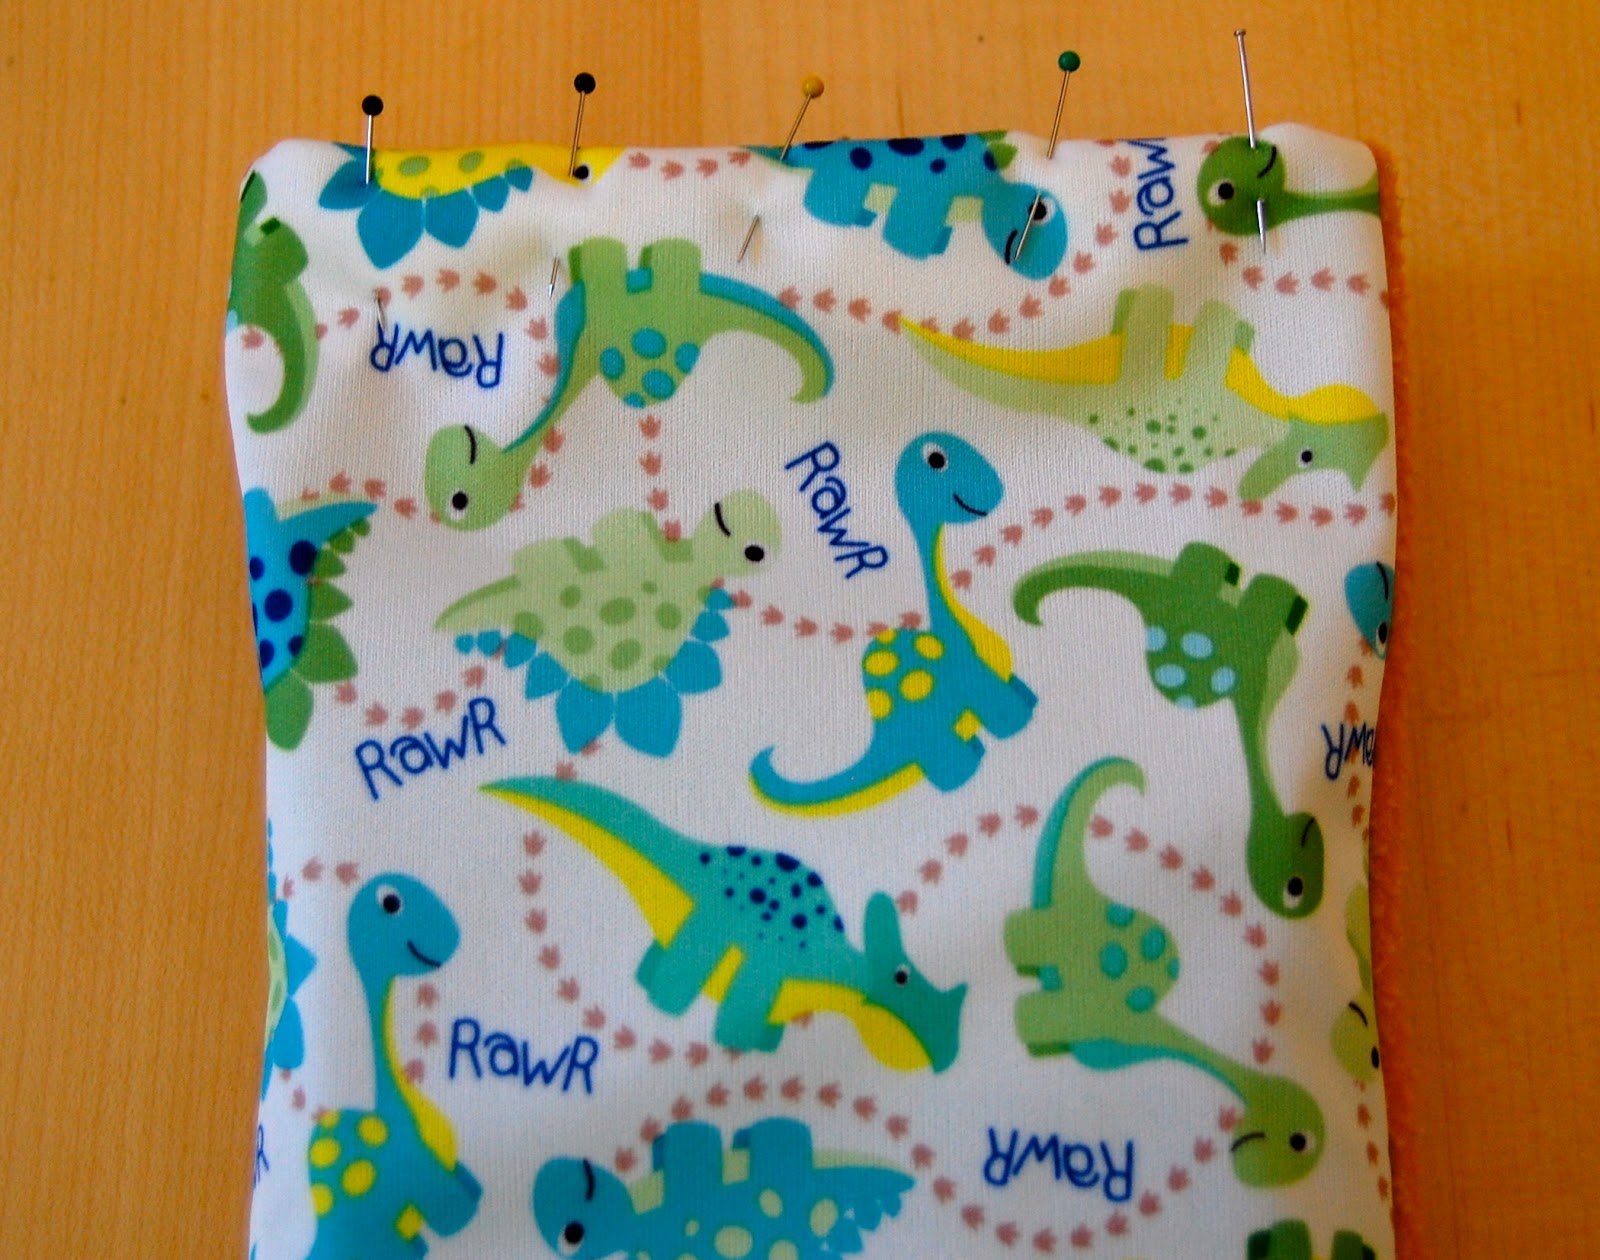
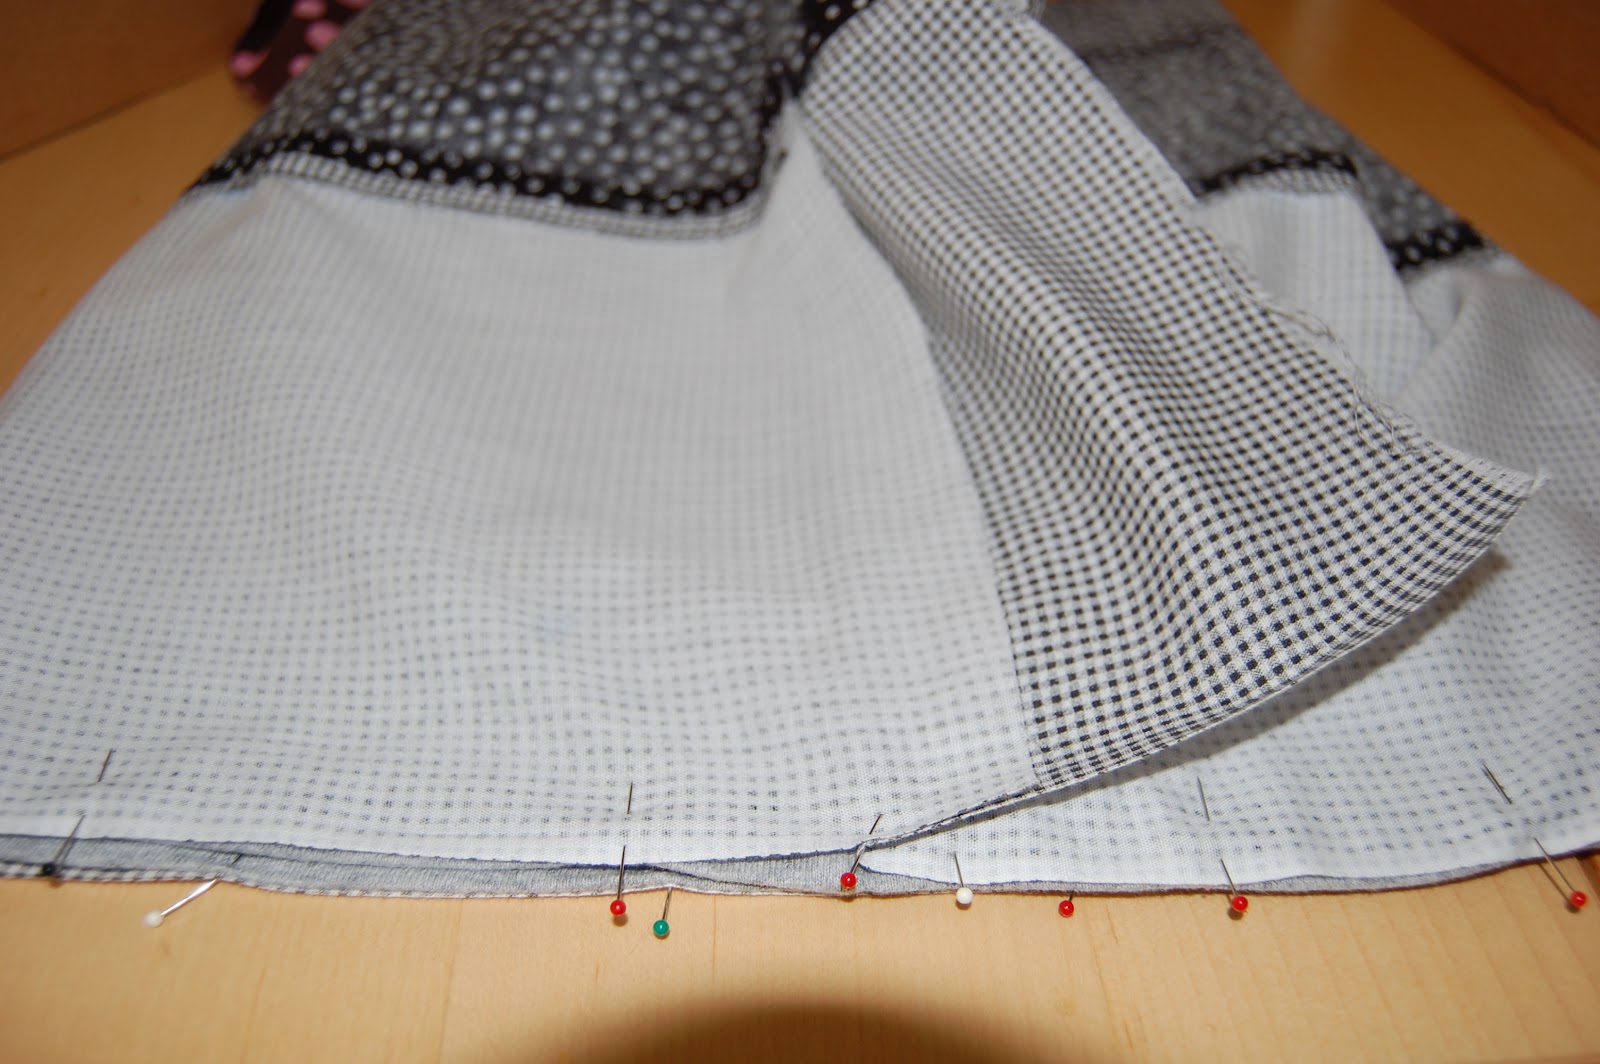
Another cheat here - instead of measuring and sewing the bottom piece into a tube, I pinned the right side of the bottom fabric to the right side of the t-shirt hem, inserting a pin exactly where the two open ends should come together to form a seam.
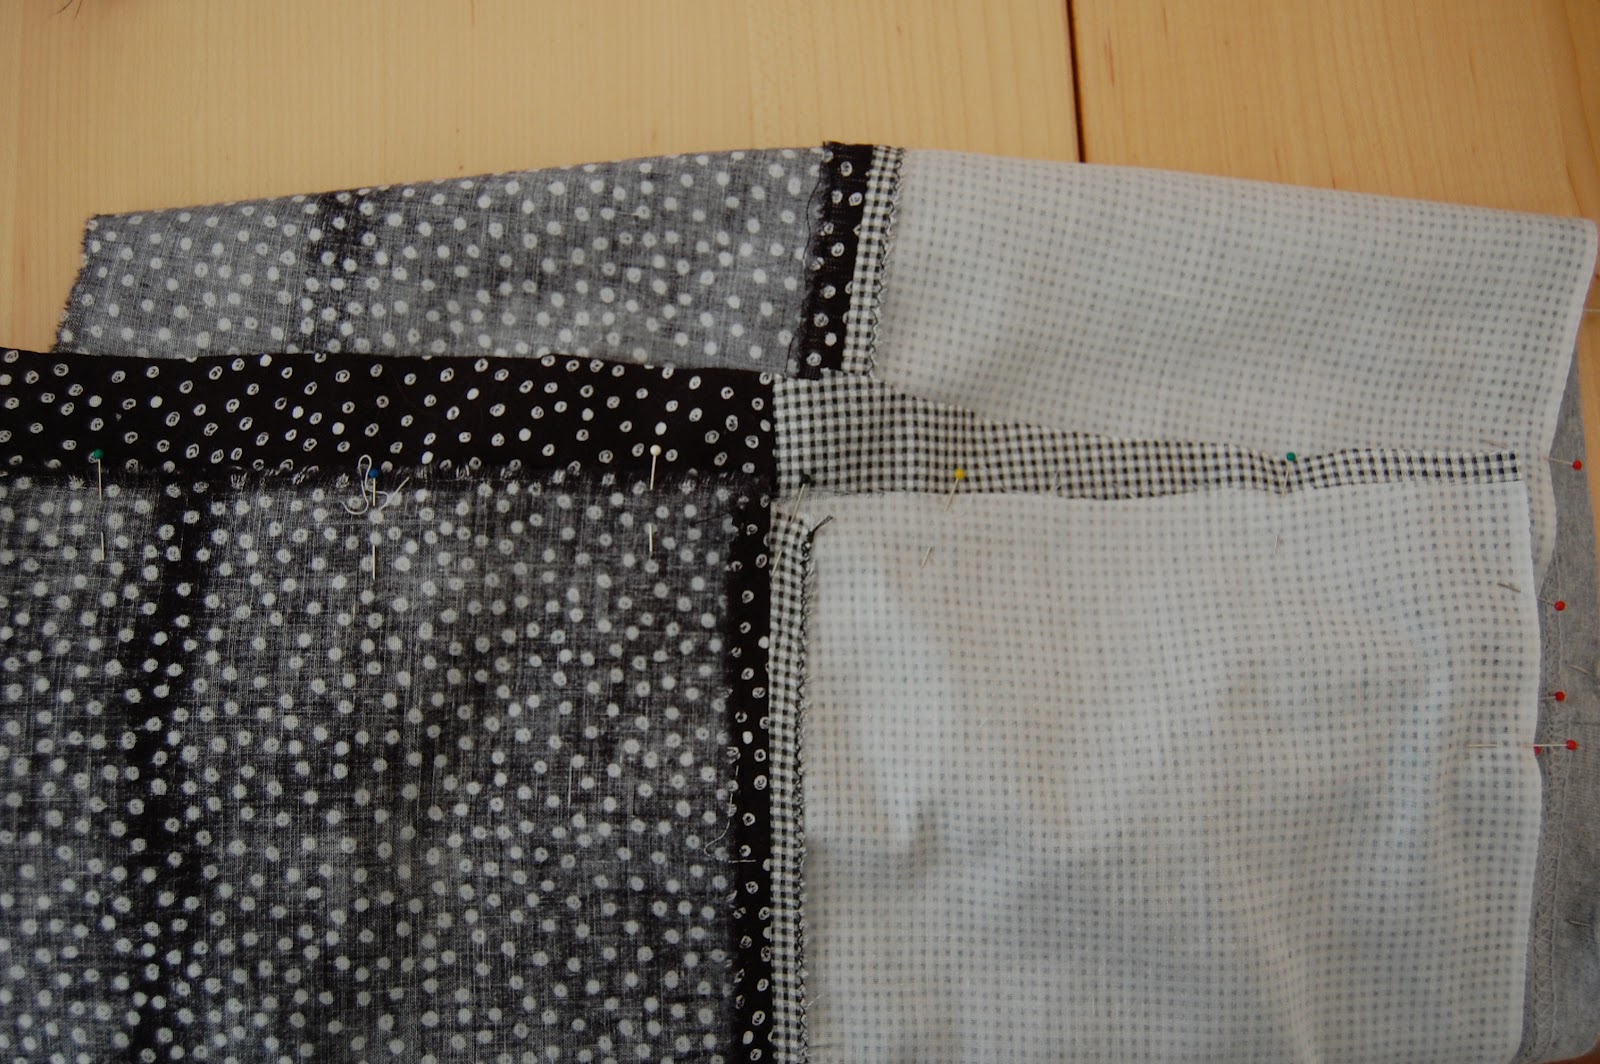
I unpinned the piece around the seam, pulled the t-shirt fabric back, and sewed a seam.
I pinned the t-shirt back around the seam and made a seam around the entire bottom of the gown, where the two pieces attach.
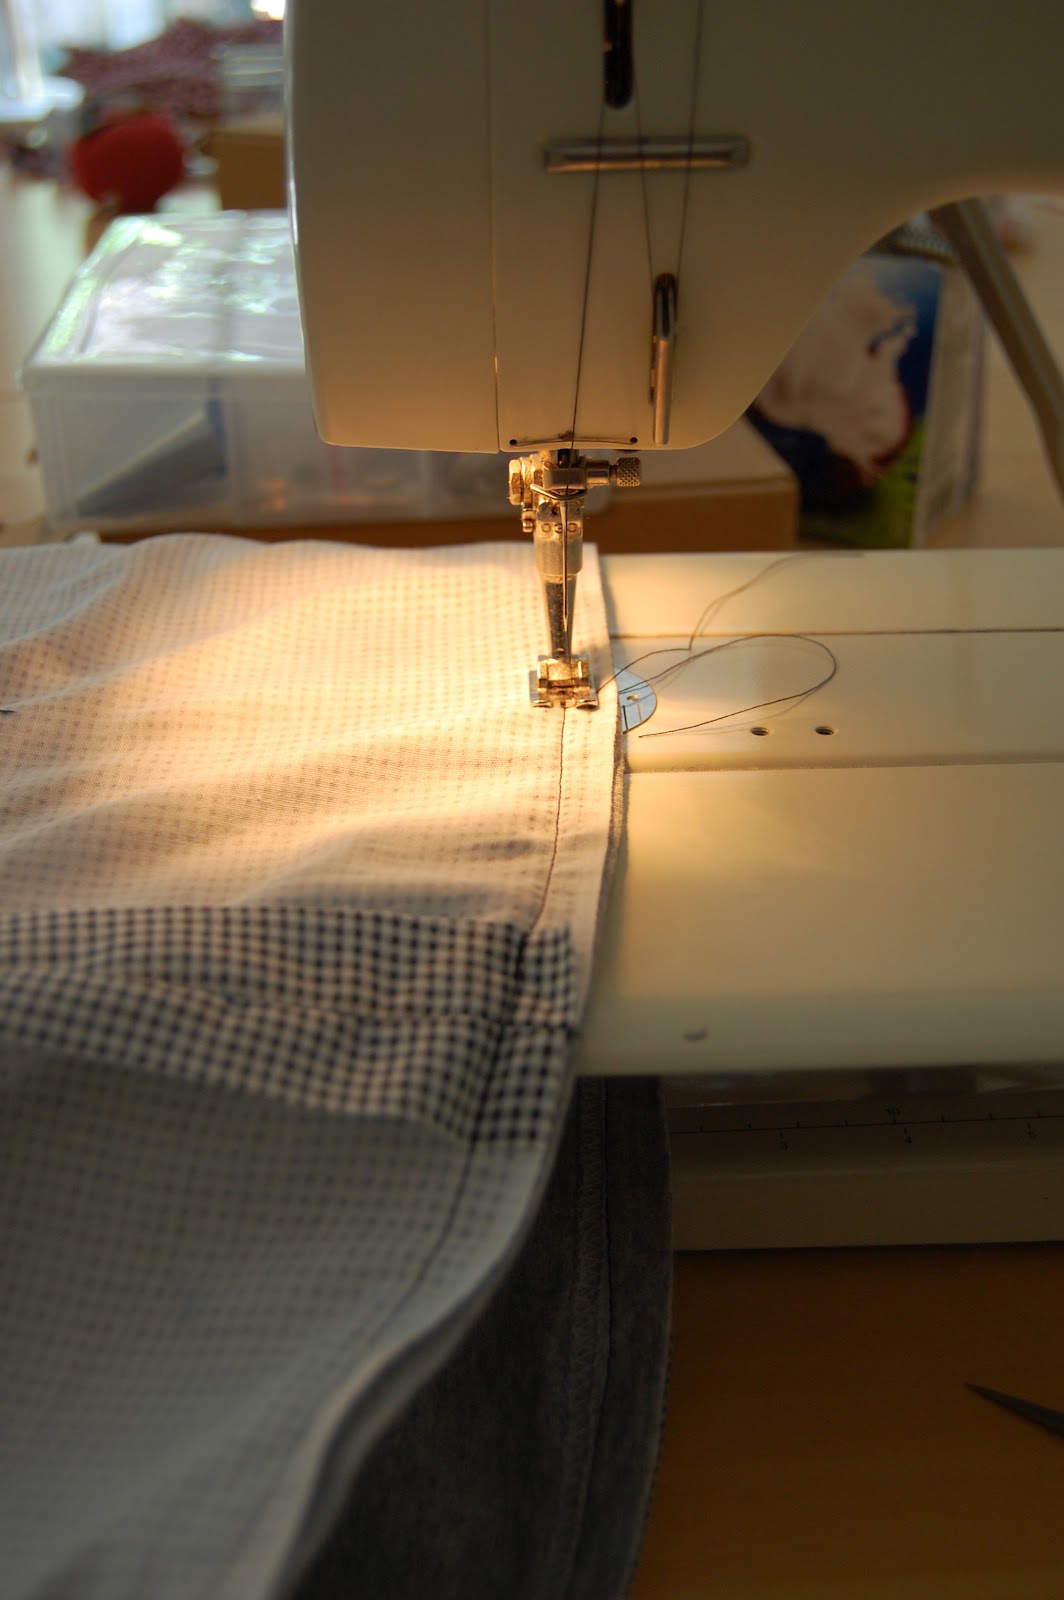
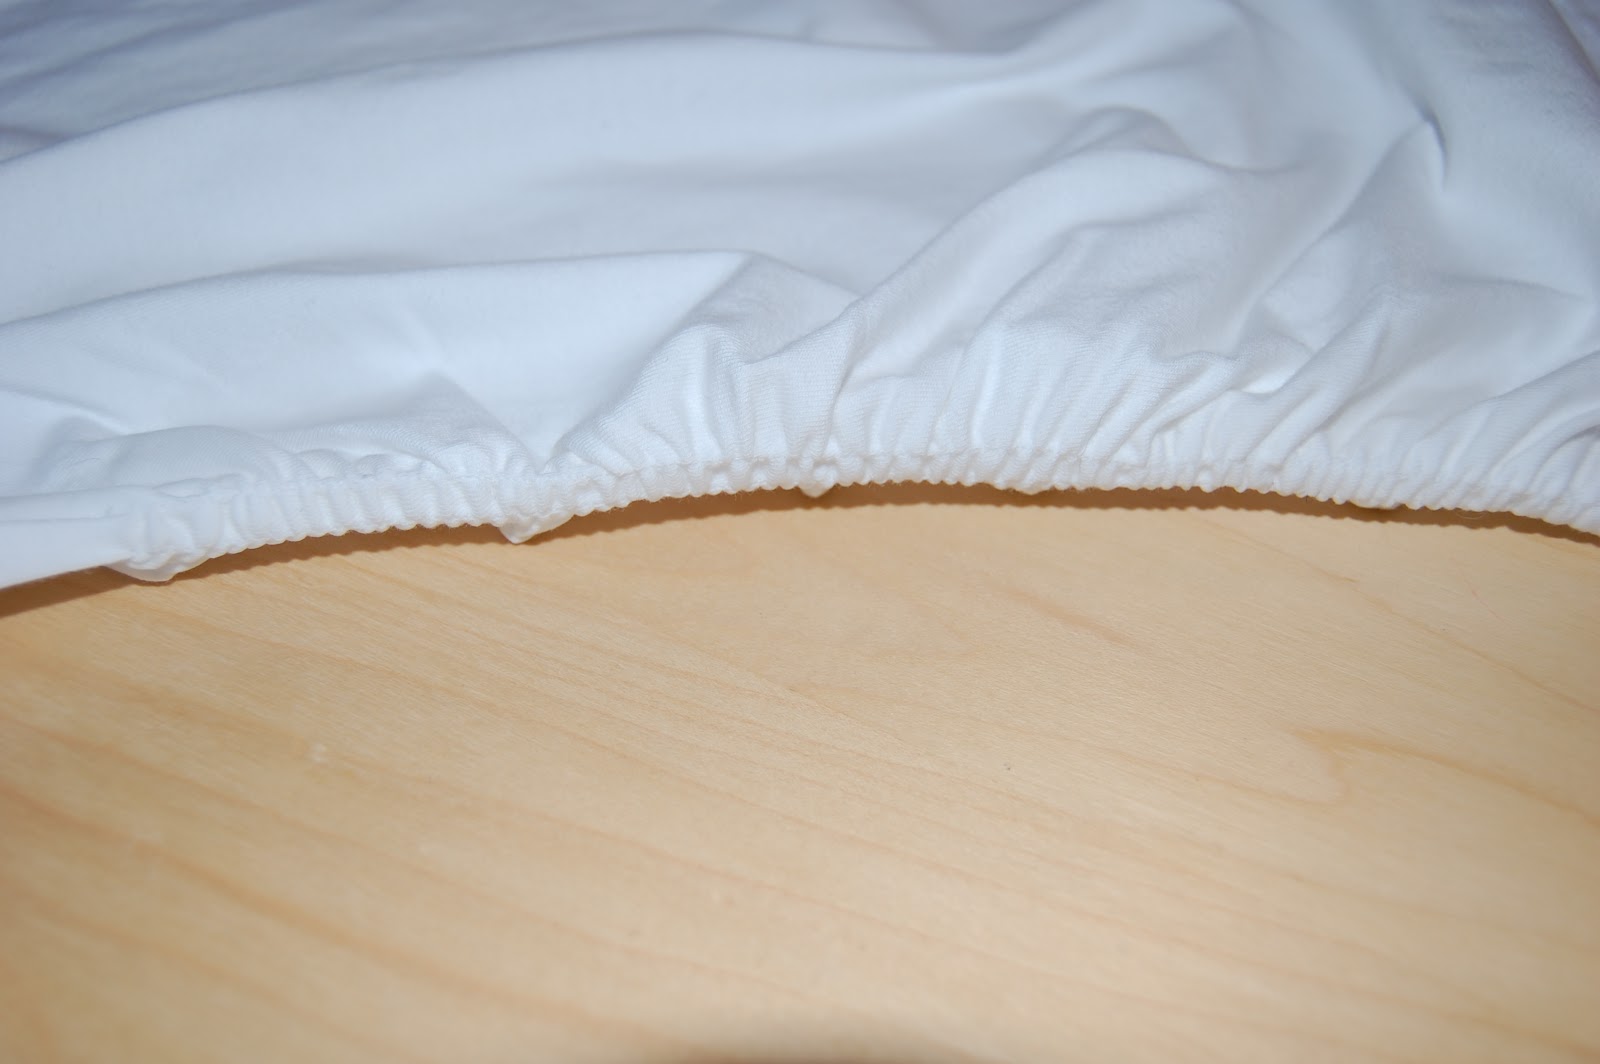
I pressed open the seams and added a hem. I zigzag my seams to finish them, but if you have a serger you could do that as well. I would, at the very least, pink them, since nightgowns get washed frequently.
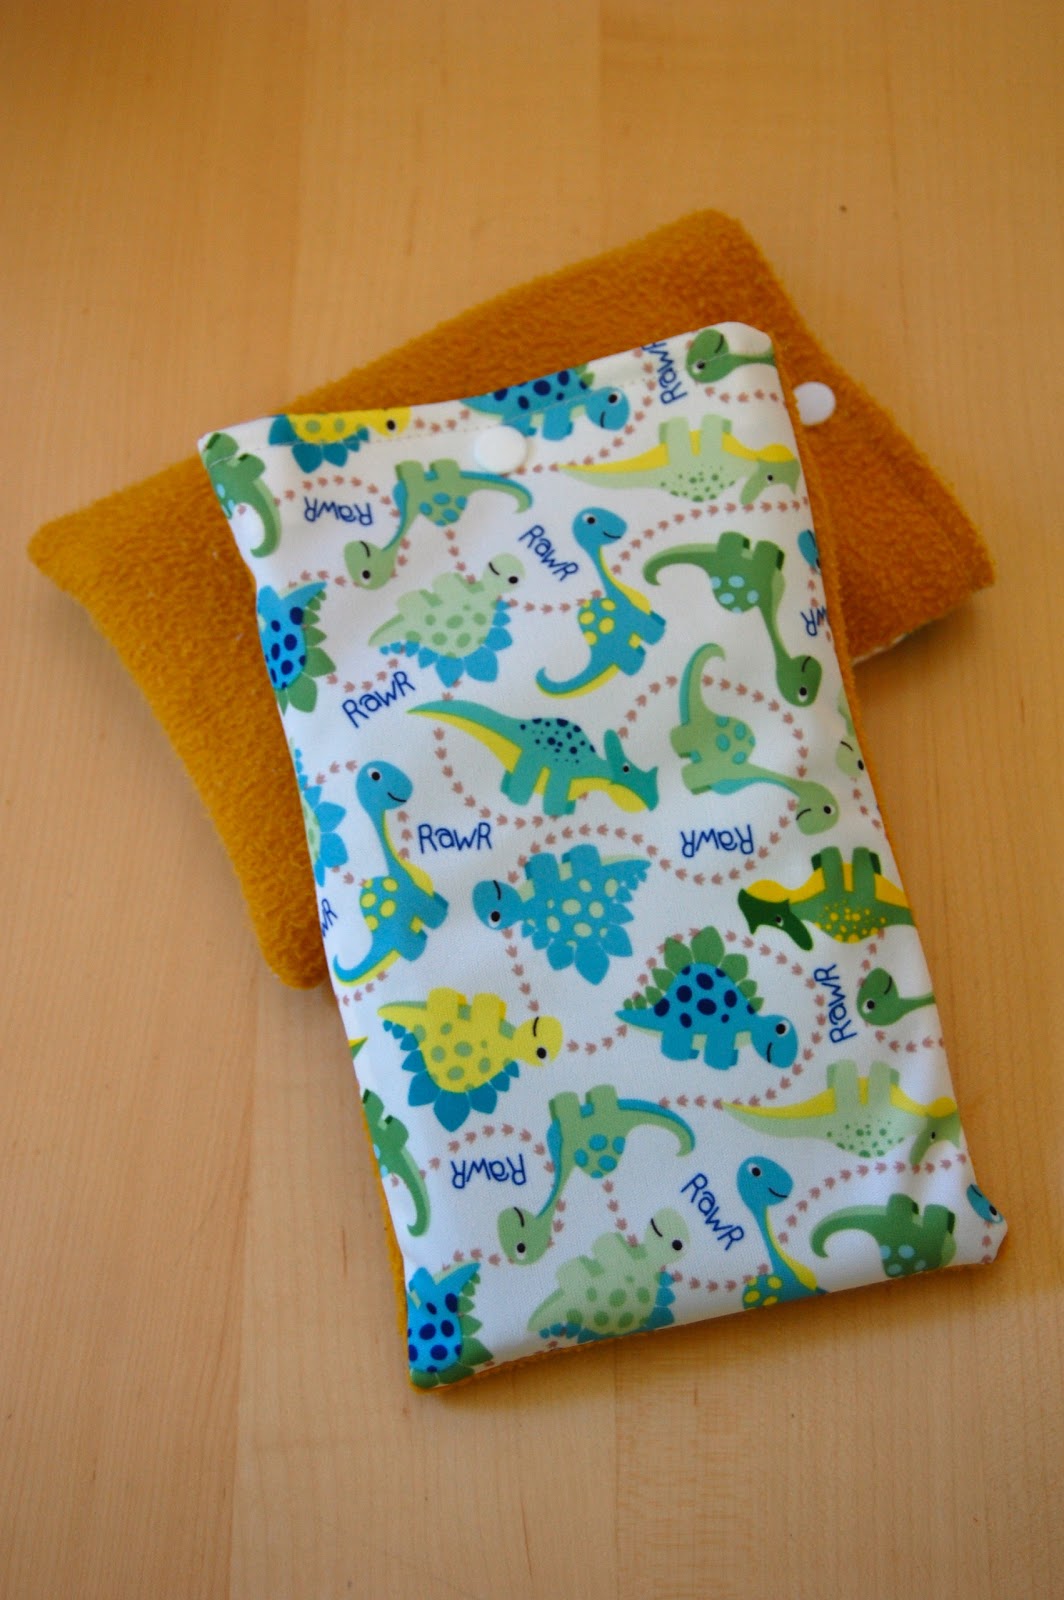
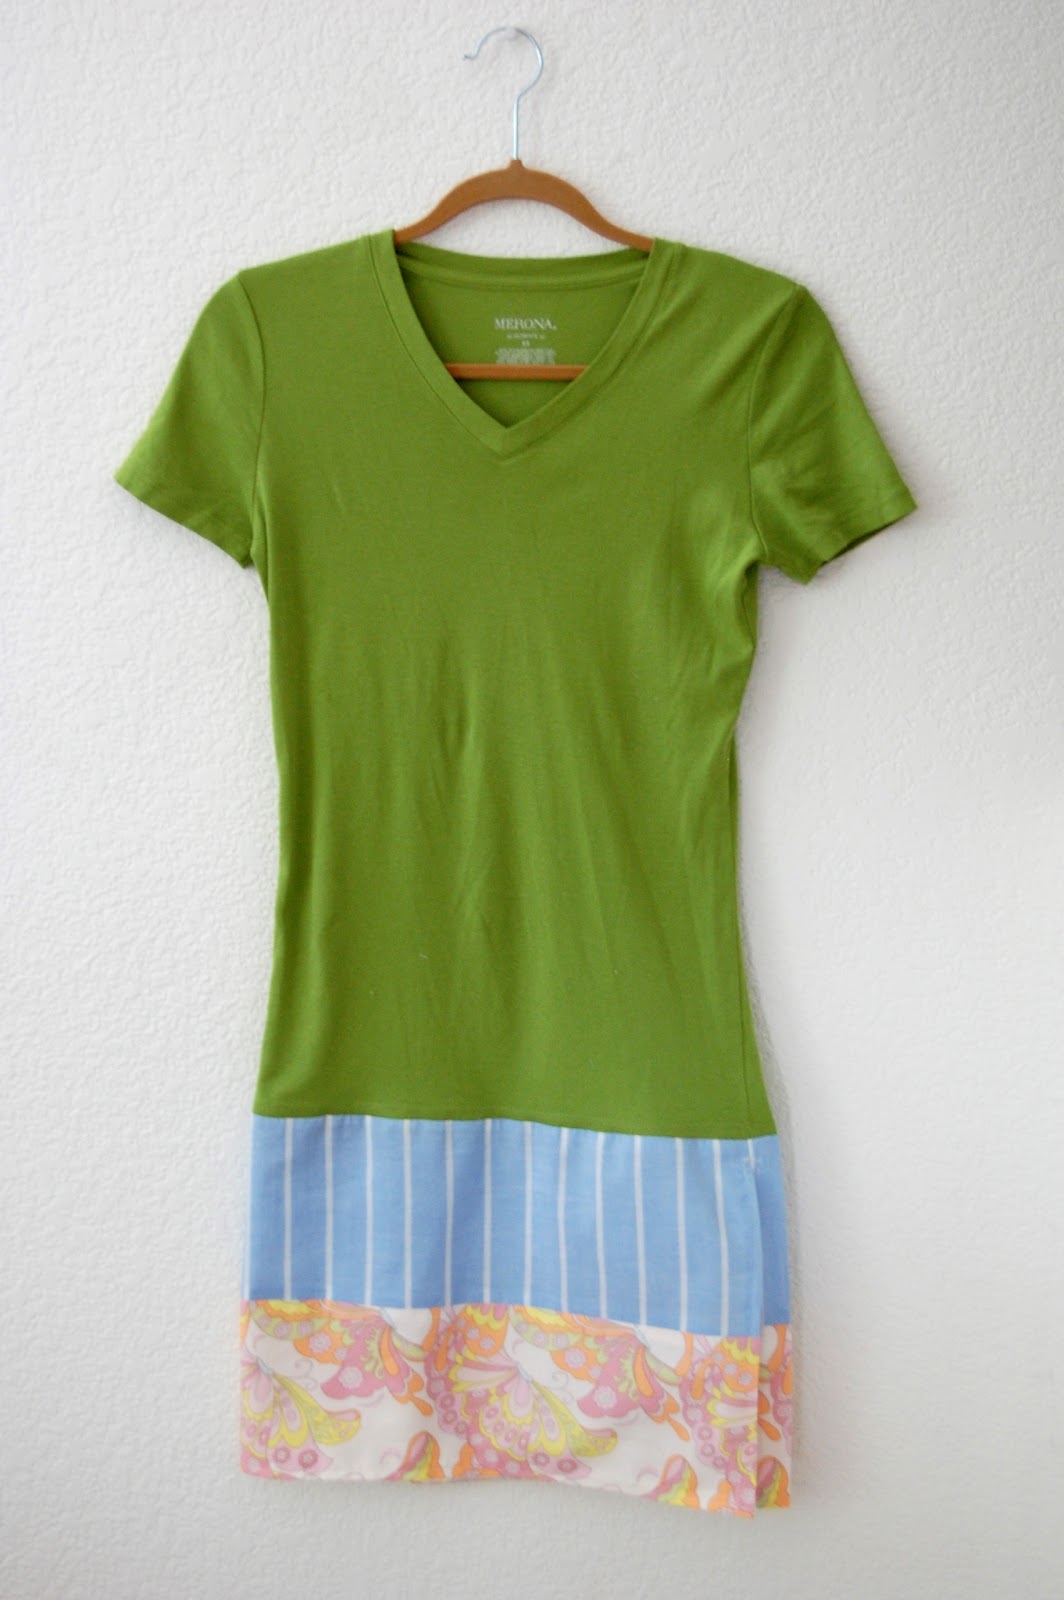
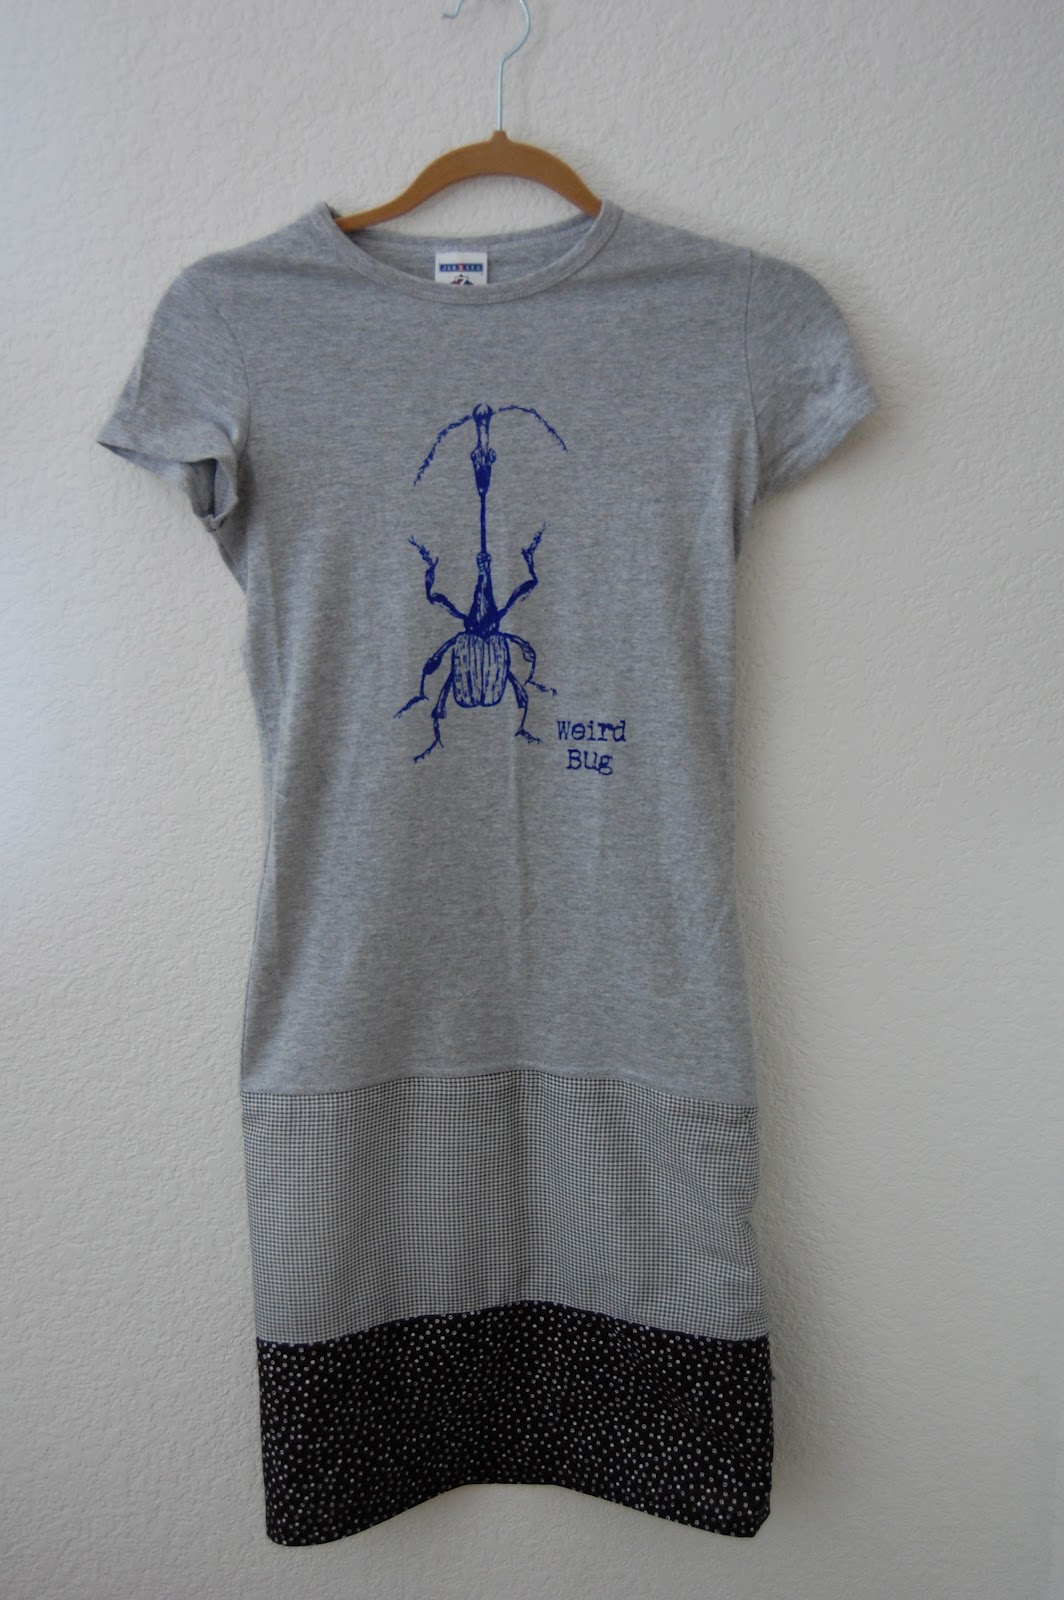
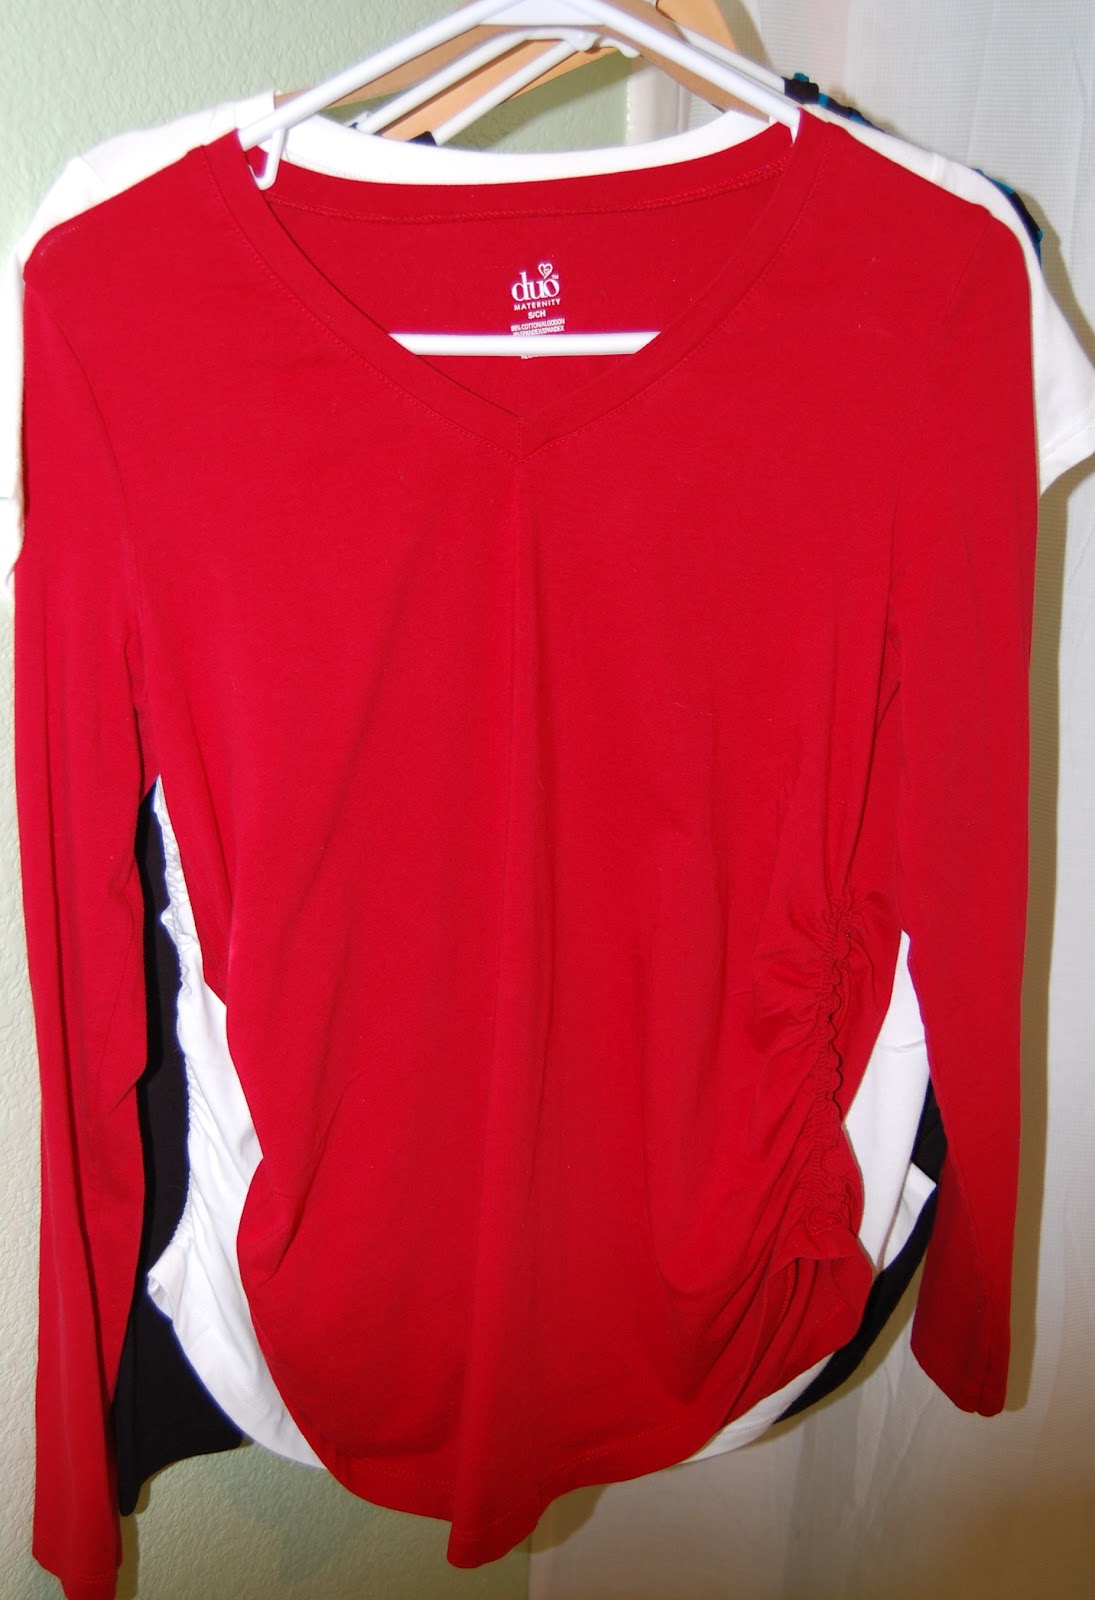
This was our final product, but because the t-shirt is quite fitted, it was too tight for comfortable night ware. Lesson learned - loose t-shirts are better! A refitting was in order.
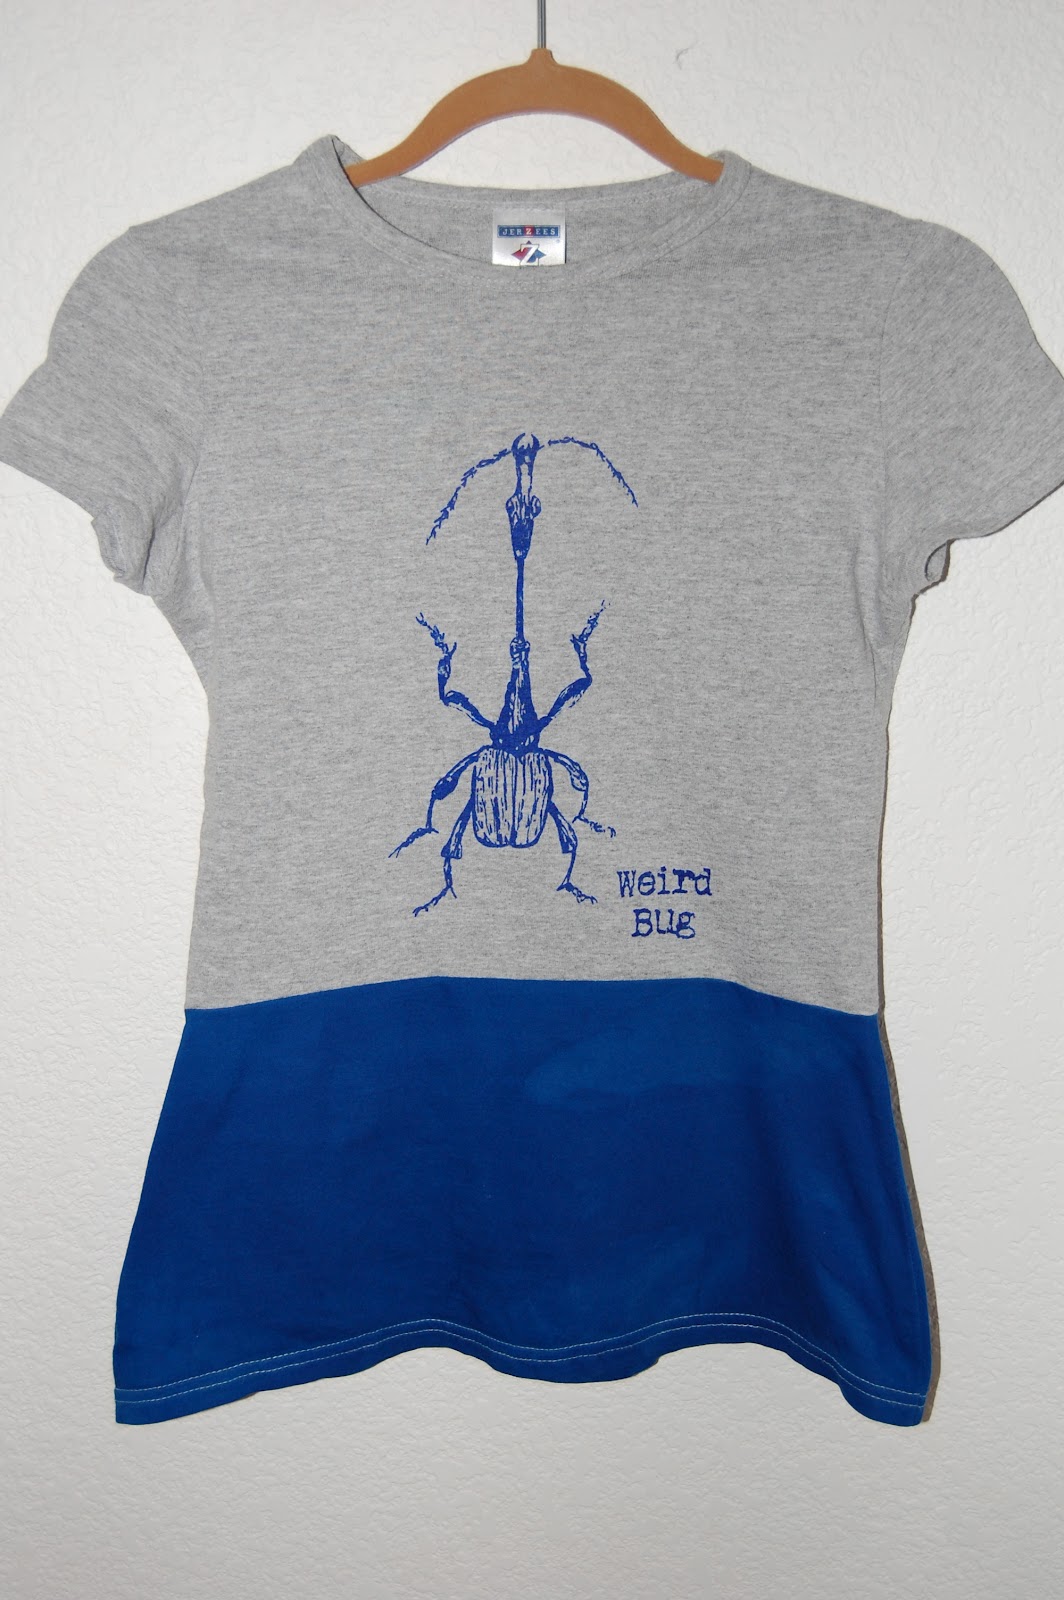
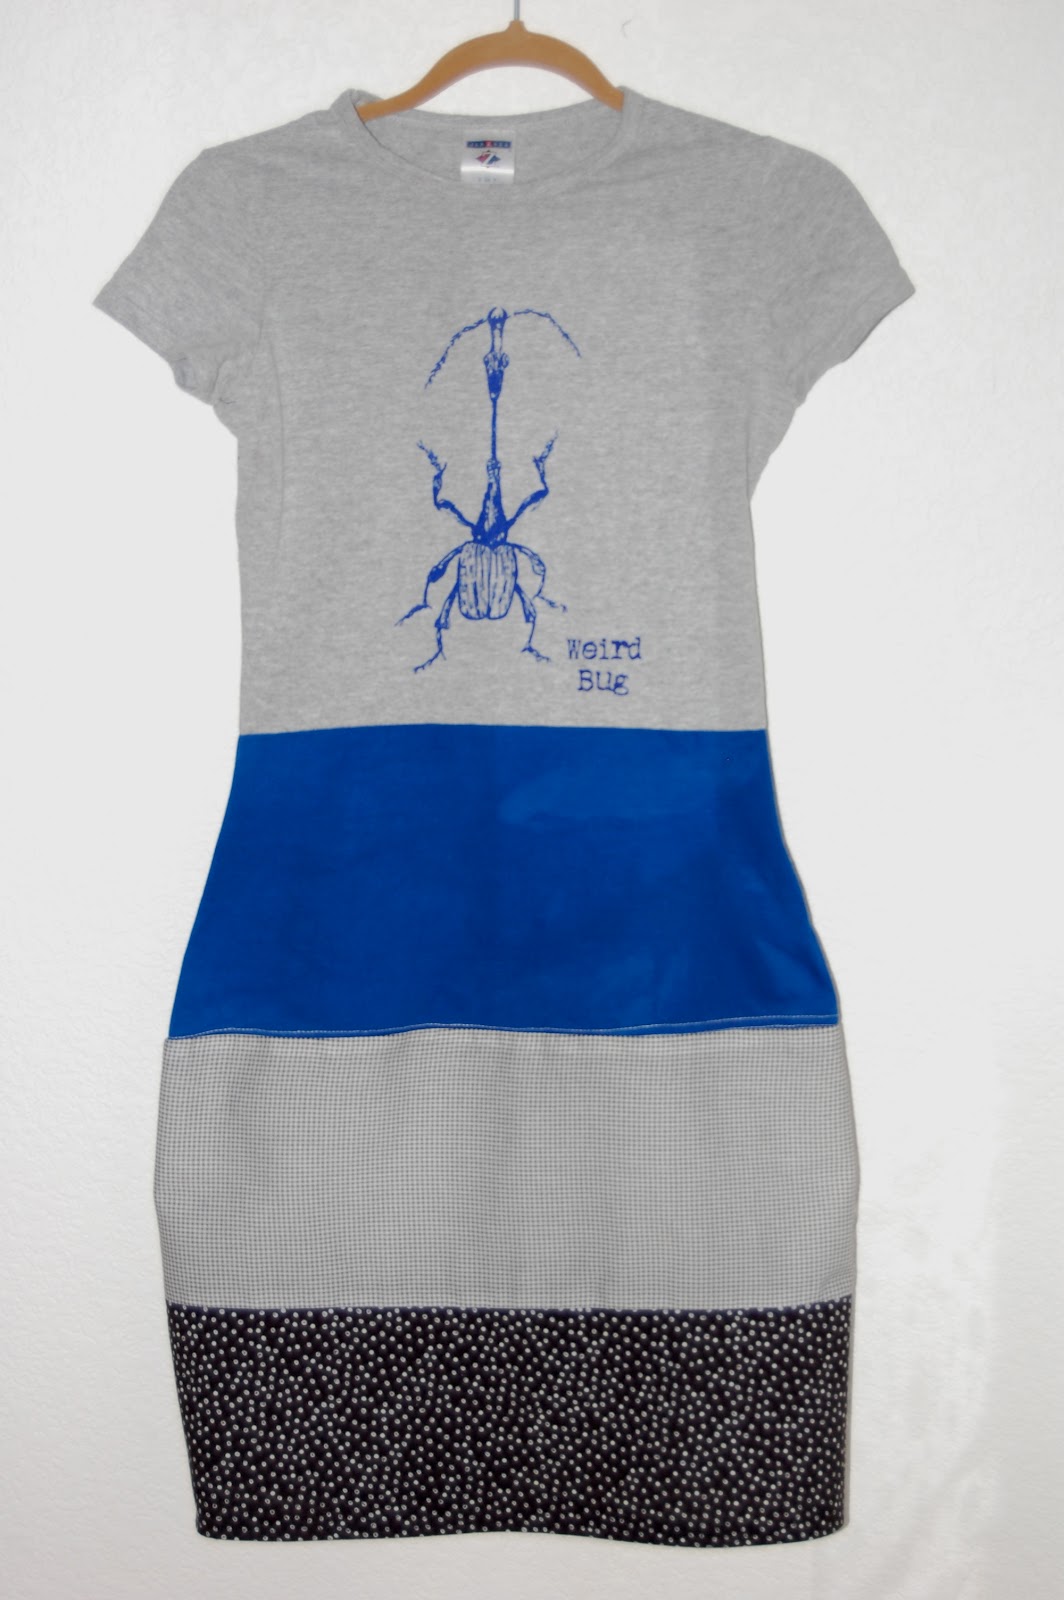
I cut the bottom part of an old t-shirt that I recently hand dyed, and then cut off the original gray t-shirt a few inches below the waist. I seamed these two pieces together to add ease ( and both are jersey, so no need to finish the seams!), then added the patterned bottom to the new blue panel.
Now the nightgown was loose enough for comfortable movement.
This t-shirt had more ease, so I simply added a slit to the bottom fabric for easier movement. If you use an old t-shirt or two for the bottom layers, as we have also done in the past, you should have enough stretch to skip a slit. With old tees this project takes about a half an hour, with fabric strips about an hour for the first one. A quick and frugal refashion!

Sunday, March 25, 2012

Ruched Maternity Tops

I love the look of ruched maternity tops. I am carrying all out front, so if I put on a regular maternity tee, I look like a linebacker. The ruching defines that tummy, so it's obvious that you're pregnant, not fat! However, I had several regular maternity tees (they are usually cheaper and often what you find second hand) that I wanted to wear, so I brought out my favorite sewing trick - elastic thread. Yes, you could use regular elastic for this, but I find I get more consistent results with the thread (I sew on a vintage Bernina, which I adore, but it does not have that nifty three step elastic stitch). I have a more detailed account of how to sew with elastic thread on this post, but here's the quick and dirty:
I started with a plain Jane maternity tee. Sewing on the RIGHT side of the fabric, I made three rows of elastic thread next to each side seam.
I ran the stitches from just above the hem line to three to four inches below the armpit. Once you have sewn both sides, spray with water and then steam iron the stitching. It cinches up like magic!
That's all there is to it! Of course I couldn't stop with just one...
I had total pregnancy brain with this red shirt, and accidentally added my rows of stitching to the back, not the front of the shirt. So, to fix my mistake I just did three rows on the front side of the seam, and three rows on back. It works just fine and gives really nice gathers to the back of the shirt. Instead of a mistake, I prefer to call this a style detail.

Monday, January 30, 2012

In our homeschool, games are a regular part of the curriculum. With an ADD daughter and a son who dreads math worksheets, games are a fun way to liven up a sometimes dull subject. I was inspired by this marble arch game on Pinterest, but made a few changes to make it more versatile.

I used a whole box, minus the lid, so the marbles wouldn't run everywhere. The top and sides are covered with scrapbook paper, because I'm lazy and didn't want to wait for two or three coats of paint to dry. I painted the front with chalkboard paint (sigh, how I love chalkboard paint!), so I can change the numbers depending on what each child is working on. For the example above, you shoot two marbles through the arches and then multiply the numbers. Of course you could add, subtract, or divide the same way. But why stick with whole numbers? You could use fractions, decimals, or negative numbers. You could play with fraction bars, so the child collects the corresponding fraction bars until they have made a whole. You could use pattern blocks to practice geometry and/or cover a pattern block card with a design. You could use coin amounts and have the child collect the corresponding coins until they reach a dollar (or other specified amount). I love having wipe-off games that I can customize to whatever skill is needed!

Wednesday, January 25, 2012

Book Log Tutorial

The kids both have this book to keep track of what they are reading this year, so I decided to make one for myself, too. I have several old blank books lying around, so I decided to alter one instead of buying a pre-made log. I also wanted to have a book organized by subject, since I primarily read nonfiction. Lastly, I have lots of supplies I'd like to use up to make room for baby stuff.
I started with this blank book. I sanded the cover since it had a glossy finish. (Sorry, I had to take the pictures at night)
I crumpled up an old map, then applied Distress Ink (brick and burlap) stamp pads directly to the paper.
Spray the paper with water, then crumple again.
You can let the paper air dry, or if you are impatient like me, you can use a heat gun. When it is dry, rub a Distress Ink pad over the paper to highlight the texture. I used Marigold for contrast.
I wrapped the book with the paper, using matte medium as an adhesive. I ran a gray stamp pad over the edges for contrast. The title block is made from scrapbook paper, brad, and a cut out from my sketchbook.
I covered the inside end papers with scrapbook paper, and used extra supplies for the date.
I punched category tabs from scrapbook paper to divide the log by topic. Now let's see who reads more this year, me or the kids...

Sunday, October 16, 2011

Museum Scavenger Hunt Book

We have several museum trips coming up, thanks to free and reduced homeschool days, and I love using scavenger hunts to help focus the kids' energy when we are there. However, I do not love carrying a clipboard around, or trying to write against a wall or knee, or searching through the backpack for a pen. My solution? A book! I printed pre-made scavenger hunts from the Monterey Bay Aquarium website (many museums have them listed under the teacher resources, or you could make them yourself from pictures from the website) and bound them in a sturdy chipboard book, sort of following Angry Chicken's directions here. Instead of stapling the pages together, I folded each page in half and glued them back to back. Then I glued the first and last pages to the covers which made end pages and at the same time, secures all of the pages to the book.
This allowed the whole page to fold down for viewing, and the floating spine enables you to fold the whole book backwards. The hard chipboard covers (I took mine from the back of a sketchpad) provide a perfect surface for writing.
To keep track of the elusive pen, I added an elastic loop between the back page and the cover. To add extra hold insurance, I glued it down and then covered the edge with gaffer's tape.
That's all there is to it! Now I have a pint sized book of fun to focus our attention and our energy, and maybe discover something we hadn't noticed before. Now if I could only make our lunch bags and water bottles pint sized...

Thursday, September 8, 2011

Mystery Box

My new comprehension tool - the mystery box. This is slightly different from the learning kits I have been putting together, as you can change this one from day to day.
I used an old Math U See box and painted the top with chalkboard paint.
I filled the inside with items related to the Phoenicians, the section we were about to read in our history book. I had the kids inspect the items, and told them they needed to figure out how they related to the Phoenicians. This made them listen closely to the chapter, then use their critical thinking skills to figure out how the items were connected to the passage. It also helped my visual learner process the information in the book. The best part is that I can erase the title, fill it with something else, and use it again tomorrow!

Monday, August 15, 2011

Solar System in a Cylinder

I was browsing the Playful Learning and Imagine Childhood websites this weekend, and their products reminded me how much I love kits. The passion started early, when I would walk into those Sanrio mall stores and salivate over the little boxes filled with Hello Kitty stationary, stickers, and miniature pencils. Years later, I loved walking the aisles of Papyrus, lingering over the beautifully packaged cards and wrappings. Oh, and gift baskets, with all of those special little treats all bedecked with ribbons? Sigh.

Educational kits are fabulous, but often expensive. Why not make them myself? I could tailor them to what we are studying this year, use up some of those craft supplies that seem to breed in our home, and maybe motivate the kids in the process? Introducing....
Yes, the entire solar system in a can. Actually, it's a bunch of wool roving in a decorated coffee can. I chose bits of roving in colors to match the planets, then packaged each in a baggie (to protect it from the coffee smell that still filled the inside of the canister). The kids first had to decide which baggie was which planet (with the help of a book we read on the solar system), and then we tried turning the wool into felted balls. We used a You Tube tutorial at first, but it didn't go so well. Darling son said the wool made his hands itch and promptly left the activity. Considering he's allergic to everything, I didn't argue. Then I recalled that Amanda Soule had a tutorial in The Creative Family. I knew it would be kid friendly and easy, and it was. We used the kitchen sink instead of bowls outside (it was ninety degrees, after all), but the balls came together much better. I highly recommend the book, by the way. It's full of great projects and packed with good old fashioned inspiration.

Interest lasted for about two balls (it is time consuming), so I ended up doing the rest. I loved the process - very meditative. We set them outside to dry:
The kids have checked on them several times now, and are more excited about putting together a mobile with them when they are done. I haven't decided what to make the rings out of yet. Felt? Colored wire? I'll probably let the kids have the final say. Overall, they enjoyed most of it. I liked using up some supplies and having a project wrapped and ready to go. I have one other kit done that I will share next week, and more in the planning stages. Maybe I need to make a few adult ones as well. Who says that kids are the only ones allowed to have fun?


Friday, June 3, 2011

Dried Cherries

We went cherry picking earlier this week, and brought home over 10 pounds! Three days later we are down to less than half that amount, but some of that box ended up in my dehydrator. I invested in one last summer, since Max is so limited in his snack choices, and now is the season it seems to keep a permanent place on my counter. I own this stacking tray style, and it has worked just fine. Some day I might trade up for an Excalibur, but at the time I wasn't interested in spending that much money.

If you are going to dry cherries (or cook with them, for that matter), you need a cherry pitter. I think I spent $12 on mine, and it was well worth the money! Of course, if you are going to dry cherries, you need to pit them, first. I like to do this at the table with a movie playing  on the iPad. It's repetitive work, my friends.

When you are done, you'll have a nice big bowl of pits.
And a big bowl of pitted cherries! You will need to cut them in half for drying, but since the pitting tends to split them a bit, I find it easiest to just tear them with my hands.
Lay them on you trays, with space between for the air to flow. Mine took about 16 hours to dry at 145 degrees.
They are shriveled when done, but not crispy. They should have a similar consistency to raisins. If you are not sure, stick them in a glass jar with a tight lid for a couple of days. If you see any condensation form, throw them back into the dehydrator for another few hours.
Easy, wasn't it? We like ours in granola (my GF recipe is here), in oatmeal or chocolate cookies, on cereal, or just straight out of the jar for snacking!