Showing posts with label crafts. Show all posts

Thursday, July 30, 2015

Waldorf DIY


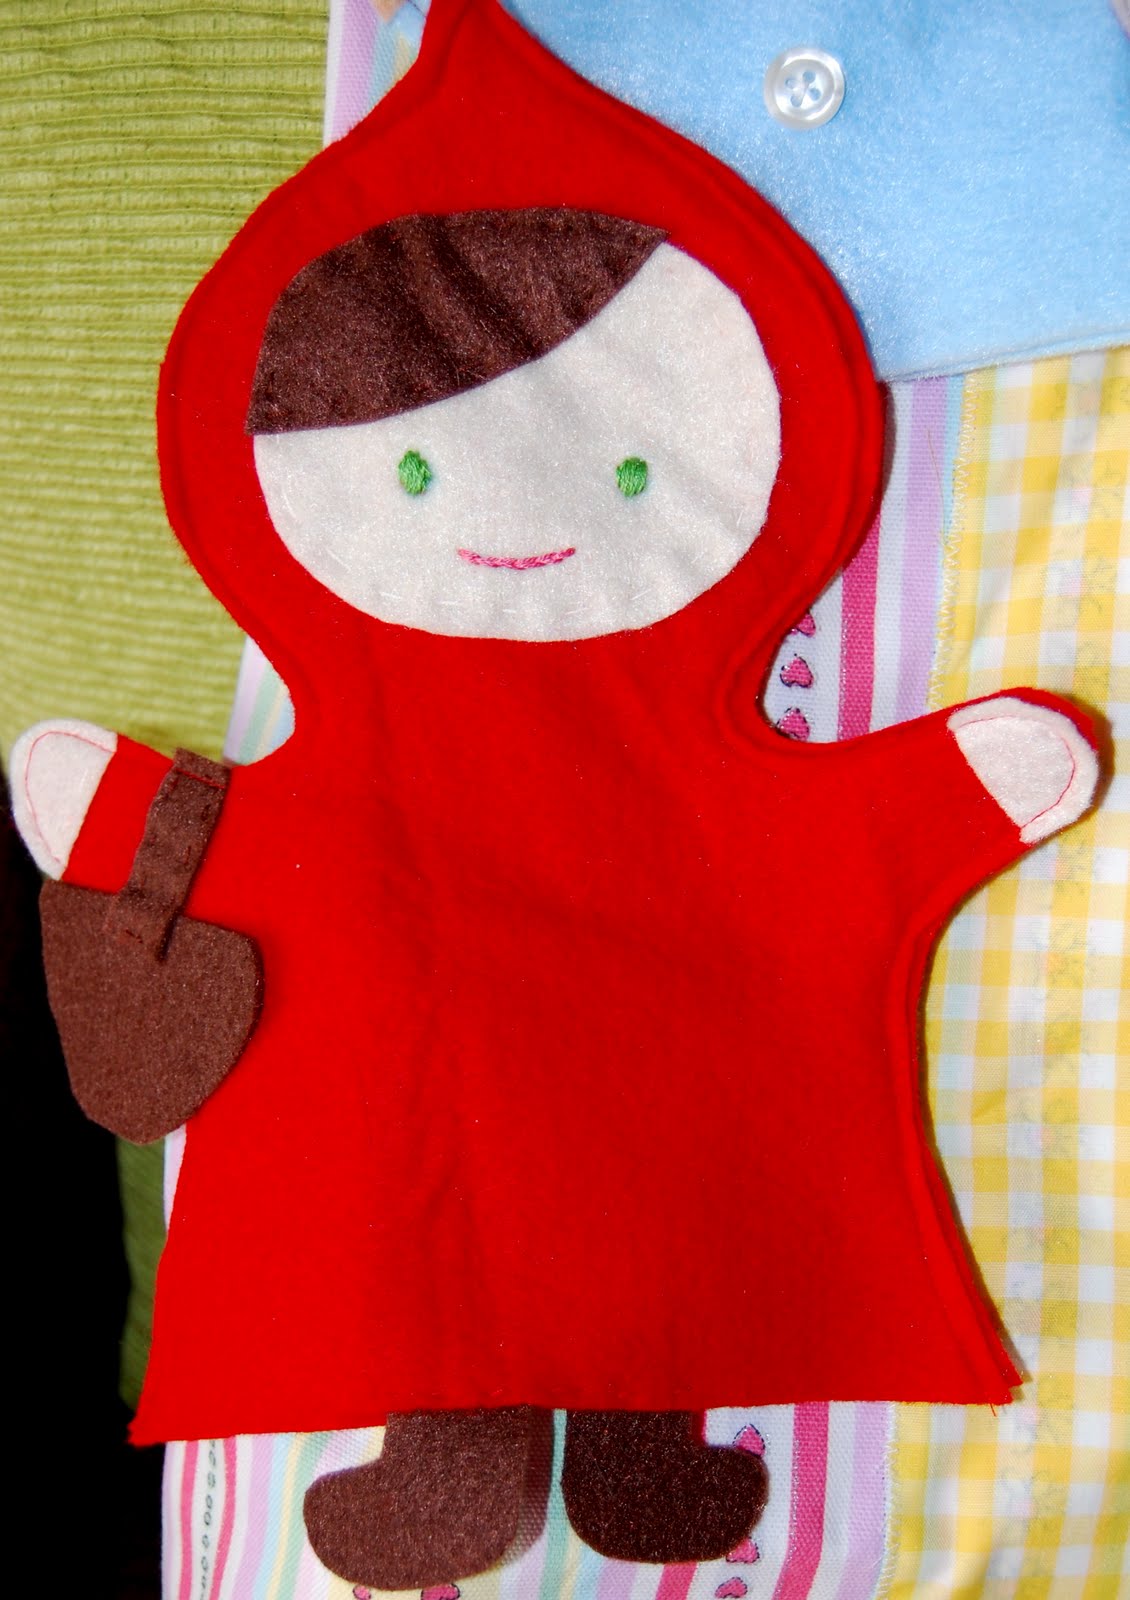
This summer the wee one turned three, and I thought he might be old enough now to incorporate some little Waldorf inspired bits in the house. Fingers were crossed that they wouldn't get ripped apart immediately or sent to permanently live in the train cars or truck beds. There are some lovely Waldorf toys in catalogs and on Etsy, but I was looking to create some pieces from what we had on hand. 

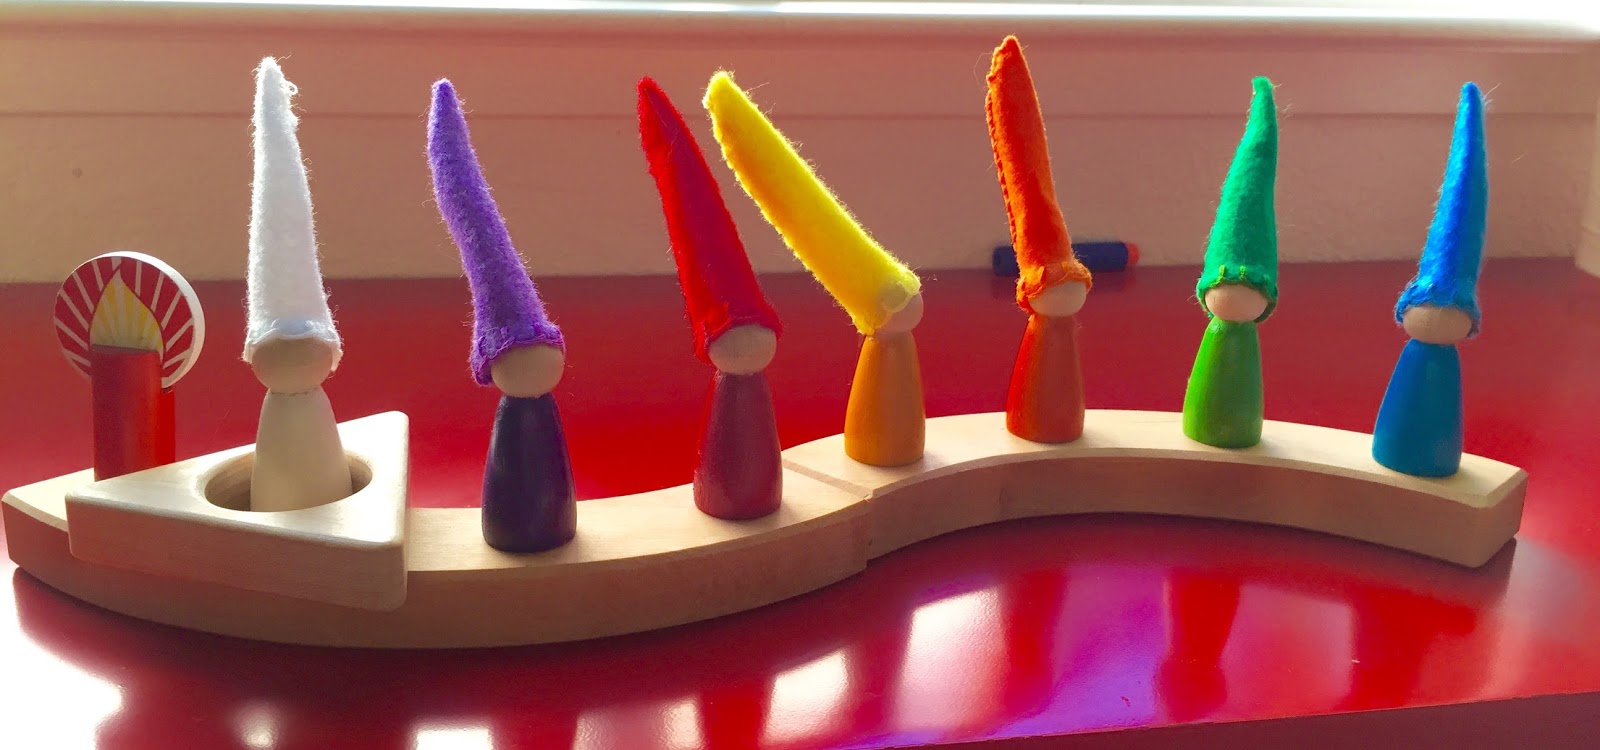
First off, I wanted a Days of the Week calendar. In Waldorf, each day of the week has its own color. I used two pieces of our birthday ring for the base, a wooden candle from a play food set, and a wood teething ring (!) for the day marker. The gnomes are just simple peg dolls that have a small base which fits perfectly in the ring. I decided not to write the days on the peg dolls since he can't read them anyway, and the color signifies to the little ones what day of the week it is. I was thrilled to get an additional use from the birthday ring.


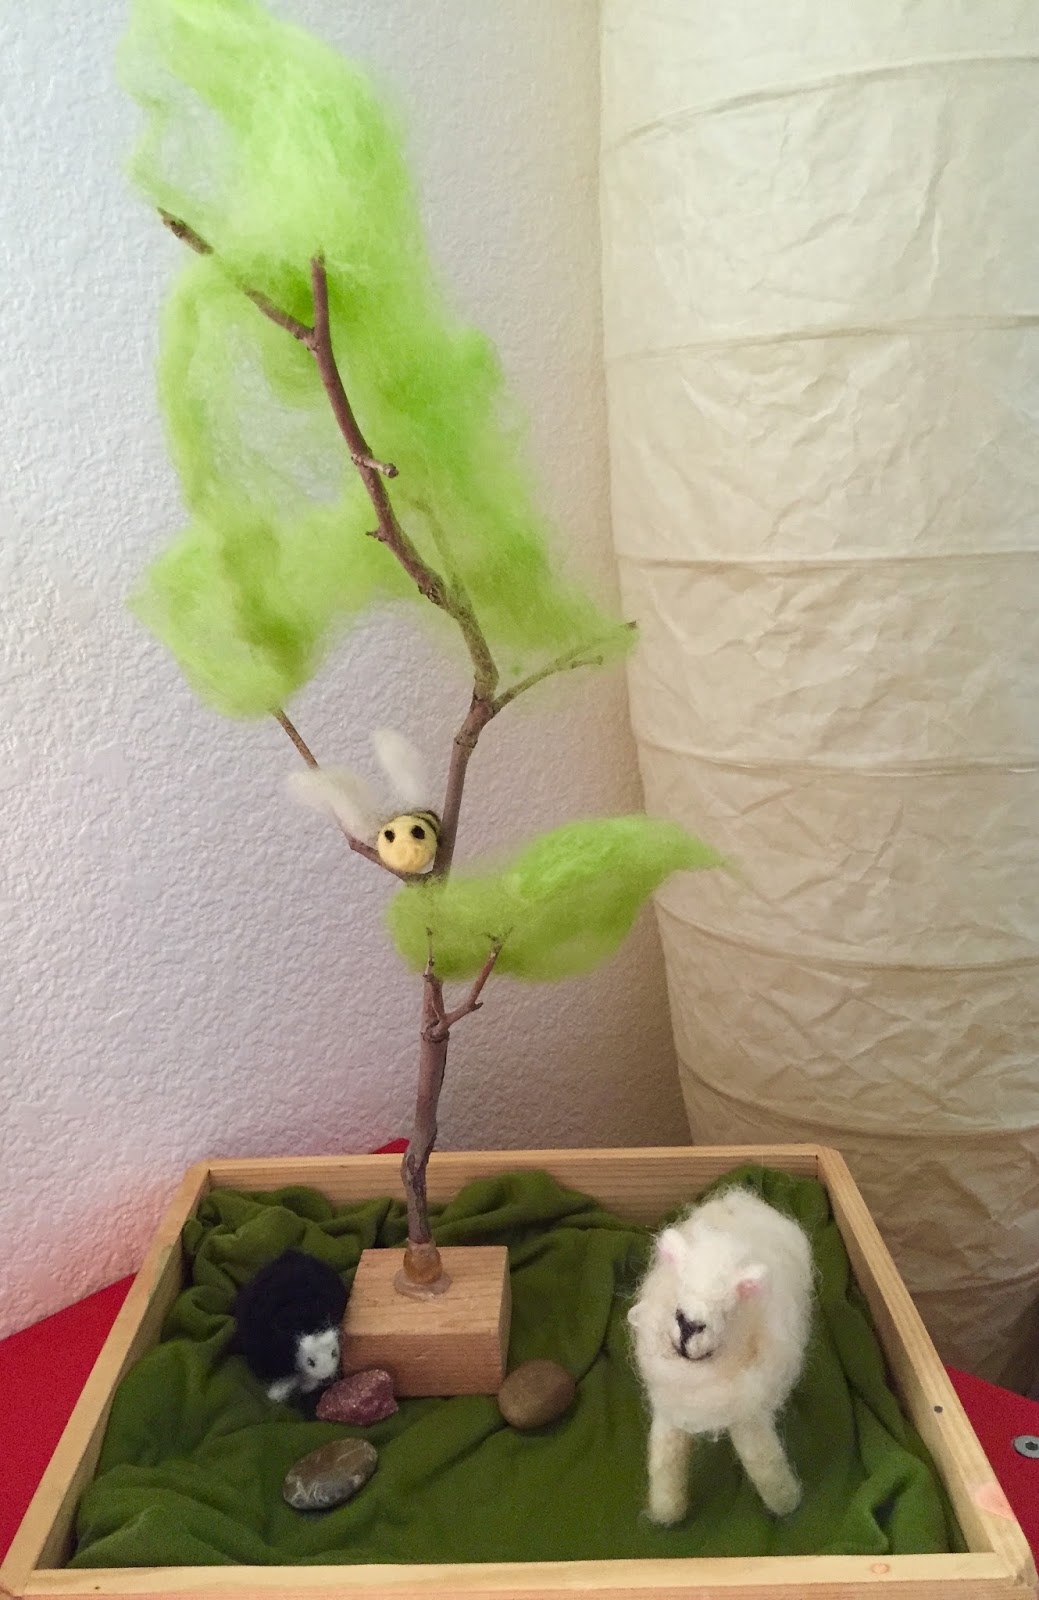
I felt that now he was finally ready for a nature table, but I didn't have a good spot in the house for it. So I found a wood tray (I think from a Doug and Melissa set), threw in a piece of green knit fabric and we had a nature tray! The tree was made from a twig that I glued to a block and used a bit of wool roving for the leaves. For the first week I just had the tree and some rocks. 


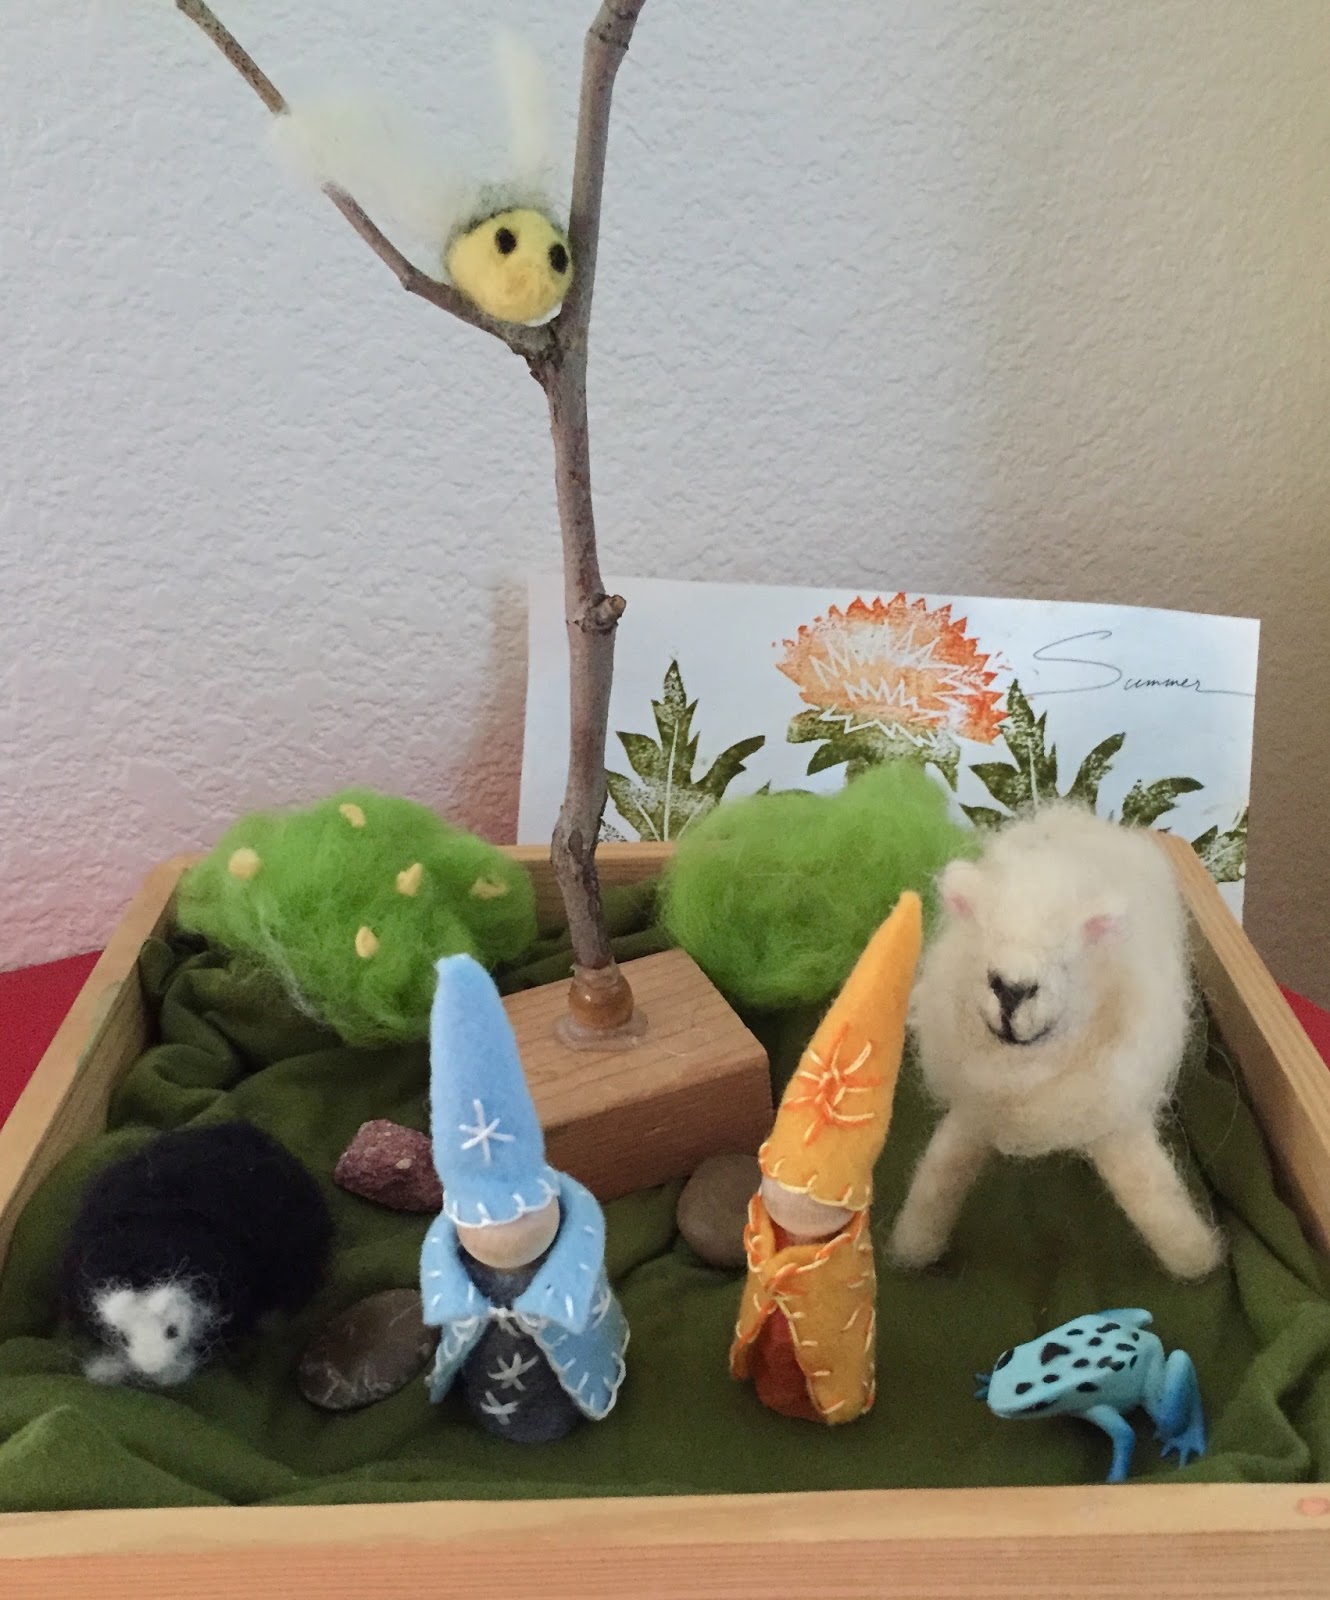
Over the next few weeks I added the bushes, some felted animals, a rubber frog to represent some we found in the creek, and  sun and moon gnomes. There is a little summer sign with a hand cut stamp, and I used a Scrabble tile holder as the base.

He likes to play with the pieces (as I knew he would), and sometimes they migrate to other places, but that's okay with me. He enjoys them, I didn't have to purchase anything, and they look cute on the bookcase!

Thursday, August 1, 2013

You Are My Sunshine Party

Yes, it's official - the baby is now a toddler. We had a small family party with a You Are My Sunshine theme. I had many plans for decor and food, but when the little guy decided to cut four teeth at once (yes, four!) the week before his party, I had to let many things go. That's okay; I'm pretty sure he didn't notice. I have some lovely felt and fabric birthday crowns pinned to my birthday board, but teething dictated a faster design. So, with a little craft felt and hot glue we had a birthday crown in the colors of the party. I used scrapbook paper from my stash to make the pinwheels on the table, and I placed a few in the grass leading up to the front door.


The plans for the pre-made mason jar drinks didn't quite materialize, but at least the straws and the jars did.


Sun, clouds, hot air balloons all worked together here. The baskets were made from strawberry baskets covered with scrapbook paper. The link for the cloud directions is on my birthday board.


Clouds were scattered on shelves as well. I used the yellow paper lanterns from the Lego Party on shelves in the living room.


Of course there had to be buntings! Most of the buntings were ones I had made for my mother's birthday party a few years ago, and fortunately they had the right color scheme, as did my wall;)


I really tried to pull all of my materials from my own stash, including the top banner. The letters were stamped onto punched kraft paper circles.


The back wall held our sun. I like big displays for decorating.

The banner was hand lettered on paper and the ends are scrapbook paper.


Of course there had to be a sun!
I used my GFCF carrot cake recipe for the cupcakes.
I couldn't resist adding a few cute shots!


Happy Birthday Alex!

Sunday, May 19, 2013

The Lego Birthday

For a boy who has been obsessed with Lego from pretty much birth, it has taken us nine years to actually have a Lego themed birthday party. Of course the first place I turned was Pinterest, and you can find all of my inspiration on my birthday ideas board. I will be the first to admit that I was a bit over ambitious, considering I had an eight month old competing for my attention, but I think the late night crafting sessions were worth it.

I used wrapping paper and punched cardstock circles to turn our front door into giant lego bricks. The Lego figure (our third place scarecrow from the Ruth Bancroft gardens contest last fall) held a bunch of balloons on the day of the party to welcome guests.

A birthday banner made using a Lego font and printables found on Pinterest.
Since Amazon is my best friend, I had plenty of boxes to wrap like giant Legos. The mini figure heads were from paper lanterns found in the dollar spot at Target and spray painted yellow. I just taped the features on so I could remove them later and re-use the lanterns for the baby's "You are my sunshine" themed birthday in July.
More giant Lego bricks and balloons that my AWESOME sister-in-law waited forty-five minutes to get! Who knew party stores had balloon traffic jams??
The birthday boy didn't want games, only building time, so we set up three large tables in the backyard and baskets of bricks. A simple cardstock brick banner and colored tablecloths were the only decorations.
Although the circles were punched and glued on, they didn't have enough dimension. Since I really didn't want to make a trip to the craft store for pop dots, I simply outlined the circles instead.
Cardstock again provided a backdrop for the party table. I used the extended area as a photo booth,
complete with props.
I think that may have been my favorite part.
I was too busy getting out the food to take pictures of it, but prior to the party the kids helped me assemble Lego juice boxes and utensil holders. For the party I used the crock pot hotdogs and fruit in waffle cones from my Pinterest birthday board, and all were pleased. I will definitely use both for the baby's party - so easy to prepare ahead of time!
I loved all of the brightly colored Lego party bags on saw on Pinterest, but our Michaels only had the white bags in stock. Sigh. At least it made the tags pop. Inside the favor bags were Lego mini figure crayons and chocolate bricks (I found both of the molds on Amazon) and a mini figure t-shirt that I silkscreened from an image in one of his instruction booklets. I loved the way the shirts turned out!
T-shirts are one of my favorite party favors - they won't rot your teeth or break after three days!
The boy was pleased, I think a good time was had by all, and I learned that it is never to early to begin planning. You can see my pins for the baby's birthday on my Pinterest board, too! Happy Birthday, big guy!

Wednesday, January 25, 2012

Book Log Tutorial

The kids both have this book to keep track of what they are reading this year, so I decided to make one for myself, too. I have several old blank books lying around, so I decided to alter one instead of buying a pre-made log. I also wanted to have a book organized by subject, since I primarily read nonfiction. Lastly, I have lots of supplies I'd like to use up to make room for baby stuff.
I started with this blank book. I sanded the cover since it had a glossy finish. (Sorry, I had to take the pictures at night)
I crumpled up an old map, then applied Distress Ink (brick and burlap) stamp pads directly to the paper.
Spray the paper with water, then crumple again.
You can let the paper air dry, or if you are impatient like me, you can use a heat gun. When it is dry, rub a Distress Ink pad over the paper to highlight the texture. I used Marigold for contrast.
I wrapped the book with the paper, using matte medium as an adhesive. I ran a gray stamp pad over the edges for contrast. The title block is made from scrapbook paper, brad, and a cut out from my sketchbook.
I covered the inside end papers with scrapbook paper, and used extra supplies for the date.
I punched category tabs from scrapbook paper to divide the log by topic. Now let's see who reads more this year, me or the kids...

Thursday, December 8, 2011

December Bits

'Tis the season to be crazy busy, and this year has to be the craziest by far. Still, we've had some quiet winter moments:
Decorating the tree (the kids did it all this year!) and wrapping the advent Christmas books for an extra special surprise
Catching up with Santa at the Girl Scout Toy Drive
A dinner picnic by the Christmas tree watching Christmas videos
and painting sparkle snow pictures with friends. Just combine 2/3 cup Epsom Salts with 1/3 cup water, and paint on colored paper. It dries to a snowy sparkle! Wishing you a little holiday peace this week.

Wednesday, September 21, 2011

Monday, August 15, 2011

Solar System in a Cylinder

I was browsing the Playful Learning and Imagine Childhood websites this weekend, and their products reminded me how much I love kits. The passion started early, when I would walk into those Sanrio mall stores and salivate over the little boxes filled with Hello Kitty stationary, stickers, and miniature pencils. Years later, I loved walking the aisles of Papyrus, lingering over the beautifully packaged cards and wrappings. Oh, and gift baskets, with all of those special little treats all bedecked with ribbons? Sigh.

Educational kits are fabulous, but often expensive. Why not make them myself? I could tailor them to what we are studying this year, use up some of those craft supplies that seem to breed in our home, and maybe motivate the kids in the process? Introducing....
Yes, the entire solar system in a can. Actually, it's a bunch of wool roving in a decorated coffee can. I chose bits of roving in colors to match the planets, then packaged each in a baggie (to protect it from the coffee smell that still filled the inside of the canister). The kids first had to decide which baggie was which planet (with the help of a book we read on the solar system), and then we tried turning the wool into felted balls. We used a You Tube tutorial at first, but it didn't go so well. Darling son said the wool made his hands itch and promptly left the activity. Considering he's allergic to everything, I didn't argue. Then I recalled that Amanda Soule had a tutorial in The Creative Family. I knew it would be kid friendly and easy, and it was. We used the kitchen sink instead of bowls outside (it was ninety degrees, after all), but the balls came together much better. I highly recommend the book, by the way. It's full of great projects and packed with good old fashioned inspiration.

Interest lasted for about two balls (it is time consuming), so I ended up doing the rest. I loved the process - very meditative. We set them outside to dry:
The kids have checked on them several times now, and are more excited about putting together a mobile with them when they are done. I haven't decided what to make the rings out of yet. Felt? Colored wire? I'll probably let the kids have the final say. Overall, they enjoyed most of it. I liked using up some supplies and having a project wrapped and ready to go. I have one other kit done that I will share next week, and more in the planning stages. Maybe I need to make a few adult ones as well. Who says that kids are the only ones allowed to have fun?


Monday, June 27, 2011

Puppets!


I have a tradition of making something for my goddaughter's birthday. It has been clothes in the past, but this year I decided to do something a little different - puppets! Although my own kids were only mildly interested in puppets, I have great memories of my own puppet theater, and the time I spent making up stories and performing shows. My little goddaughter is a bundle of energy and is a natural performer, so I thought she might enjoy a little dramatic play. 


The puppets are simple felt creations, with the clothes and details sewed by hand on the top piece, and then the front and back were machine stitched.
The eyes and mouths were embroidered. I took a general fairytale theme, but tried to make the puppets simple enough to be used in a variety of stories.
I think Red is my favorite, but when she was removed from the bag, her brother exclaimed that she looked like a ketchup bottle! I just had to laugh, because she does, really. Inside the drawstring bag is also a portable theater; simply a tension rod that fits in a doorway, with a simple curtain made out of the same princess canvas as the bag. It's easy to put up, easy to take down, and everything (plus any extra puppets of her own) fits inside the drawstring bag.