Showing posts with label kids. Show all posts

Sunday, August 30, 2015

Super Cute Felt


During a web library search for a different felt book, I stumbled upon Super-Cute Felt Animals by Laura Howard and thought I'd give it a try. The patterns are simple, very simple, but that makes for perfect beginning sewing projects for kids. The animals are also small, around four inches on average, which makes them super quick to finish - another bonus when sewing with children! My eleven year old is learning to hand sew this year, so we worked together on a few projects from the book:


and here are the fish and the whale on this month's nature table:


If you have even moderate sewing experience, you may find this book a little disappointing. These designs have a single front and back piece, which makes them essentially flat, even when stuffed. For felt animals that I plan to sew for the little guy, I'm using slightly more complicated patterns from another book. That said, I have enjoyed working on these projects! They are super fast, as in whip one up after breakfast for play time that morning fast, and my son can complete one without getting frustrated. They would make cute ornaments or backpack friends, and although I could draw up the patterns myself, it is so much more convenient to trace or photocopy them and hand them off to be completed by the next available child. I would definitely give this book a whirl if you have a beginning sewer and can find it at your local library.

Sunday, August 23, 2015

Dangerous Things


I spent an afternoon binge listening to the NPR TED Radio Hour podcast while I sorted through our bookshelves and homeschooling supplies recently.  If you've never heard them, you must subscribe; seriously, do it right now. You won't regret it. For the podcast, they pick a theme, then play portions of TED talks which relate to that theme, and also interview the presenters. A talk, 
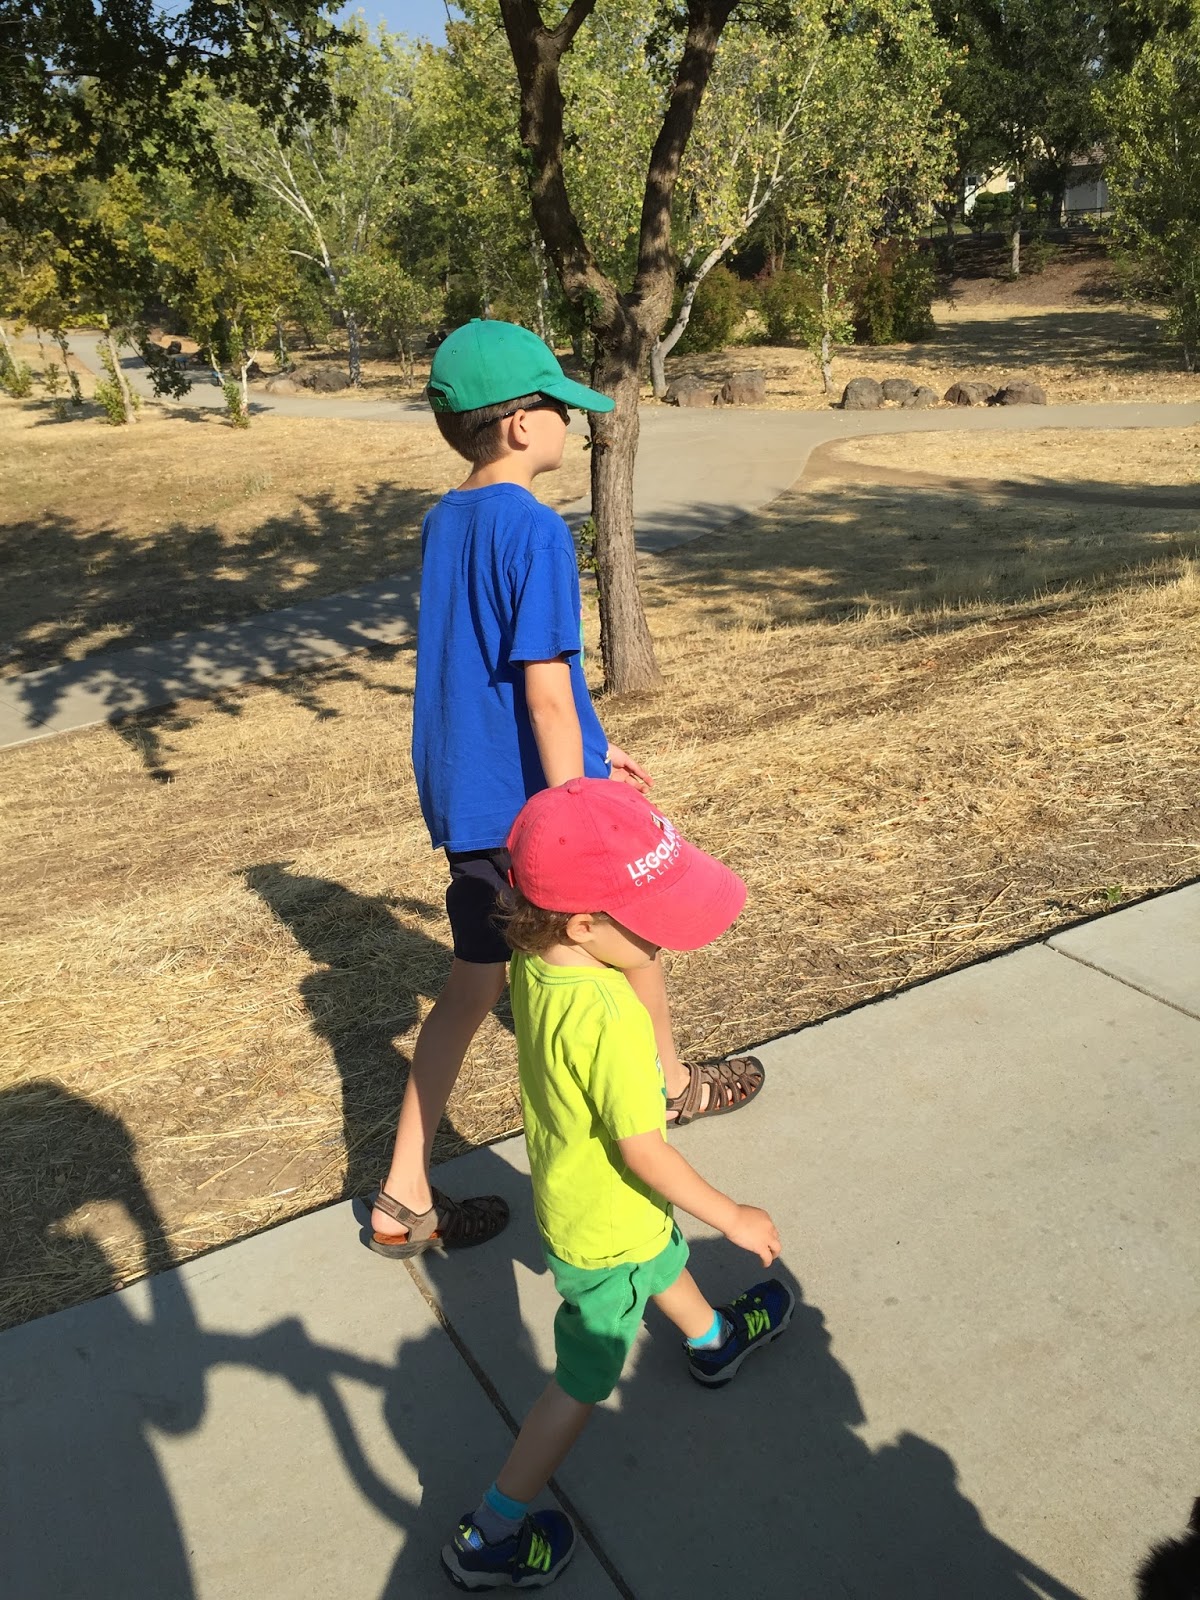
5 dangerous things you should let your kids do, caught my attention. Granted, the notion that you should allow your children to take risks or try activities that might not be approved by the AAP is not a new idea, but this talk sparked a little more reflection than usual on my part. The older kids were spending a week with their grandparents, and during a FaceTime call my son showed us the sewing machine he had just made a project on. My first reaction was surprise and a little thrill, since he really enjoyed sewing (hooray!). My husband's first reaction was something like, "Wow, be careful using that." He saw danger. I did not.

The next day my father in law called to ask how to cook the allergy friendly mac and cheese I sent up. After talking him through the steps I mentioned that Madeline could help, since she had made it before at home. He noted his concern about boiling water. He saw danger. I did not.

While camping, my husband taught Max how to make a camp fire. He let him build it, feed it and stoke it. It was a pretty big fire. I saw danger. He did not.

Upon reflection, I realized how intimately connected the risk we allow our kids is intertwined with our own feeling of expertise. My mother in law and myself are completely comfortable with kids using a sewing machine because we both sew. I sewed on machines at ten years old. I started cooking around that age, too. Baking actually - from scratch, the whole nine yards. So I feel comfortable with teaching my kids to use the stove and oven. My father in law, and my husband for that matter, see the risk, because they are not comfortable in the kitchen. Just as I saw the risk with the camp fire, which is not part of my responsibilities when we camp.

Of course, now the question becomes how do we get comfortable with risks that are outside our areas of expertise? Oh, that is the catch, isn't it? How 
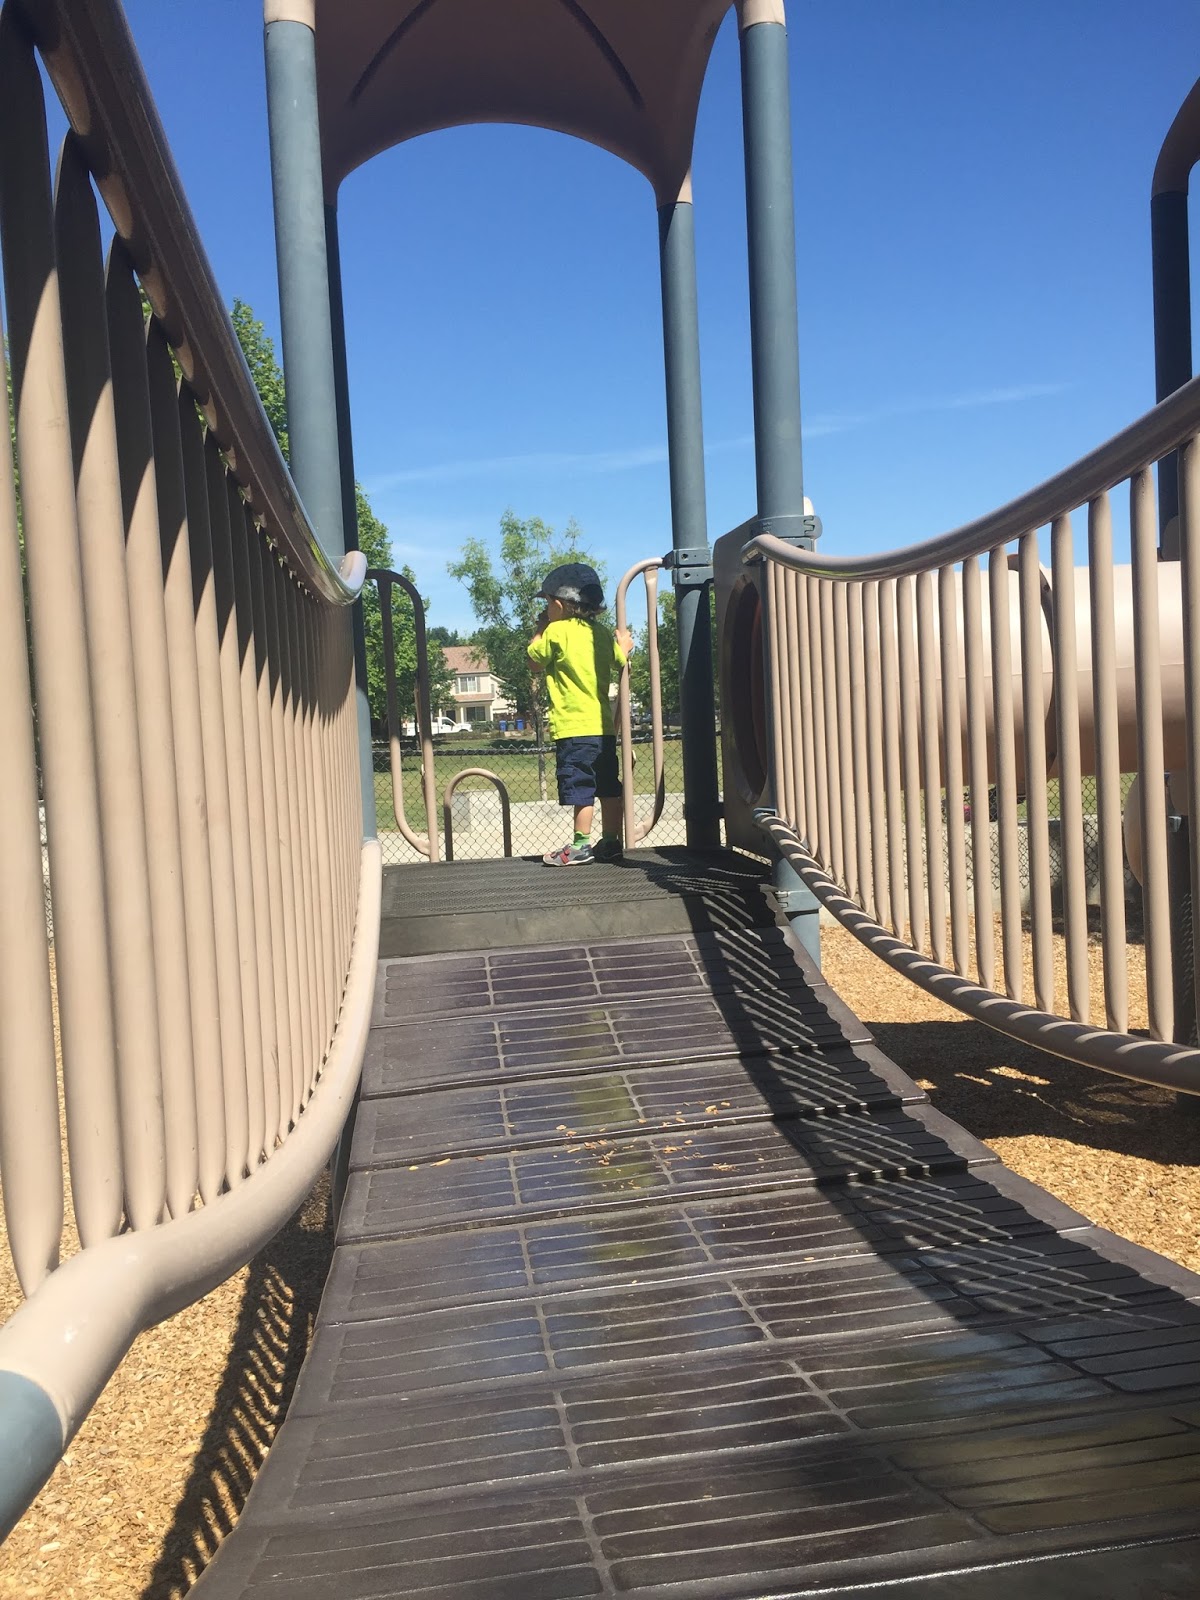
did my mother feel comfortable with me using the oven when she'd never made a cookie from scratch in her life? While I'm pretty good at letting my kids use tools and appliances to create what they wish, I'm much more protective with physical risks. Climb that towering tree? Jump off of high places? That's much harder for me to approve. And yet we know that's exactly what we should be doing, within reason. We should be allowing for wings to expand, for space to explore, for challenges that just might cause injury, but definitely will cause pride and a sense of accomplishment.

It's still an open question for me. I am making more of a conscious effort this year to allow more risks in areas I feel comfortable with (more sewing!!!) but also encouraging my husband to expose the kids   to things he feels confident in (power tools, anyone?). And those dangerous things that scare me? Well, for now, once in awhile, I will try to smile and say, "sure, but be careful." Try.

Do you allow your kids to do "dangerous things"?

Tuesday, August 18, 2015

Not Back to School


Well, it's that time of year again, when we homeschoolers don't go back to school.  We started our day with a walk to the park, and unfortunately, the timing was just wrong on this shot so I didn't capture their sweet hand in hand stride.


Both kids are starting off with sound for physics this year, so our first board went with the poem by Rumi, "The Breeze at Dawn."


Alex got his own board to match the ocean theme of his nature table this month. We have been making little felt creatures to go with it, but more on that in the next post.

Two days in and we all survived. It's a heavy academic year, with both kids in middle school, and the planning this summer was tremendous. I know it will pay off, but I have to admit that I am somewhat mourning the loss of my last month of summer! It is fantastic to be back in that learning rhythm. I do like having more structure to the days, and that sense of accomplishment when items are checked off of the to-do list. The school rhythm is a work in progress, as right now I only have academics scheduled. I'll be using the next two weeks to figure out where to add in form drawing, handwork projects, exercise for the kids and piano. Yes, form drawing in middle school. We haven't done much of it, since we came to Waldorf late, but I think both kids could still benefit from it, especially to improve handwriting. Madeline enjoys it; she says she finds it meditative. Isn't it fantastic when they unexpectedly express exactly what is supposed to be happening on a deeper level? Then you really know this "crazy" Waldorf stuff is working!

Thursday, July 30, 2015

Waldorf DIY


This summer the wee one turned three, and I thought he might be old enough now to incorporate some little Waldorf inspired bits in the house. Fingers were crossed that they wouldn't get ripped apart immediately or sent to permanently live in the train cars or truck beds. There are some lovely Waldorf toys in catalogs and on Etsy, but I was looking to create some pieces from what we had on hand. 

First off, I wanted a Days of the Week calendar. In Waldorf, each day of the week has its own color. I used two pieces of our birthday ring for the base, a wooden candle from a play food set, and a wood teething ring (!) for the day marker. The gnomes are just simple peg dolls that have a small base which fits perfectly in the ring. I decided not to write the days on the peg dolls since he can't read them anyway, and the color signifies to the little ones what day of the week it is. I was thrilled to get an additional use from the birthday ring.


I felt that now he was finally ready for a nature table, but I didn't have a good spot in the house for it. So I found a wood tray (I think from a Doug and Melissa set), threw in a piece of green knit fabric and we had a nature tray! The tree was made from a twig that I glued to a block and used a bit of wool roving for the leaves. For the first week I just had the tree and some rocks. 


Over the next few weeks I added the bushes, some felted animals, a rubber frog to represent some we found in the creek, and  sun and moon gnomes. There is a little summer sign with a hand cut stamp, and I used a Scrabble tile holder as the base.

He likes to play with the pieces (as I knew he would), and sometimes they migrate to other places, but that's okay with me. He enjoys them, I didn't have to purchase anything, and they look cute on the bookcase!

Sunday, May 31, 2015

Exhale. The combination of a toddler and technical issues with Google has left this blog quiet for far too long. There are many posts in the works, if the tech gods continue to be on my side;) For now I leave you with this week's chalkboard drawings, my favorite Waldorf obsession:


Soldiers' Tree
Wish

Baa Baa Black Sheep


Friday, December 6, 2013

Lego Geometry - Circles


Circles from rectangular building blocks? Am I crazy? No, I did not give the kids the task of creating circles from Legos, but we did create tools from Legos to make circles! The bricks pictured above are the ones we found in our collection that worked the best, but sort through yours and see what you can find.


Our favorite compass consisted of a long rectangular flat block with a half circle piece at each end (the kind with the holes). To make a circle, secure the compass at one end with a sharp pencil, then use a second pencil through the other hole to trace your arc. It helps if you tape the paper down first or have somebody hold it.


Flat pieces that have holes in the center also work well. The circular piece needs a very sharp pencil point as only a small portion shows.


The kids experimented with different sized pieces to make smaller and larger circles. We discussed pi and they measured diameter and radius, as well as calculating circumference. Who said Legos can't make circles?


Sunday, October 13, 2013

Lego Geometry - Triangles and Polygons


After learning about the different types of angles, building them with Legos and measuring the tracings with protractors, we moved on to triangles and polygons. It's a pretty easy leap to take your Lego angles and add a third piece to make a triangle.


Easy in theory, yes, but in reality it can be difficult to find a third piece that is just the right size. Make sure you have as many pieces as you can scrounge out of those Lego bins for this activity, and remember you are looking for the shape inside the Lego, not around the perimeter. You would have a pretty wonky triangle if you tried to trace the outside, but look how nice they come out when you trace inside! We classified our triangles by sides ( equilateral, isosceles and scalene) and angles (right, acute and obtuse), then the kids traced examples of each in their math notebooks. You could also measure the angles of the triangles you traced with your protractor.


Break out those double row bricks for polygons, and of course you can use your single rows as well. The kids had fun combining different bricks to make some wild polygons. A polygon is a multi-sided  two dimensional figure made up of three or more line segments, so you can really go to town with building these shapes. We started out with traditional shapes such as squares and rectangles, then moved on to more creative builds. Since these were rather large constructions, the kids drew their examples instead of tracing them.

The real challenge is coming up next time - circles!

Tuesday, October 8, 2013

Lego Geometry - angles


Math is not a favorite subject for either of my children, even though it comes so easily to Max. I am always looking for a way to make it more fun, more appealing, and nothing is more appealing to my kids than Legos. So, when we started a geometry unit, I thought it would be a perfect pairing. I sorted through the Lego baskets and pulled pieces that would work well with line segments and angles, our first lessons. I mostly selected the thin, single row Legos you see above, in different lengths. I introduced the concept of lines and line segments using the pieces, then we made parallel and perpendicular lines using the bricks.

Taking those line segments and perpendicular lines, we snapped them together (or pivoted them, in the case of perpendicular lines) to create angles. We opened them to different widths to show acute, right and obtuse angles.


We traced them in our math journals and labeled the three different kinds of angles. You need to trace the inside of the angle, not the outside. It also helps if someone holds it, because they have a tendency to shift on you while you are tracing!


The next day I told the kids to create five different angles and trace them in their notebooks. I expected that they would make five individual angles, but they both surprised me with their approach. Max made one angle, then just pivoted it to create different degrees. Madeline took the right brain approach and created the structure on the right, then laid it in her notebook and traced the different angles it creates. I love their creative problem solving!

Thursday, September 19, 2013

Eggshell Geodes

This has to be one of my favorite science experiments! We have made crystals in different ways, but the crystal formations from one method we tried was just amazing.

Directions for these "geodes" can be found all over the internet, and these are made from Epsom salts and water.  The photograph above shows the results of two different curing methods. The carton on the left was grown in the refrigerator. The one on the right was left in the kitchen window to dry out. These pictures were taken a couple of months after we made them, so the original color has faded somewhat.

The refrigerator method gave much larger, more impressive crystals. For both batches we used these basic instructions. On another blog I read the idea of putting them in the refrigerator to crystalize, but I'm afraid I can't remember what blog it was. Another hint I read from the unnamed blog was to make sure you have a good slurry. It's the slurry you want in your shells, not the thin top liquid.
Here is a close up of the air dried version. The crystals were much finer, and sparse. It actually took about a week longer for the liquid to dissolve in the air dried shells versus the ones in the fridge!

It's a simple experiment, calling only for a few ingredients and about ten minutes of actual work time. I had been saving eggshells for a few weeks prior, rinsing them and letting them dry in the kitchen window. The fun came in watching the crystals emerge over the next two weeks. 

Thursday, August 1, 2013

You Are My Sunshine Party

Yes, it's official - the baby is now a toddler. We had a small family party with a You Are My Sunshine theme. I had many plans for decor and food, but when the little guy decided to cut four teeth at once (yes, four!) the week before his party, I had to let many things go. That's okay; I'm pretty sure he didn't notice. I have some lovely felt and fabric birthday crowns pinned to my birthday board, but teething dictated a faster design. So, with a little craft felt and hot glue we had a birthday crown in the colors of the party. I used scrapbook paper from my stash to make the pinwheels on the table, and I placed a few in the grass leading up to the front door.


The plans for the pre-made mason jar drinks didn't quite materialize, but at least the straws and the jars did.


Sun, clouds, hot air balloons all worked together here. The baskets were made from strawberry baskets covered with scrapbook paper. The link for the cloud directions is on my birthday board.


Clouds were scattered on shelves as well. I used the yellow paper lanterns from the Lego Party on shelves in the living room.


Of course there had to be buntings! Most of the buntings were ones I had made for my mother's birthday party a few years ago, and fortunately they had the right color scheme, as did my wall;)


I really tried to pull all of my materials from my own stash, including the top banner. The letters were stamped onto punched kraft paper circles.


The back wall held our sun. I like big displays for decorating.

The banner was hand lettered on paper and the ends are scrapbook paper.


Of course there had to be a sun!
I used my GFCF carrot cake recipe for the cupcakes.
I couldn't resist adding a few cute shots!


Happy Birthday Alex!

Sunday, May 19, 2013

The Lego Birthday

For a boy who has been obsessed with Lego from pretty much birth, it has taken us nine years to actually have a Lego themed birthday party. Of course the first place I turned was Pinterest, and you can find all of my inspiration on my birthday ideas board. I will be the first to admit that I was a bit over ambitious, considering I had an eight month old competing for my attention, but I think the late night crafting sessions were worth it.

I used wrapping paper and punched cardstock circles to turn our front door into giant lego bricks. The Lego figure (our third place scarecrow from the Ruth Bancroft gardens contest last fall) held a bunch of balloons on the day of the party to welcome guests.

A birthday banner made using a Lego font and printables found on Pinterest.
Since Amazon is my best friend, I had plenty of boxes to wrap like giant Legos. The mini figure heads were from paper lanterns found in the dollar spot at Target and spray painted yellow. I just taped the features on so I could remove them later and re-use the lanterns for the baby's "You are my sunshine" themed birthday in July.
More giant Lego bricks and balloons that my AWESOME sister-in-law waited forty-five minutes to get! Who knew party stores had balloon traffic jams??
The birthday boy didn't want games, only building time, so we set up three large tables in the backyard and baskets of bricks. A simple cardstock brick banner and colored tablecloths were the only decorations.
Although the circles were punched and glued on, they didn't have enough dimension. Since I really didn't want to make a trip to the craft store for pop dots, I simply outlined the circles instead.
Cardstock again provided a backdrop for the party table. I used the extended area as a photo booth,
complete with props.
I think that may have been my favorite part.
I was too busy getting out the food to take pictures of it, but prior to the party the kids helped me assemble Lego juice boxes and utensil holders. For the party I used the crock pot hotdogs and fruit in waffle cones from my Pinterest birthday board, and all were pleased. I will definitely use both for the baby's party - so easy to prepare ahead of time!
I loved all of the brightly colored Lego party bags on saw on Pinterest, but our Michaels only had the white bags in stock. Sigh. At least it made the tags pop. Inside the favor bags were Lego mini figure crayons and chocolate bricks (I found both of the molds on Amazon) and a mini figure t-shirt that I silkscreened from an image in one of his instruction booklets. I loved the way the shirts turned out!
T-shirts are one of my favorite party favors - they won't rot your teeth or break after three days!
The boy was pleased, I think a good time was had by all, and I learned that it is never to early to begin planning. You can see my pins for the baby's birthday on my Pinterest board, too! Happy Birthday, big guy!