Showing posts with label math. Show all posts

Sunday, February 21, 2016

Klee Art Projects

Paul Klee was a Swiss painter who spent most of his life living in Germany. He was a talented musician as well, and often tried to capture the feeling of musical rhythm and movement in his paintings, especially his abstract color studies. Klee explored balance, geometry and color, and the warm red, yellow and orange colors he experienced on a trip to Tunisia show up in much of his work.

The first work we'll explore is Cat and Bird. This is a great example of balance versus symmetry in art. The cat's face is not symmetrical (exactly the same on either side), but it is balanced. If you divide the composition into thirds, either horizontally or vertically, you can see that there is a point, counter point or weight to balance the planes. This could definitely lead to some math work in symmetry or fractions, homeschool moms!

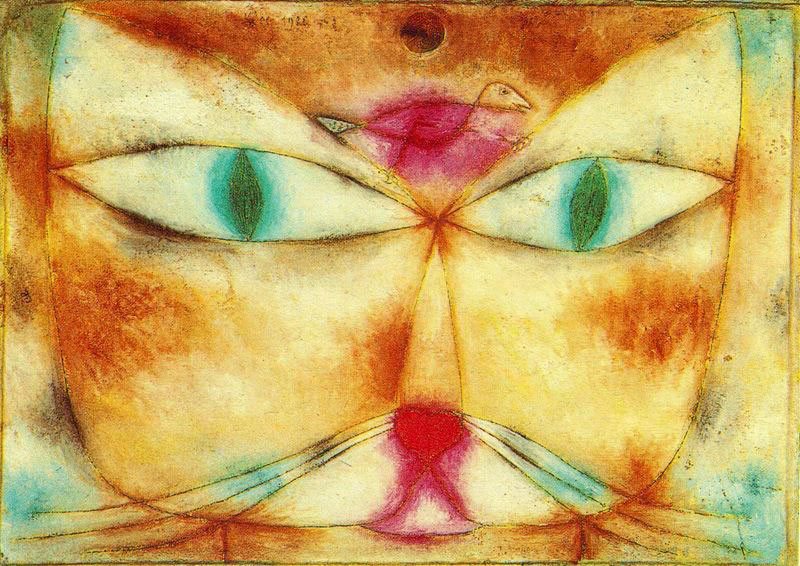
Point out to your kids that the face is composed of two tear drop shapes that overlap in the middle like a Venn diagram (oh, that math again!), with a u shape for the mouth and that same tear drop shape, pulled out on either side, for the eyes. Add a heart nose, whiskers, and whatever is on the cat's mind! Trace over your picture with Sharpie, then erase the pencil lines.


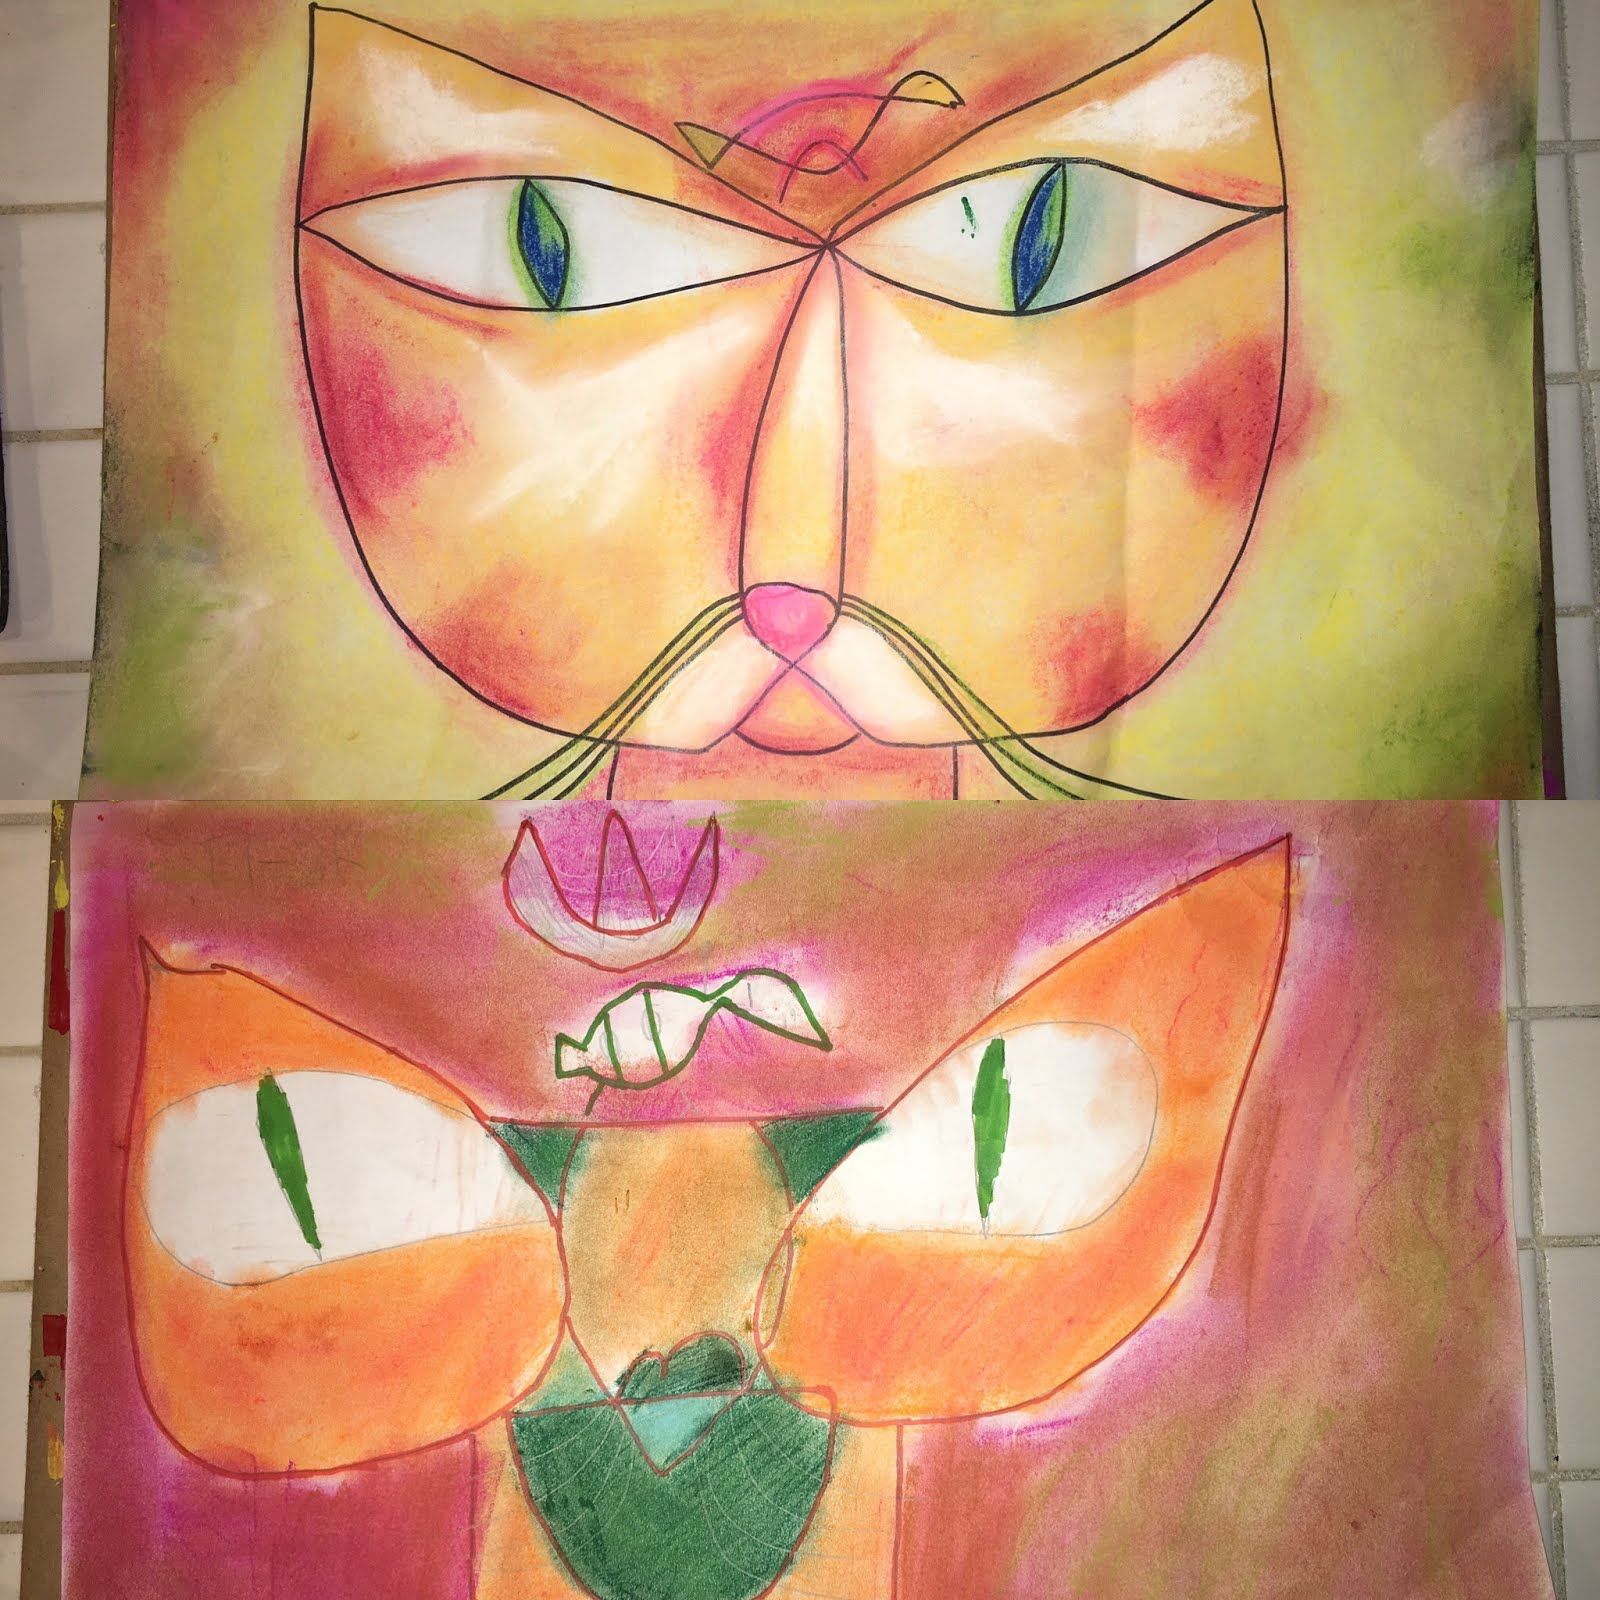
We did our pictures with chalk pastels, choosing three colors for the cat's face and a few additional for the background. The key to working with pastels is blending and layering, blending and layering.

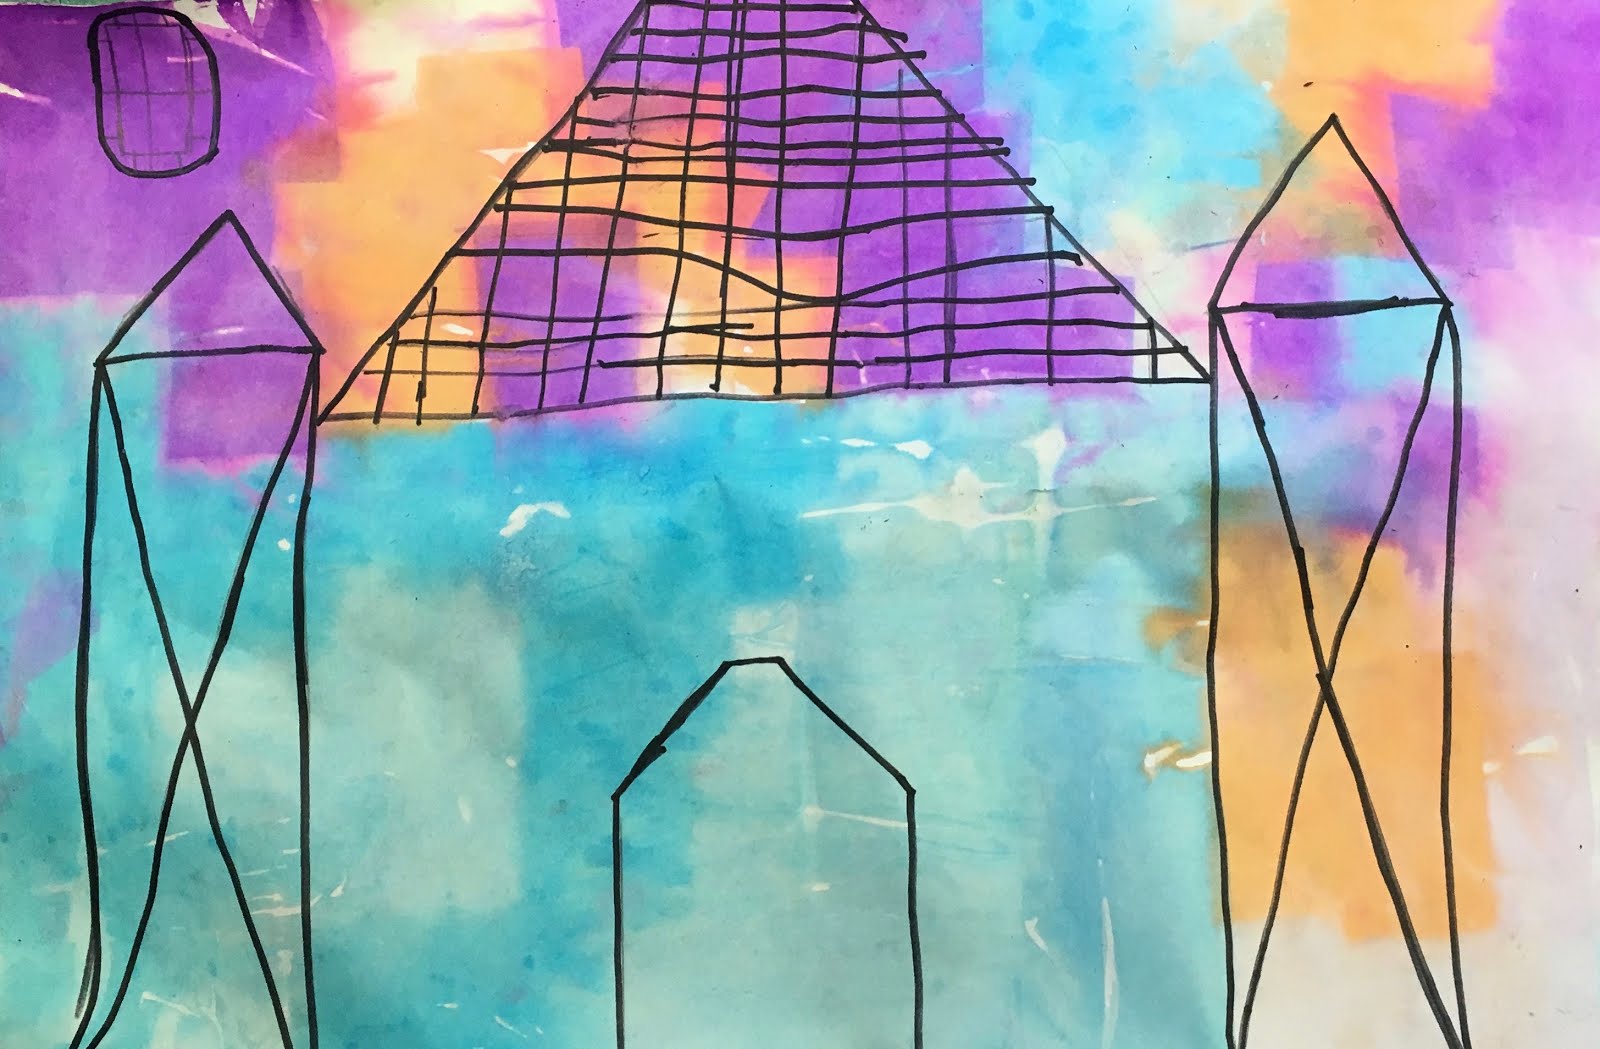
Our next project was inspired by Castle and Sun.


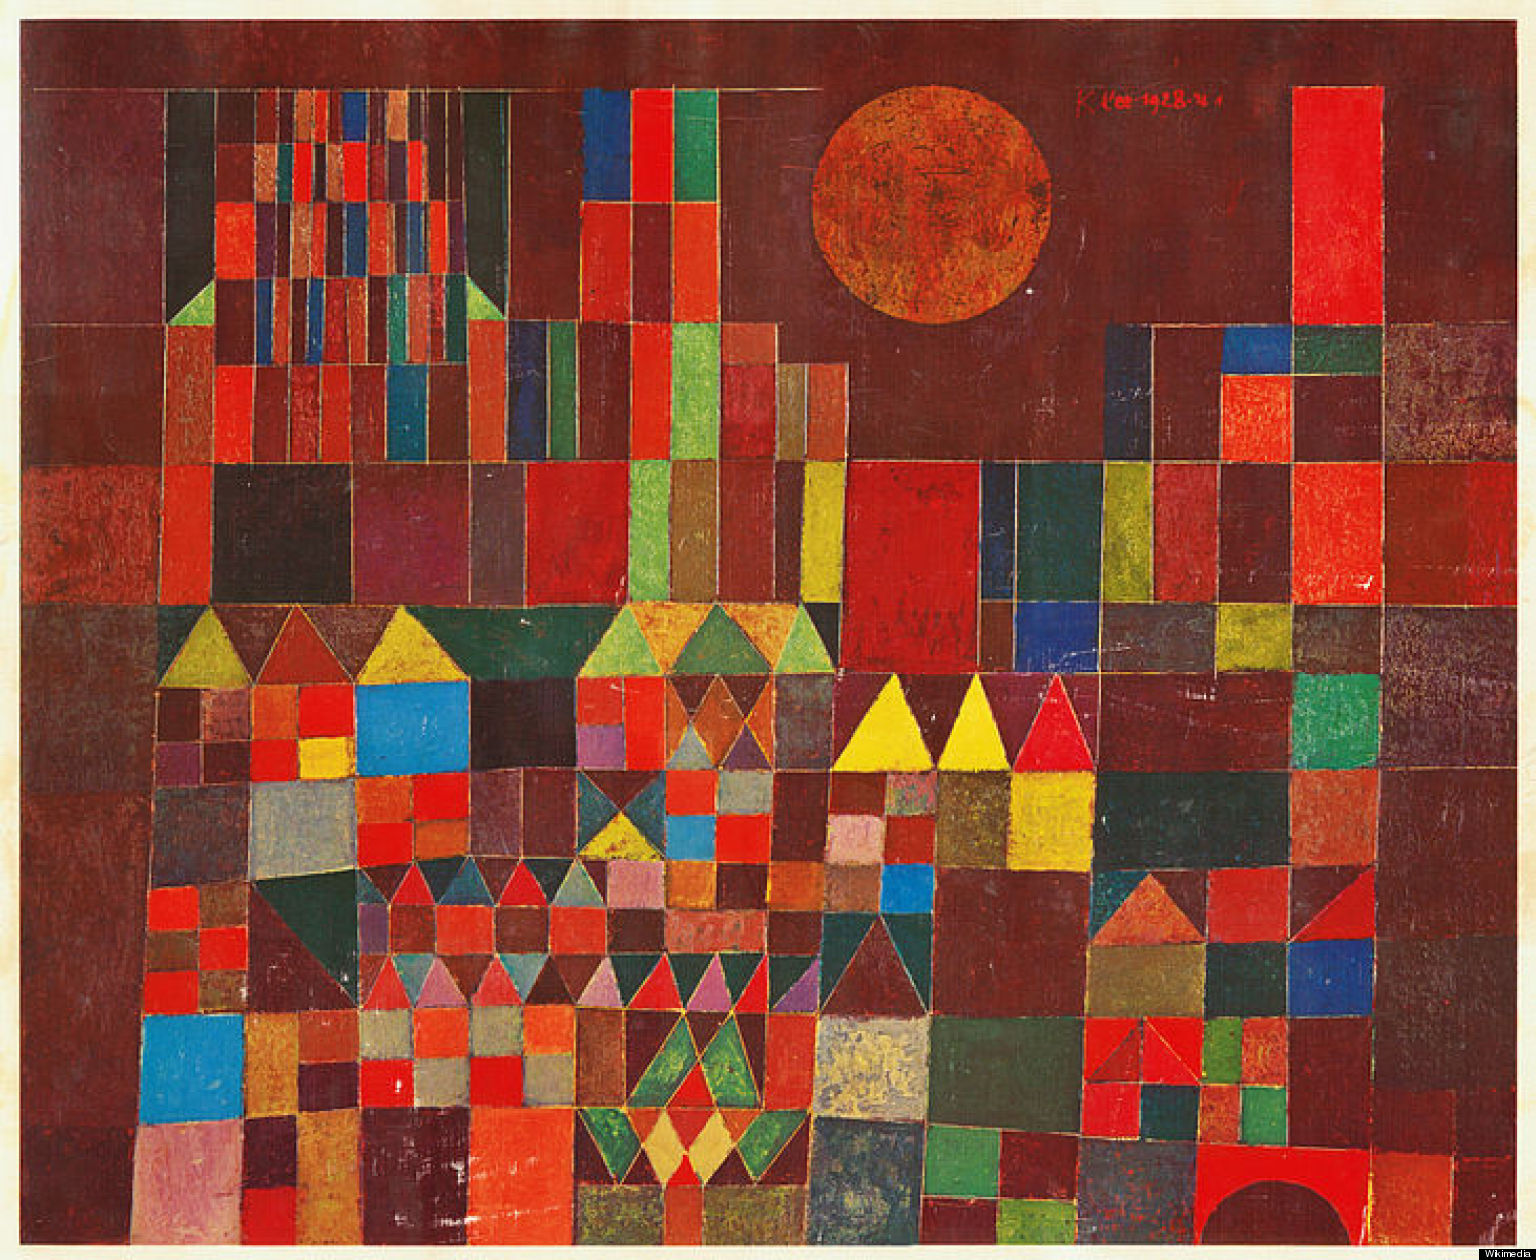
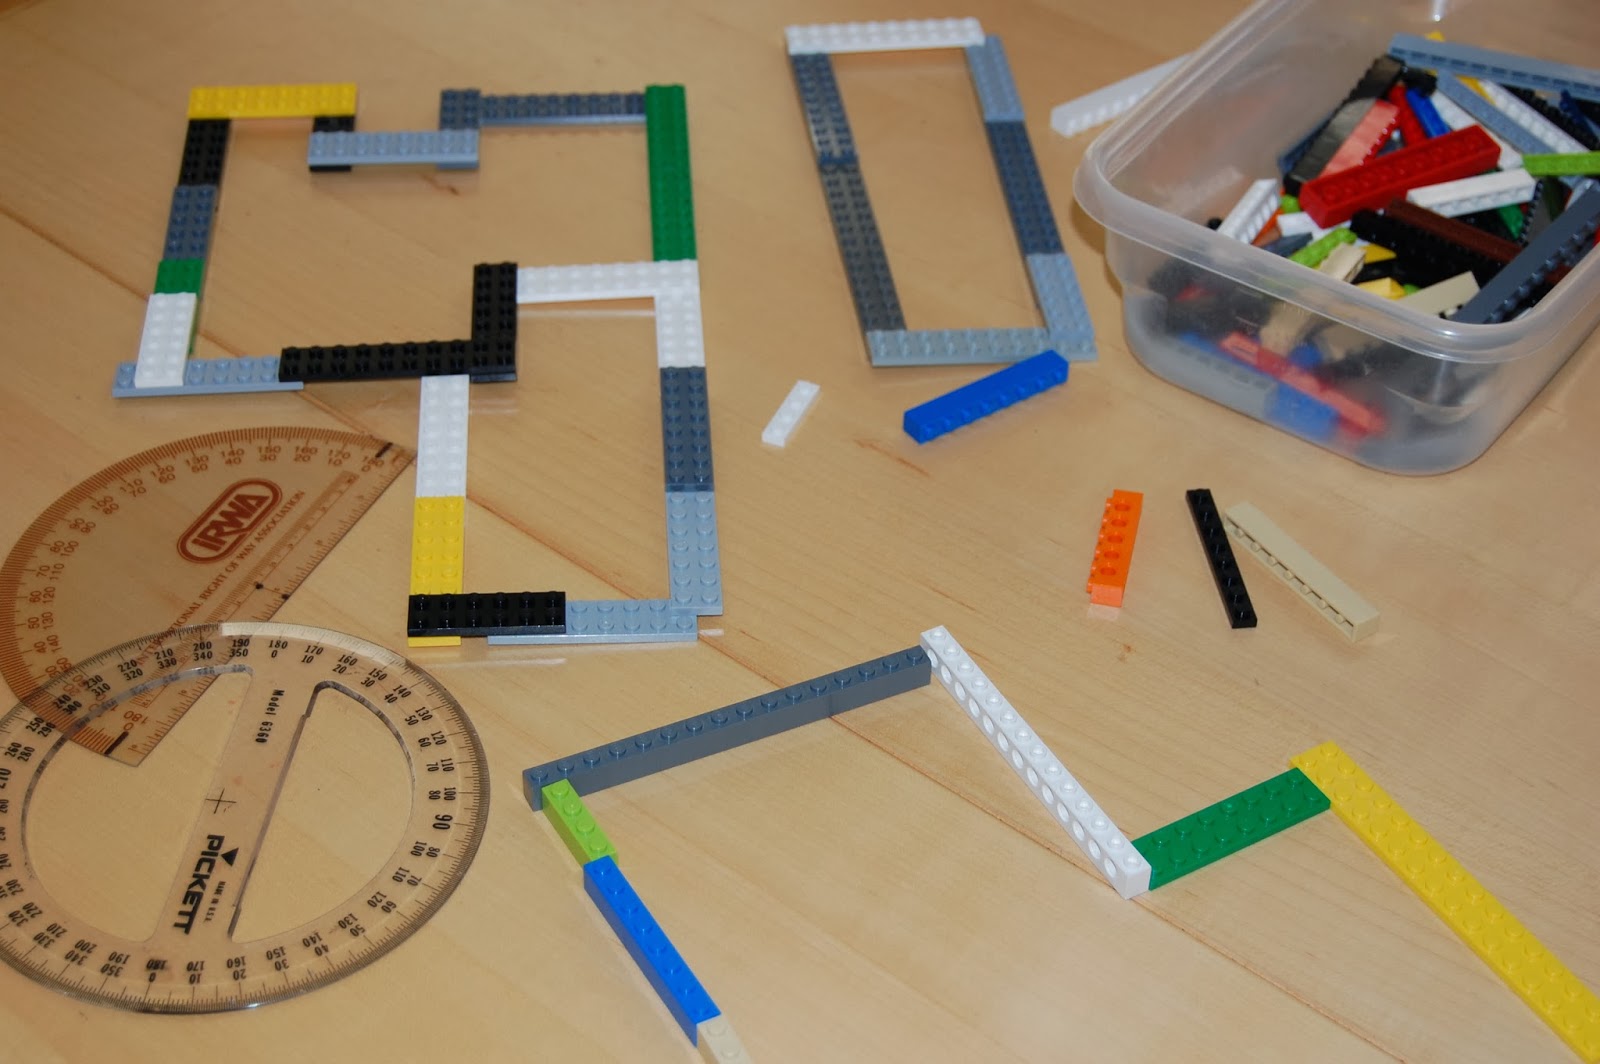
In this painting, Klee works with more rigid geometric shapes, appropriate for a strong castle. You could have your kids draw a castle free hand, with a ruler, or even pull out classic wood blocks and trace around them. Once they have a satisfactory castle, trace with Sharpie and erase the pencil. Make sure you use a waterproof ink to trace with, not Crayola markers!

Next, wet the paper with a brush dipped in water and apply squares of colored tissue paper, then go over the tissue once more with a wet brush. The dye from the paper will bleed onto the paper after a few minutes. Please test your tissue ahead of time - some papers have fixative that prevents bleeding, and some colors are so light that they don't leave much on the page.


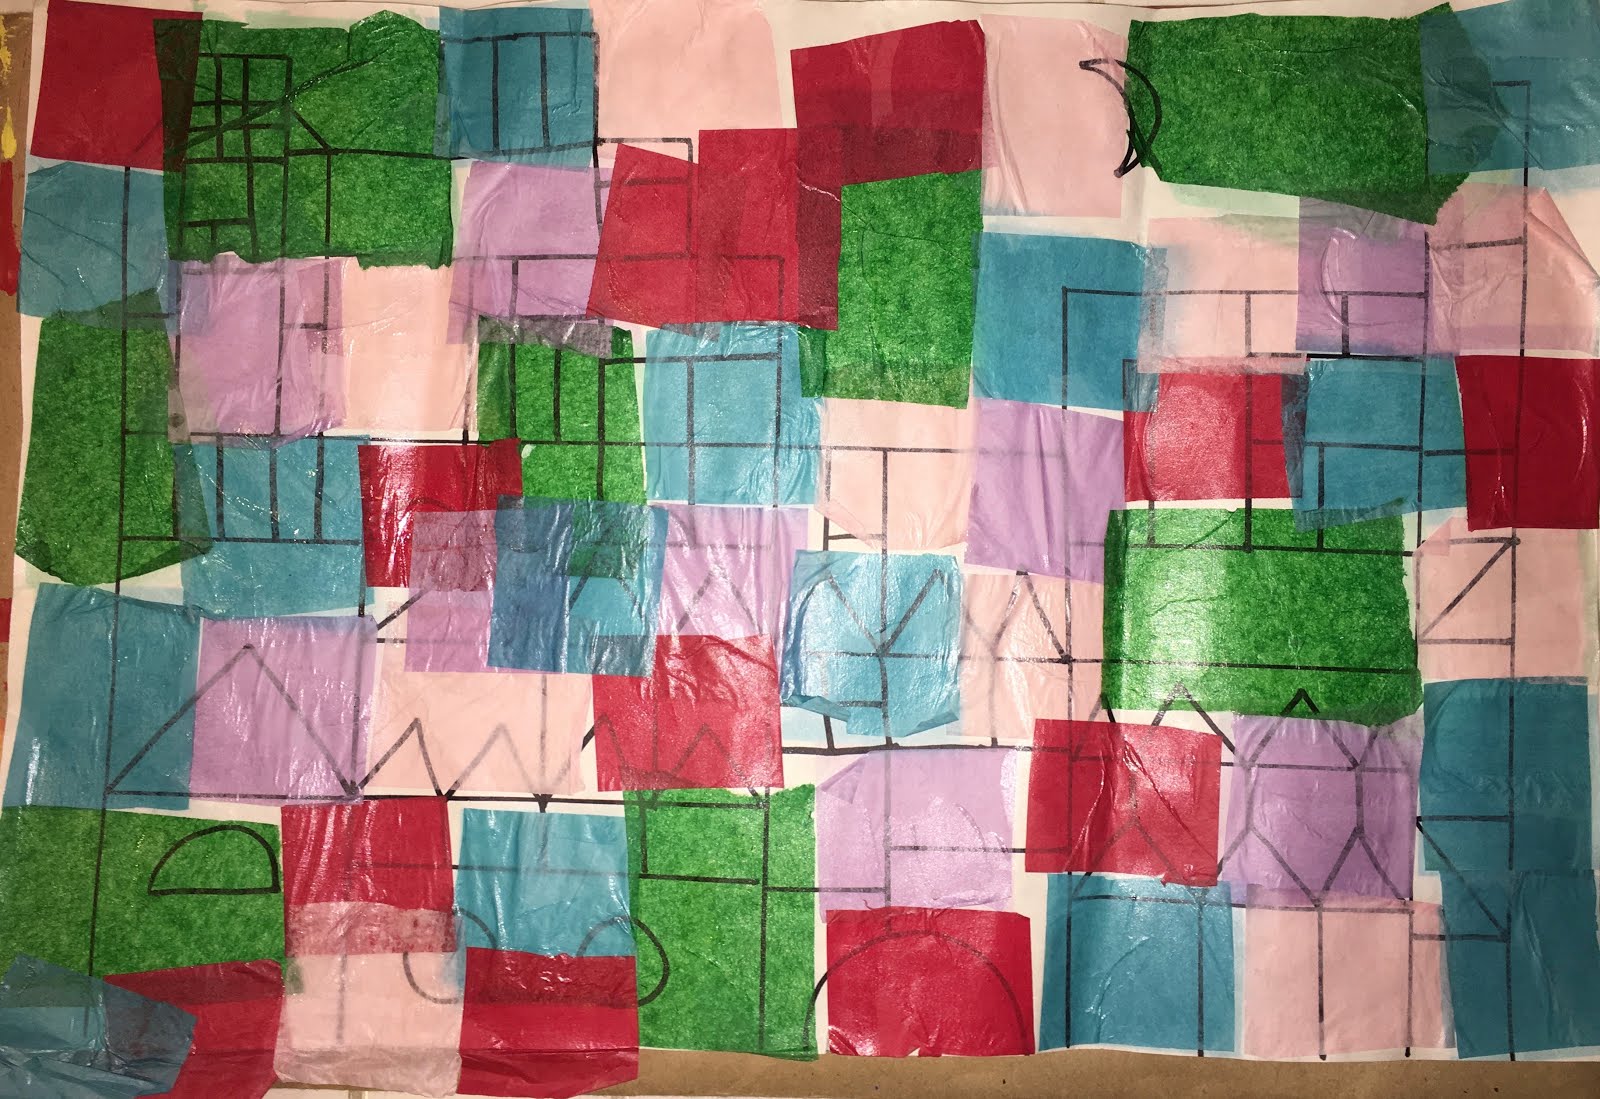
After a few minutes, remove the paper and it looks like watercolor!


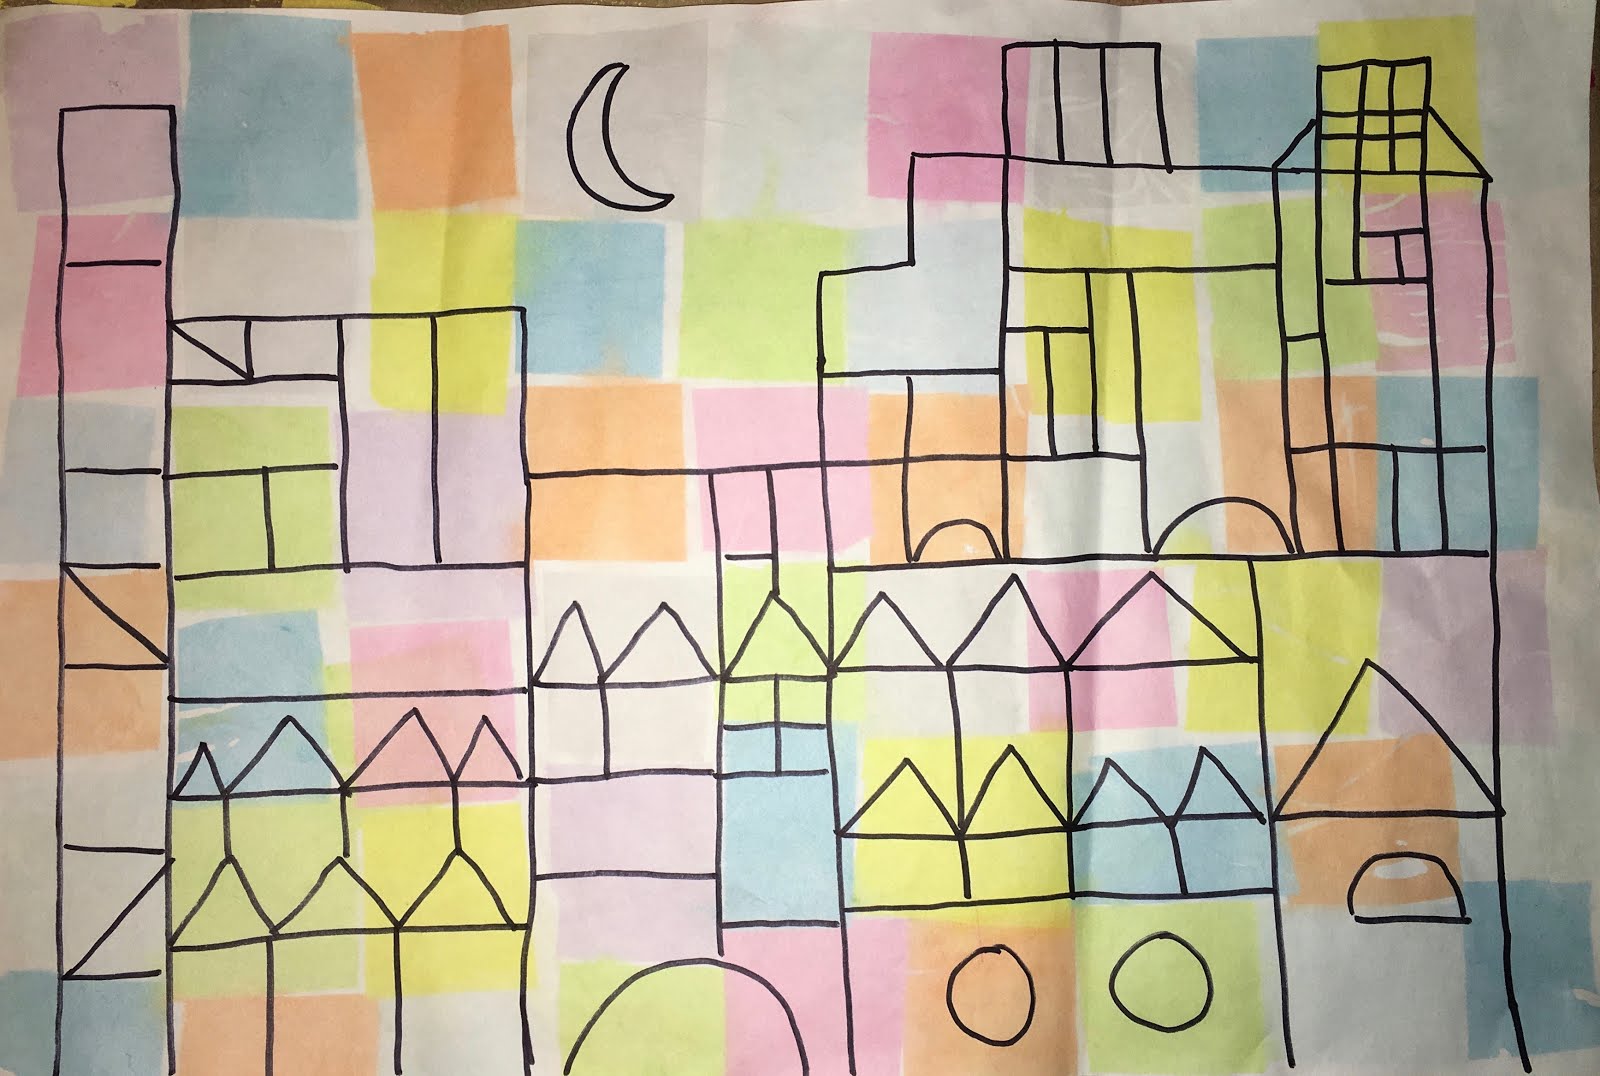
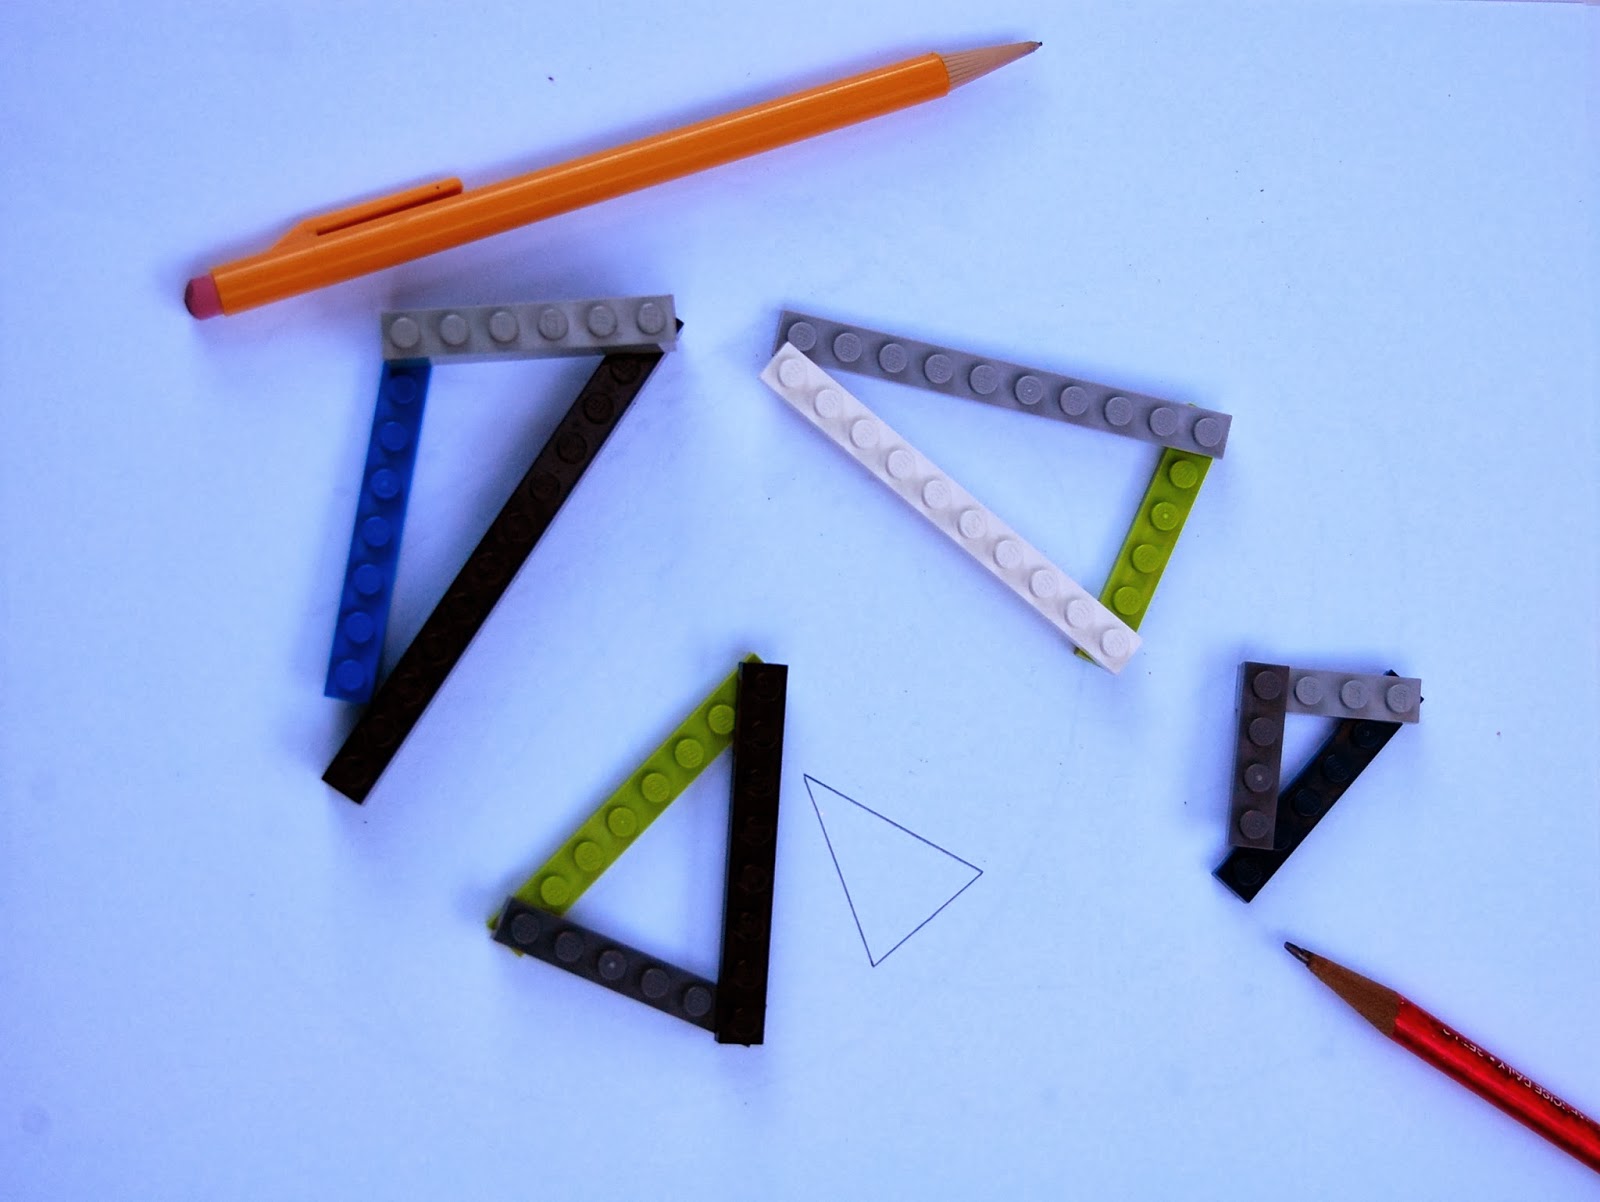
Since Klee uses such strong, identifiable geometric shapes, this is a great project to do with a geometry unit!

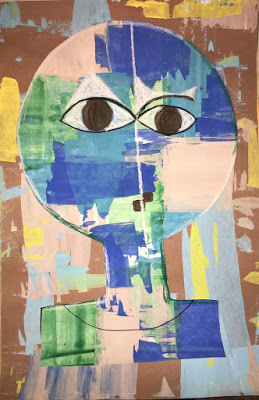
The last project is inspired by the painting Senecio. In this painting, Klee combines the organic, balanced elements from Cat and Bird with the hard geometry of Castle and Sun. 


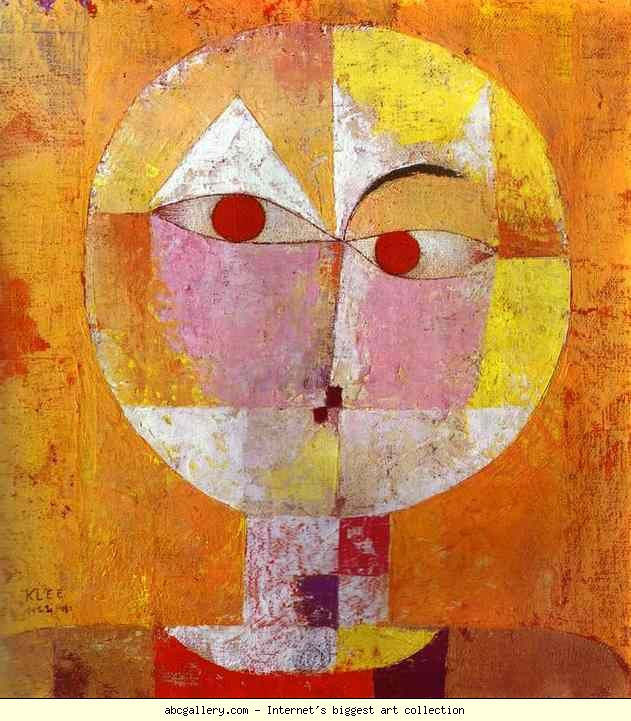
We followed the same steps as above with drawing in pencil then Sharpie, tracing a paper plate for the head and adding a center line to divide the face and aid with drawing in the features. Next, grab an old gift card or one of those fake credit cards that come in the mail, and a little tempera or acrylic paint. Load a little on the edge of the card and scrape it down the paper.


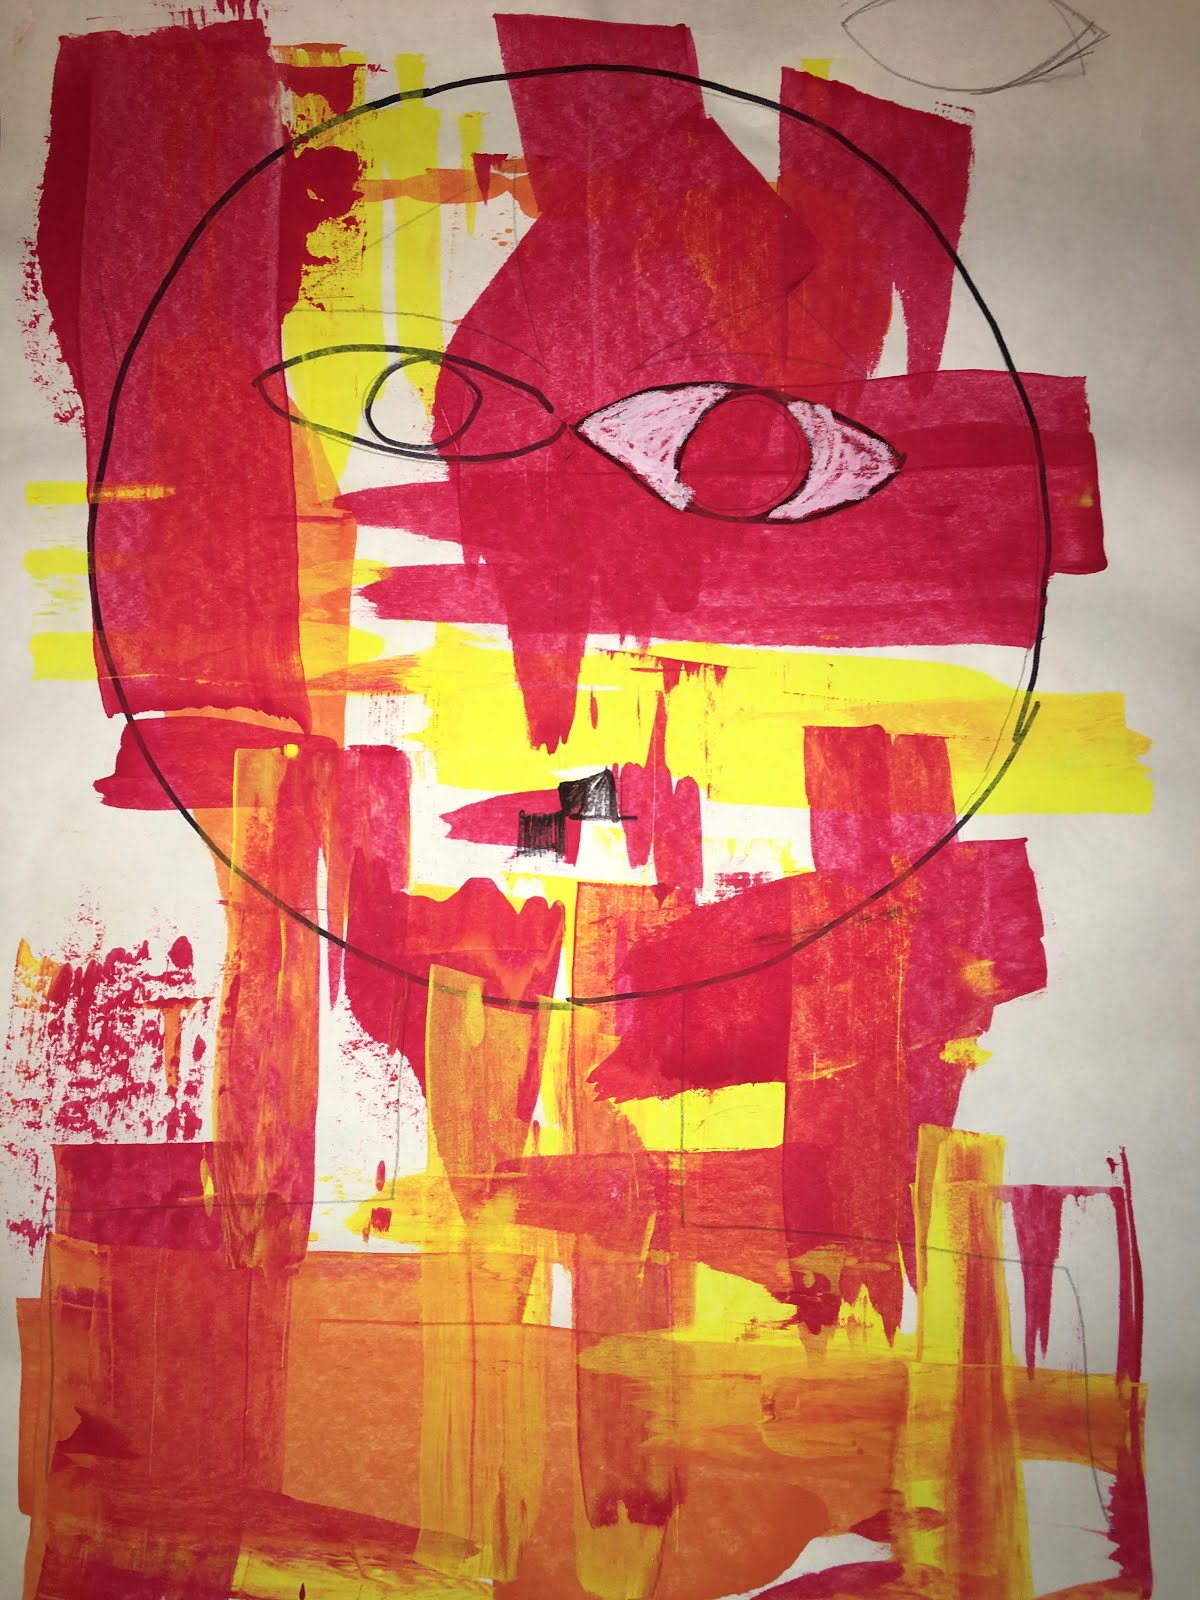
Create the background the same way, then cut out the face and glue it on your background:


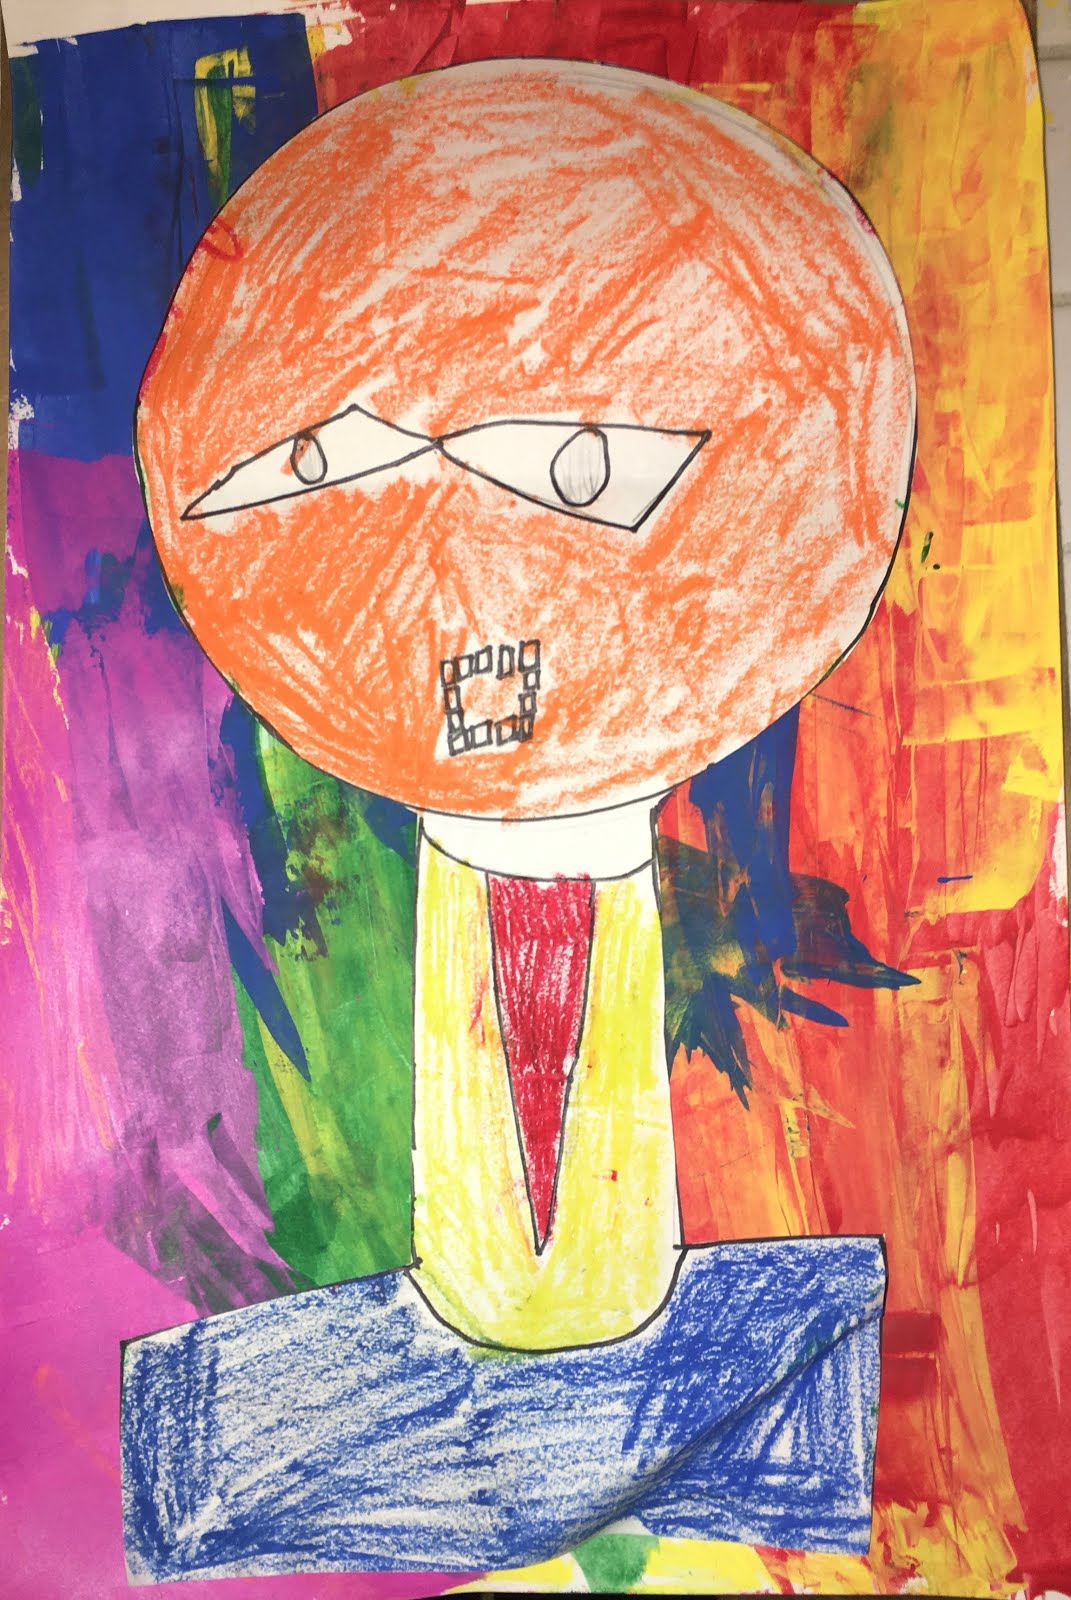
Max chose to color his face with oil pastels instead. I must say that I have not been inspired by the kid's art books about Klee that I have seen, but there may be some good ones floating around out there. However, there are some great internet resources, including this video for grade school kids, and this slide show for any age. You can catch my Periscope about these projects and my thoughts on instruction vs. creativity here. Great art, math and music tie ins - you can't go wrong with Paul Klee!

Tuesday, February 16, 2016

An Easier Way To Do Long Division


Long division is not fun. At least according to my 11 year old.  However, there is an approach to make  it more accessible, especially for kids who look at the problem and have no idea where to start. Division is often taught to young kids as the process of partitioning an amount into smaller groups. We give them ten Lego guys and ask them how many groups of two they can make. As kids get a little older, we point out that division is the inverse of multiplication, which usually works well with facts. But if multiplication is just repeated addition, wouldn't the inverse of that be repeated subtraction? Yes! Viewing division as repeated subtraction can remove the deer in the headlights stare we often see when a child faces a long division problem. Let's start with a simple example:


 If we start with 10÷5, we can subtract 5 once from 10, leaving us with 5, then subtract 5 once again and we have 0. We subtracted 2 fives, so the answer is 2. Follow?

Now for bigger problems. Kids are usually comfortable with doubling a number or multiplying it by 10. Multiplying by 5 is just halving ten, so that's not usually a problem, either. We will work with multiplying the divisor by 1, 2, 5, or 10, using repeated subtraction, to solve the problem. That's it. Let's look at my super high tech example:


 The numbers on the right side indicate whether I multiplied the divisor by 1, 2, 5 or 10.  Once I get to 0 (or less than the divisor), I add the numbers on the right to get my answer. Note that you are always subtracting from the whole dividend, not portions of it as in the standard algorithm. Here's another example:

When kids get comfortable with this method, they start seeing that doubling the double is times 4, or if times ten is slightly too big, they will subtract one divisor to get times 9, and that's exactly the reasoning we are looking for! Conversely, some kids are only able to start with doubling and multiplying by ten, and that's okay, too. The problem may take awhile to finish, but the calculations are easy, which reduces anxiety.

I did show my kids the standard approach later, after they had mastered this one, and allowed them to choose what made the most sense to them. They both thought this way was easier, and allowed them to tackle the problem right away with confidence. Once your kids understand the concept of long division and can accurately solve problems, do them a favor and move on. Calculation is a small portion of mathematics, and in reality, nobody does long division by hand. Of course you and I will grab a calculator, but even people who use math in their careers every day use a computer or calculator to do computations. Math is reasoning, patterns, problem solving, spatial thinking; get to the good stuff once they have basic competency and stop beating a dead horse with pages of long division. Here's a link to my periscope about this strategy.

Sunday, January 31, 2016

The Problem With Math


October was a beautiful month. The weather was warm. We took a vacation. And my son told me he was enjoying geometry. Enjoying geometry may not sound like an earth-shattering comment, but it was for me. Math has been a constant struggle for about two years now. It hadn't always been that way. When he was young, math was one of his favorite subjects, next to history. He was quick to understand concepts and could do most calculations in his head. He was confident in his skills. Then we hit the big stuff - four digit multiplication, long division and the like. Stuff that I didn't think you could do in your head. Steps you had to work out on paper. He hates to work out stuff on paper. He hates lots of tedious steps. He fought me constantly. We struggled through fifth grade math. 

This year we went back to a full Waldorf curriculum, including math blocks, starting with geometry in October. In Waldorf,  sixth grade geometry is all hands on, making drawings with compass and straight edge - no calculations or formulas yet. He loved it. He looked forward to the drawings. He enjoyed the process and the coloring of the design. It was wonderful; yes, almost blissful. Then October ended, and so did geometry.

I was using Jamie York's Making Math Meaningful curriculum and daily practice. I think it's a good program - a mix of mental math, word problems and review problems of previously learned material every week, with only a few problems of each. It didn't look overwhelming, and yet we were back to the same struggle. He wouldn't finish his work for the week, or simply write down random numbers for answers. Eventually, he just refused to do anymore math. Ever. Period.

I would love to tell you that I handled all of this with the utmost grace and patience. I have tried to encourage and offer support. I have also yelled. I have threatened. I have predicted a life of burger slinging and poverty wages. Of course none of that made any difference. Of course it only made things worse.  We were both frustrated.

What I had also been doing was researching. It's a natural response for me, and it has served me well over the years. I had compiled lists of books and web sites. I was reading articles and going through curriculum. Before Christmas, I just happened to open an Amazon sale email one morning. Normally, I delete them without evening looking, but for some reason I opened it and there was a picture of Mathematical Mindsets, a book from my wish list, with the notice that it would be going on a flash sale at noon. I took it as a sign and bought the book. Yes, it was divine intervention.

I began reading Mathematical Mindsets in the week before Christmas and I thought, "I want to discuss this book with other moms." I wanted the kind of conversations I had during inspiring in-services when I was a classroom teacher. I wanted to pick brains, compare stories, dig deep into the revelatory information contained between those pages. Perhaps my friends might be interested? Perhaps there might be more? I had been watching the ever-inspiring Julie Bogart on Periscope and had joined the Bravescopes Facebook group. Julie often speaks of having "big juicy conversations" with your kids, so why not have them with other homeschooling moms? I let the idea lounge around for awhile because I was nervous. Nervous that nobody would be interested. Nervous that I would start a group with myself as the sole member. But once I have an idea in my head I don't let it go without a fight, so I took the leap and started the group, Big Juicy Conversations About Math. It's been about a month, and we have almost 100 members! 

I intend to share our math journey here as well as in the group. To reflect on what we did right when they were young. To analyze where we went wrong these last few years. To begin to chart a new course, a new way of approaching math without tedious steps and a page full of practice problems. To bring back the joy. I hope you will join me.

Friday, December 6, 2013

Lego Geometry - Circles


Circles from rectangular building blocks? Am I crazy? No, I did not give the kids the task of creating circles from Legos, but we did create tools from Legos to make circles! The bricks pictured above are the ones we found in our collection that worked the best, but sort through yours and see what you can find.


Our favorite compass consisted of a long rectangular flat block with a half circle piece at each end (the kind with the holes). To make a circle, secure the compass at one end with a sharp pencil, then use a second pencil through the other hole to trace your arc. It helps if you tape the paper down first or have somebody hold it.


Flat pieces that have holes in the center also work well. The circular piece needs a very sharp pencil point as only a small portion shows.


The kids experimented with different sized pieces to make smaller and larger circles. We discussed pi and they measured diameter and radius, as well as calculating circumference. Who said Legos can't make circles?


Sunday, October 13, 2013

Lego Geometry - Triangles and Polygons


After learning about the different types of angles, building them with Legos and measuring the tracings with protractors, we moved on to triangles and polygons. It's a pretty easy leap to take your Lego angles and add a third piece to make a triangle.


Easy in theory, yes, but in reality it can be difficult to find a third piece that is just the right size. Make sure you have as many pieces as you can scrounge out of those Lego bins for this activity, and remember you are looking for the shape inside the Lego, not around the perimeter. You would have a pretty wonky triangle if you tried to trace the outside, but look how nice they come out when you trace inside! We classified our triangles by sides ( equilateral, isosceles and scalene) and angles (right, acute and obtuse), then the kids traced examples of each in their math notebooks. You could also measure the angles of the triangles you traced with your protractor.


Break out those double row bricks for polygons, and of course you can use your single rows as well. The kids had fun combining different bricks to make some wild polygons. A polygon is a multi-sided  two dimensional figure made up of three or more line segments, so you can really go to town with building these shapes. We started out with traditional shapes such as squares and rectangles, then moved on to more creative builds. Since these were rather large constructions, the kids drew their examples instead of tracing them.

The real challenge is coming up next time - circles!

Tuesday, October 8, 2013

Lego Geometry - angles


Math is not a favorite subject for either of my children, even though it comes so easily to Max. I am always looking for a way to make it more fun, more appealing, and nothing is more appealing to my kids than Legos. So, when we started a geometry unit, I thought it would be a perfect pairing. I sorted through the Lego baskets and pulled pieces that would work well with line segments and angles, our first lessons. I mostly selected the thin, single row Legos you see above, in different lengths. I introduced the concept of lines and line segments using the pieces, then we made parallel and perpendicular lines using the bricks.

Taking those line segments and perpendicular lines, we snapped them together (or pivoted them, in the case of perpendicular lines) to create angles. We opened them to different widths to show acute, right and obtuse angles.


We traced them in our math journals and labeled the three different kinds of angles. You need to trace the inside of the angle, not the outside. It also helps if someone holds it, because they have a tendency to shift on you while you are tracing!


The next day I told the kids to create five different angles and trace them in their notebooks. I expected that they would make five individual angles, but they both surprised me with their approach. Max made one angle, then just pivoted it to create different degrees. Madeline took the right brain approach and created the structure on the right, then laid it in her notebook and traced the different angles it creates. I love their creative problem solving!

Monday, January 30, 2012

In our homeschool, games are a regular part of the curriculum. With an ADD daughter and a son who dreads math worksheets, games are a fun way to liven up a sometimes dull subject. I was inspired by this marble arch game on Pinterest, but made a few changes to make it more versatile.

I used a whole box, minus the lid, so the marbles wouldn't run everywhere. The top and sides are covered with scrapbook paper, because I'm lazy and didn't want to wait for two or three coats of paint to dry. I painted the front with chalkboard paint (sigh, how I love chalkboard paint!), so I can change the numbers depending on what each child is working on. For the example above, you shoot two marbles through the arches and then multiply the numbers. Of course you could add, subtract, or divide the same way. But why stick with whole numbers? You could use fractions, decimals, or negative numbers. You could play with fraction bars, so the child collects the corresponding fraction bars until they have made a whole. You could use pattern blocks to practice geometry and/or cover a pattern block card with a design. You could use coin amounts and have the child collect the corresponding coins until they reach a dollar (or other specified amount). I love having wipe-off games that I can customize to whatever skill is needed!