Showing posts with label cards. Show all posts

Wednesday, April 27, 2011

Published!

If you pick up this:
You will find this:


and this:


and a big smile on my face.

Monday, May 24, 2010

Kid's Birthday Card Tutorial

Today I have two quick cards for those last minute attachments to gifts before heading to the party. The first one is super simple:

Punch one large and two small circles from scrap paper; edge them with ink.

Stamp a rocket on another scrap and cut out.

Attach circles and rocket to card front. Add some stamped or Dymo text and you're done!

The second card uses one of my favorite techniques - faux stitching.

Attach a piece of patterned paper to a cardstock blank. Using a paper piercer (or a thick needle), poke holes around the perimeter. I just eyeball it, but you can mark even spaces with a ruler first, if you like to be precise.

Using a fine tipped black pen, draw lines from hole to hole, allowing the tip to dip into each hole.

Cut out an image from your patterned paper (or use a stamp, collage piece, scrapbooking embellishment, etc.).

Punch a contrasting circle from scrap paper and attach your image. Glue both to the face of the card.

Attach stamped or computer generated text and you're done! Now you're ready to party!

Monday, May 17, 2010

Monday Birthday Card Tutorial Week 1

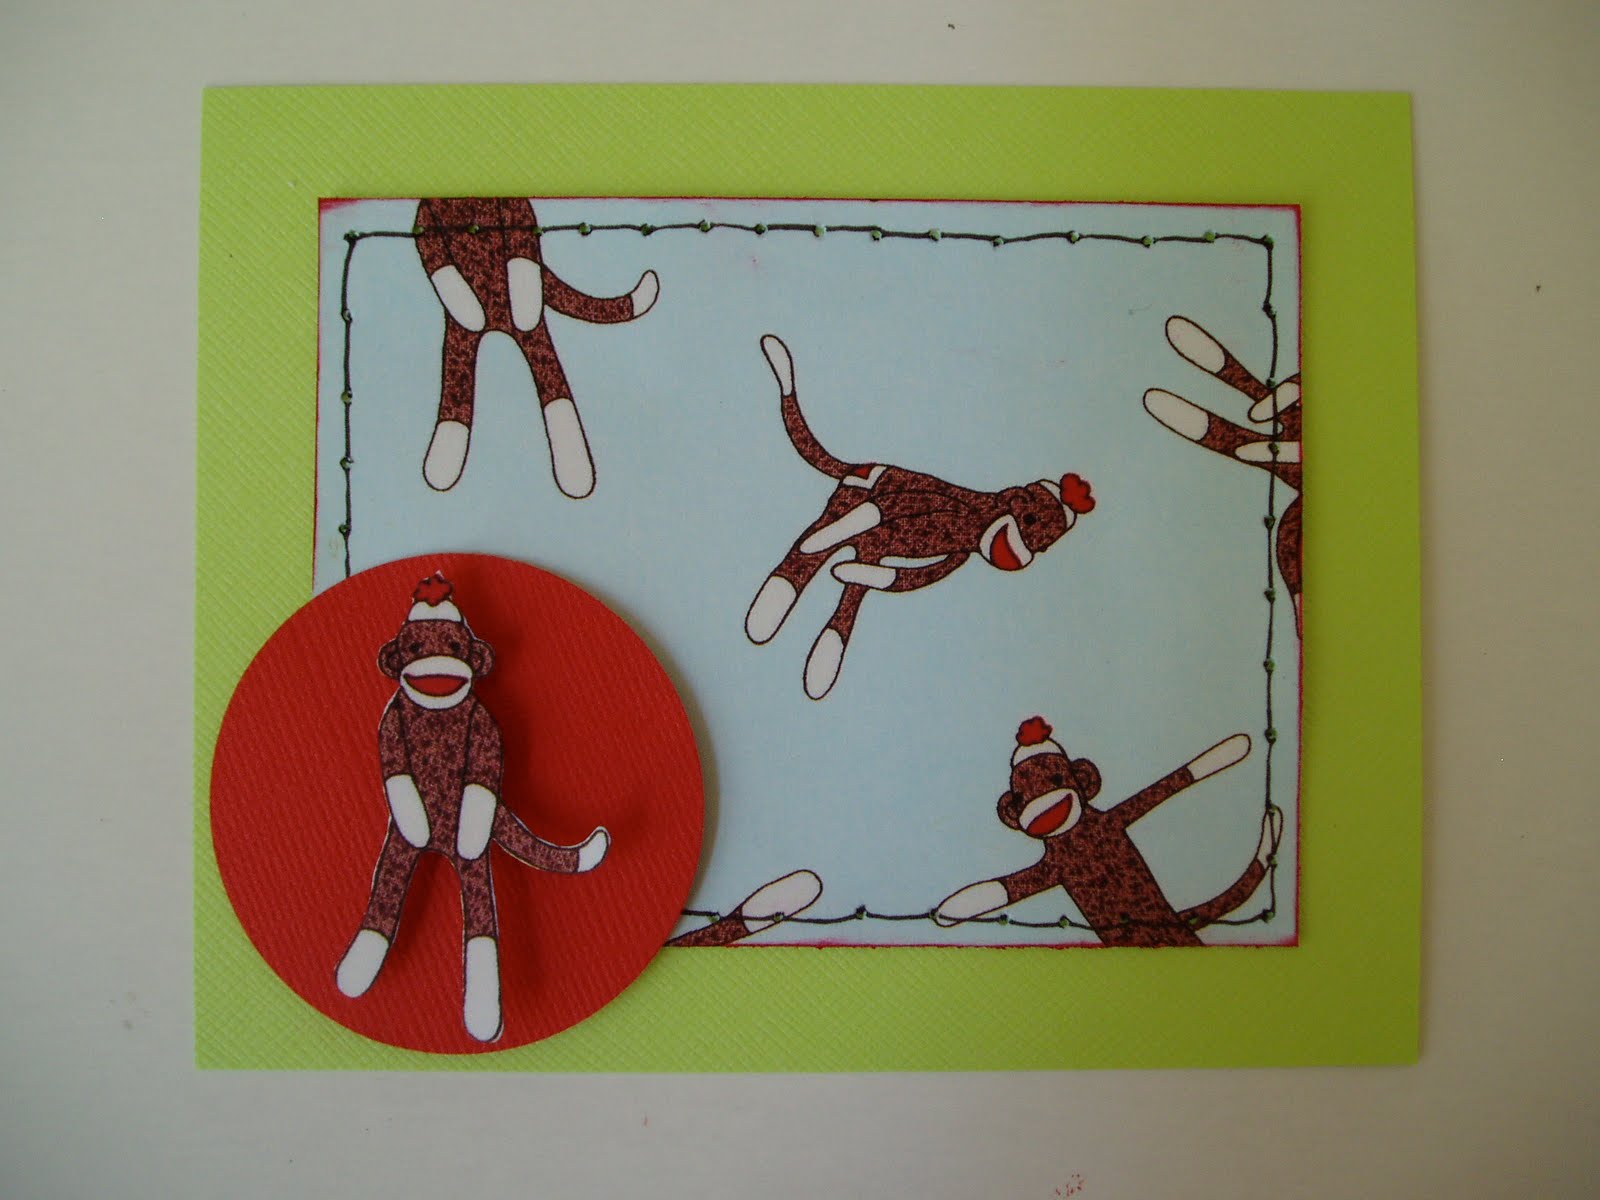
Summer always seems to be filled with birthdays, especially July for our family. And, if you are like me, you are usually pulling out papers 20 minutes before a party, hastily throwing a card together. Well, I decided to do a little planning this year and make some cards ahead of time, to avoid the last minute rush. Each Monday I'll show you a few simple card tutorials so you won't be scrambling at the last minute, either!

Since the adult birthdays fall in spring and early summer for our family, I decided to share two sophisticated cards this week, suitable for adult birthdays.

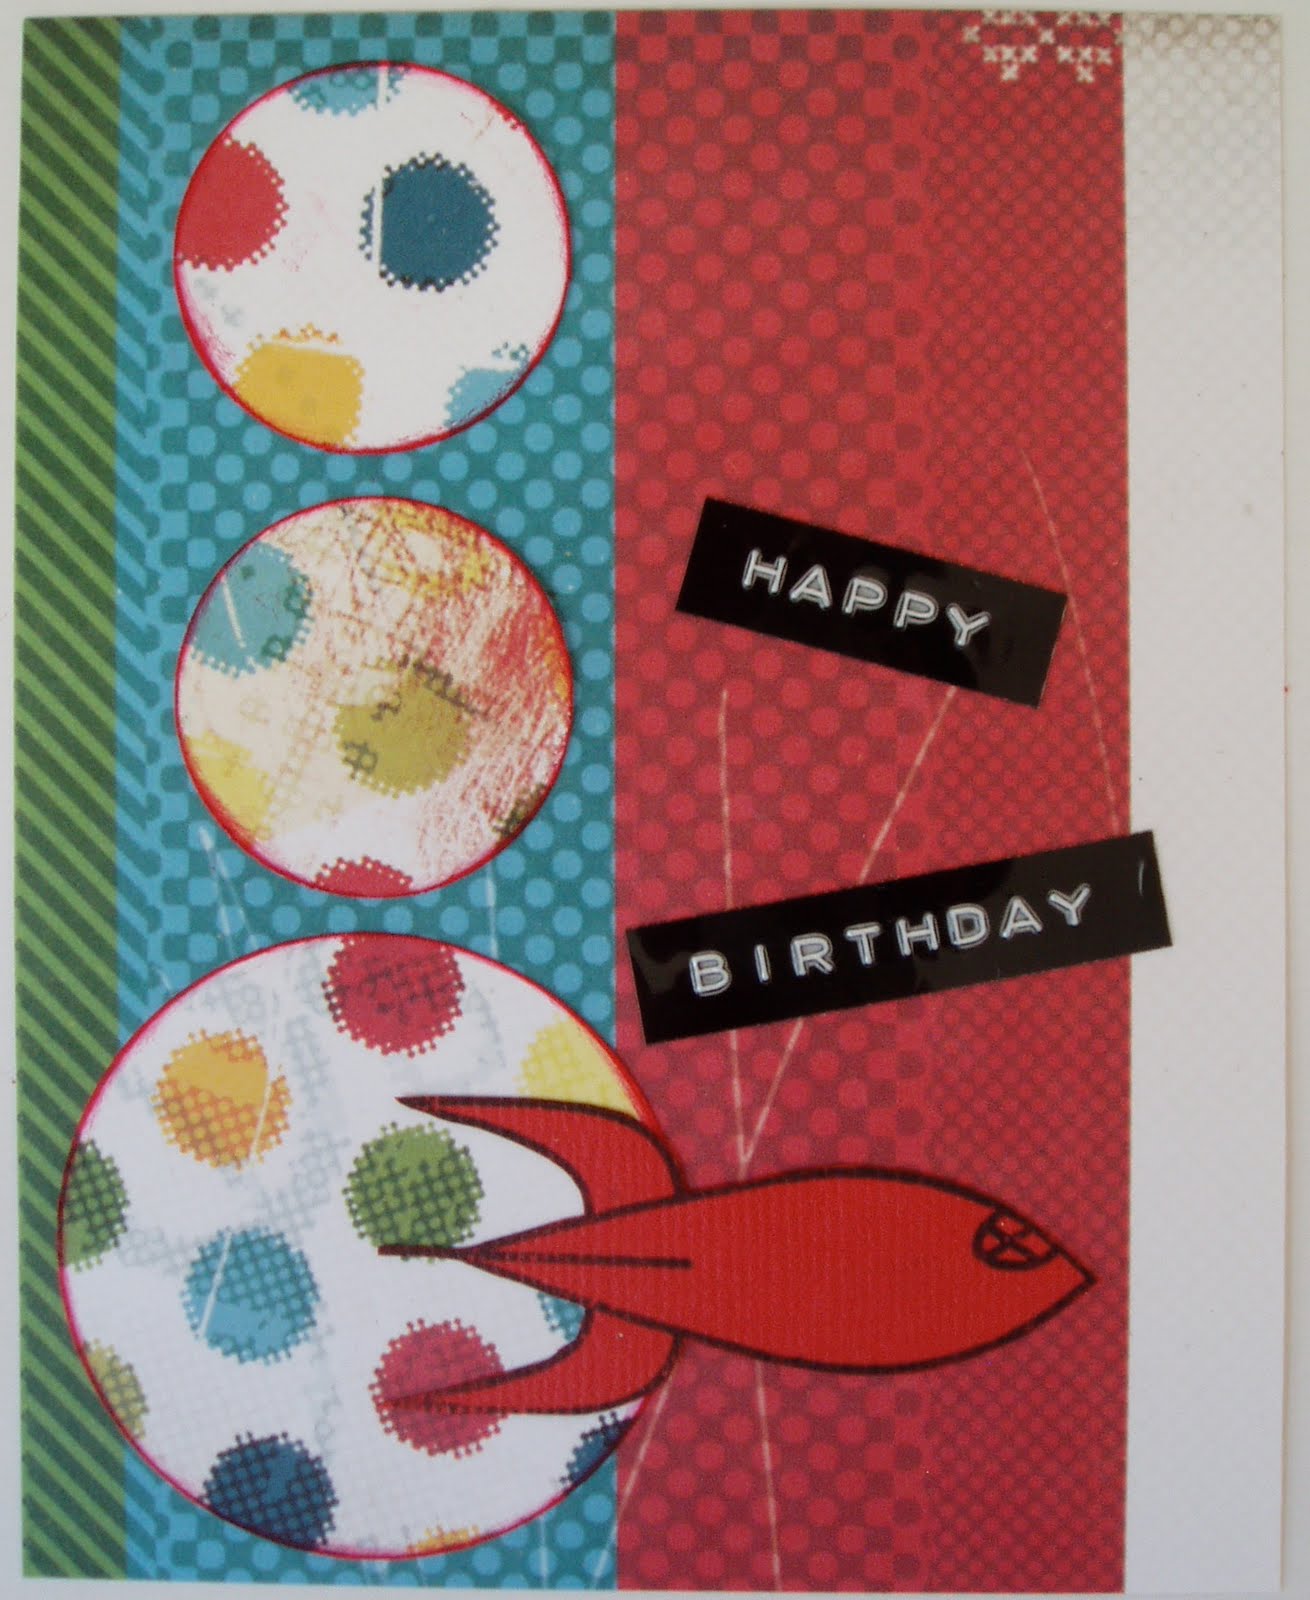
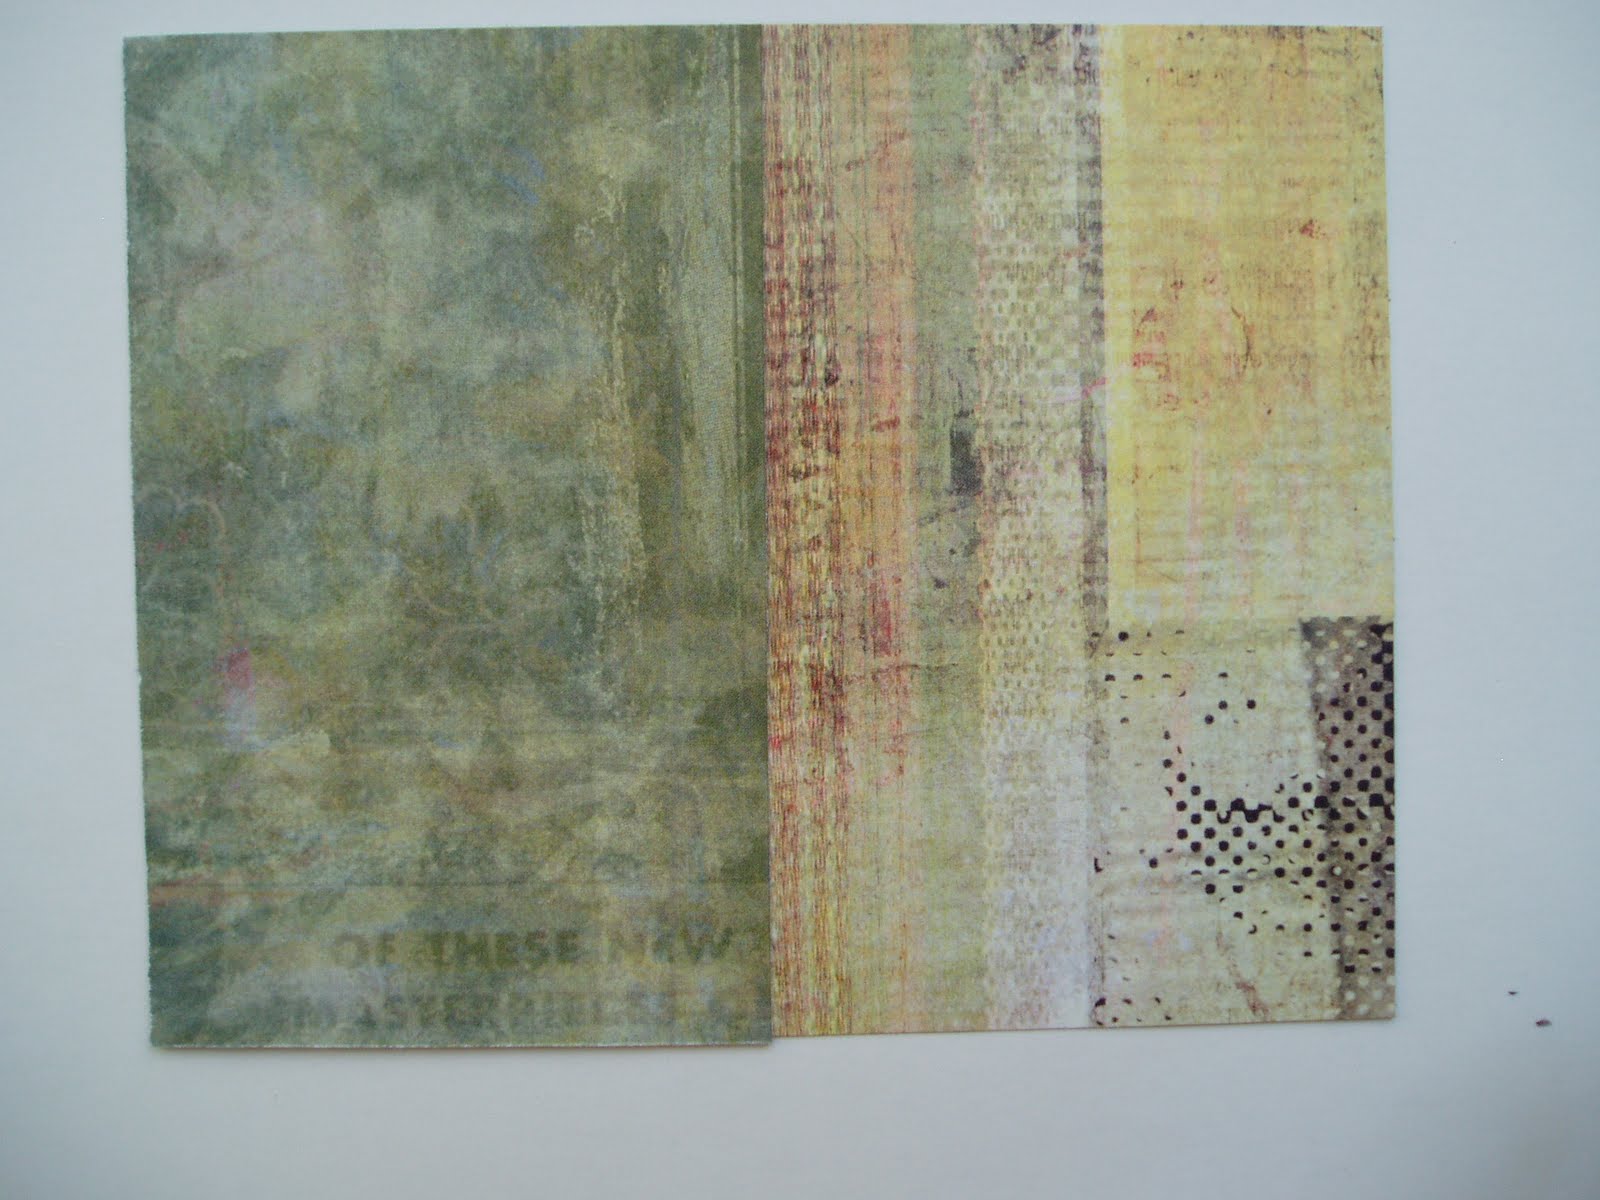
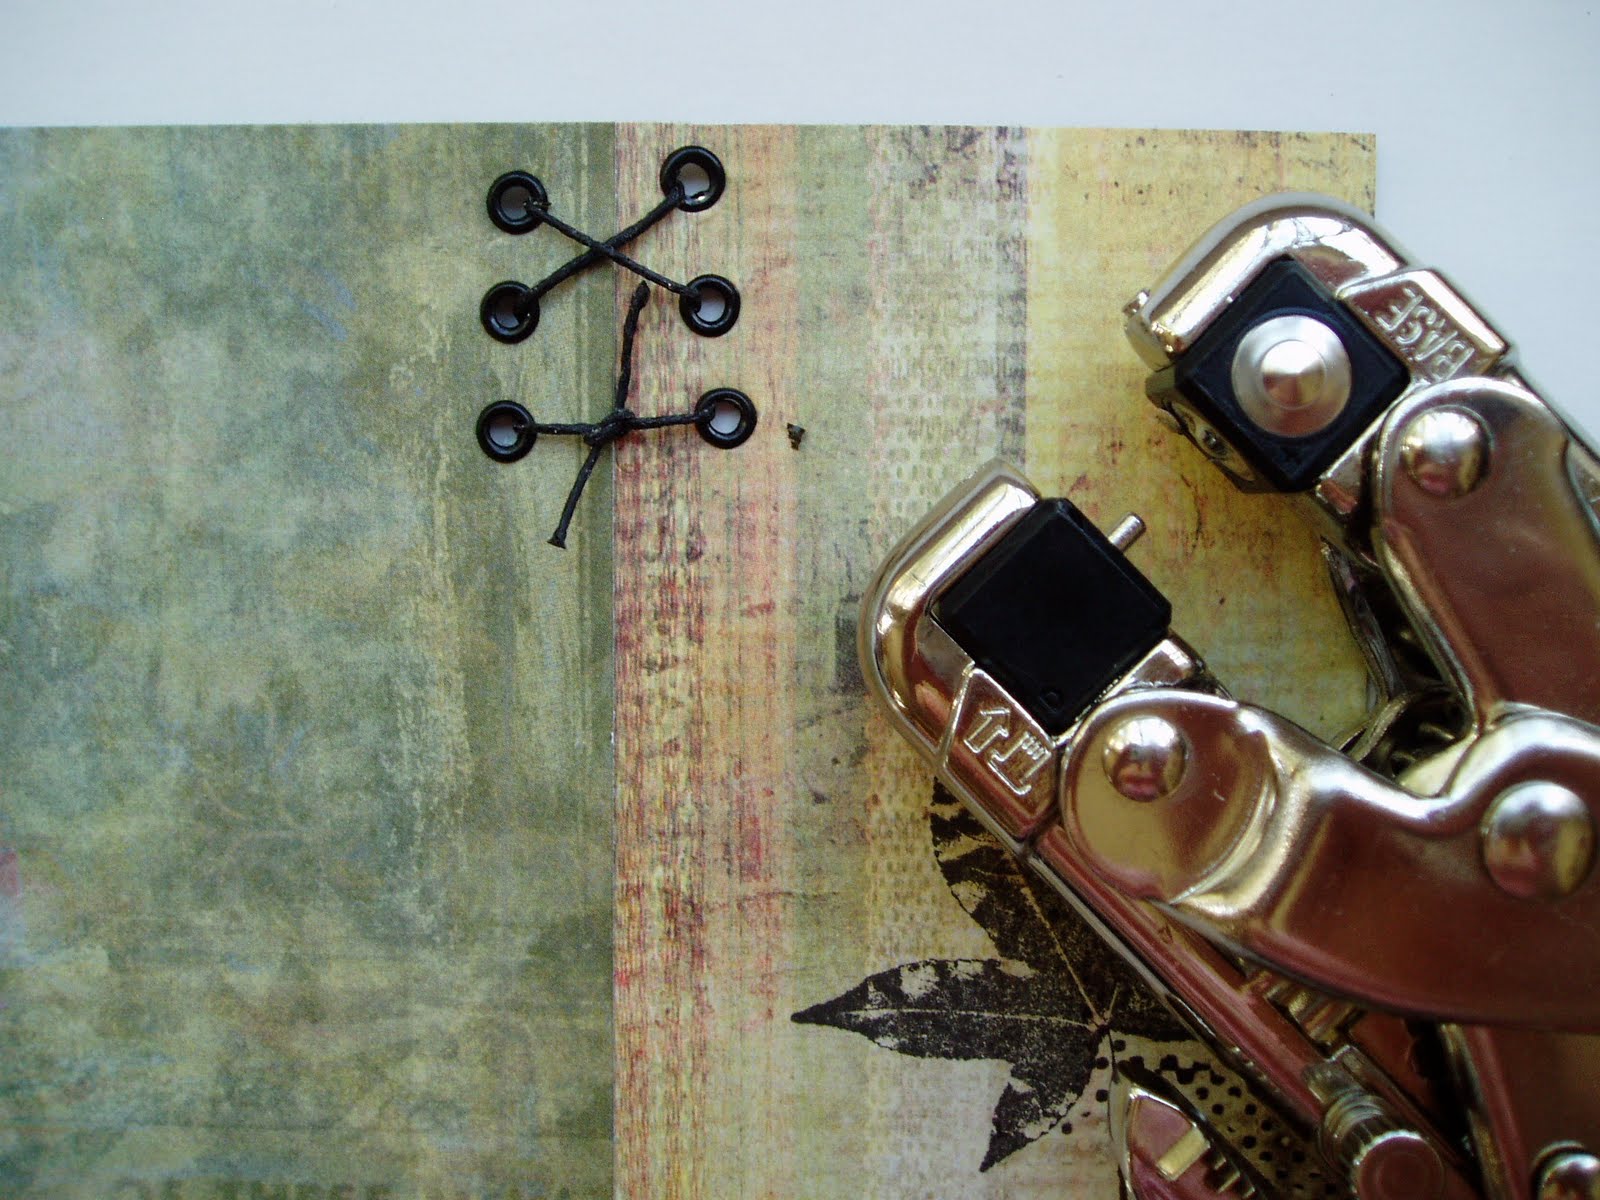
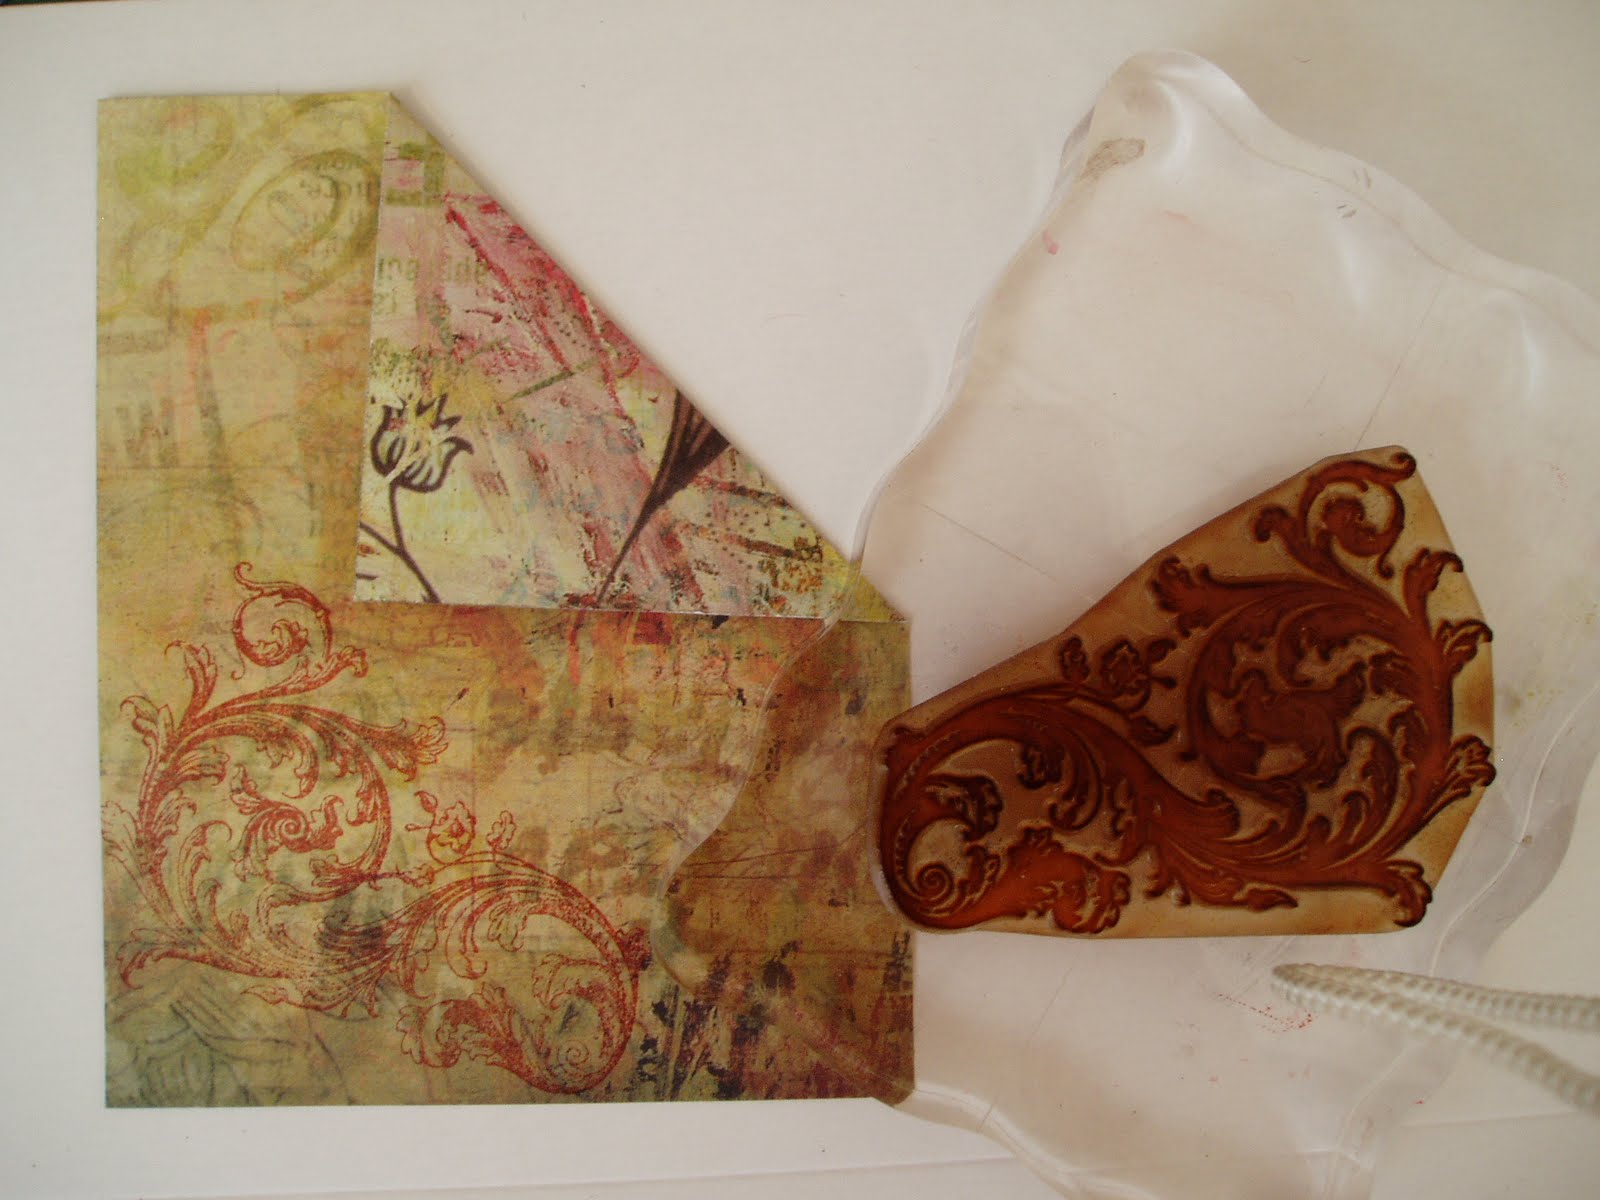
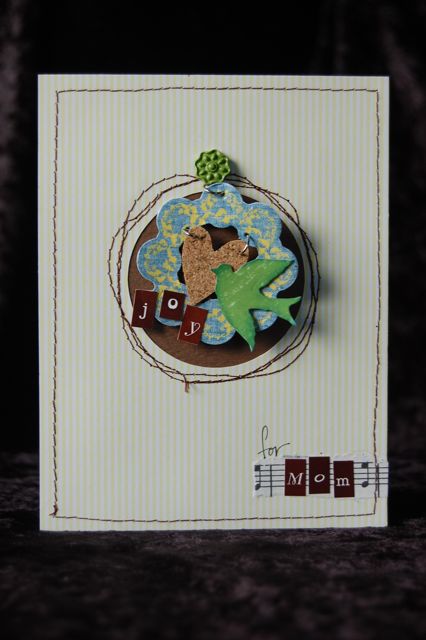
For this card, I attached a gray panel to a striped background piece. Cards are perfect for using the scraps cluttering up your desk!

I printed a quote from the computer, cut it apart, and edged it with Distress Ink.

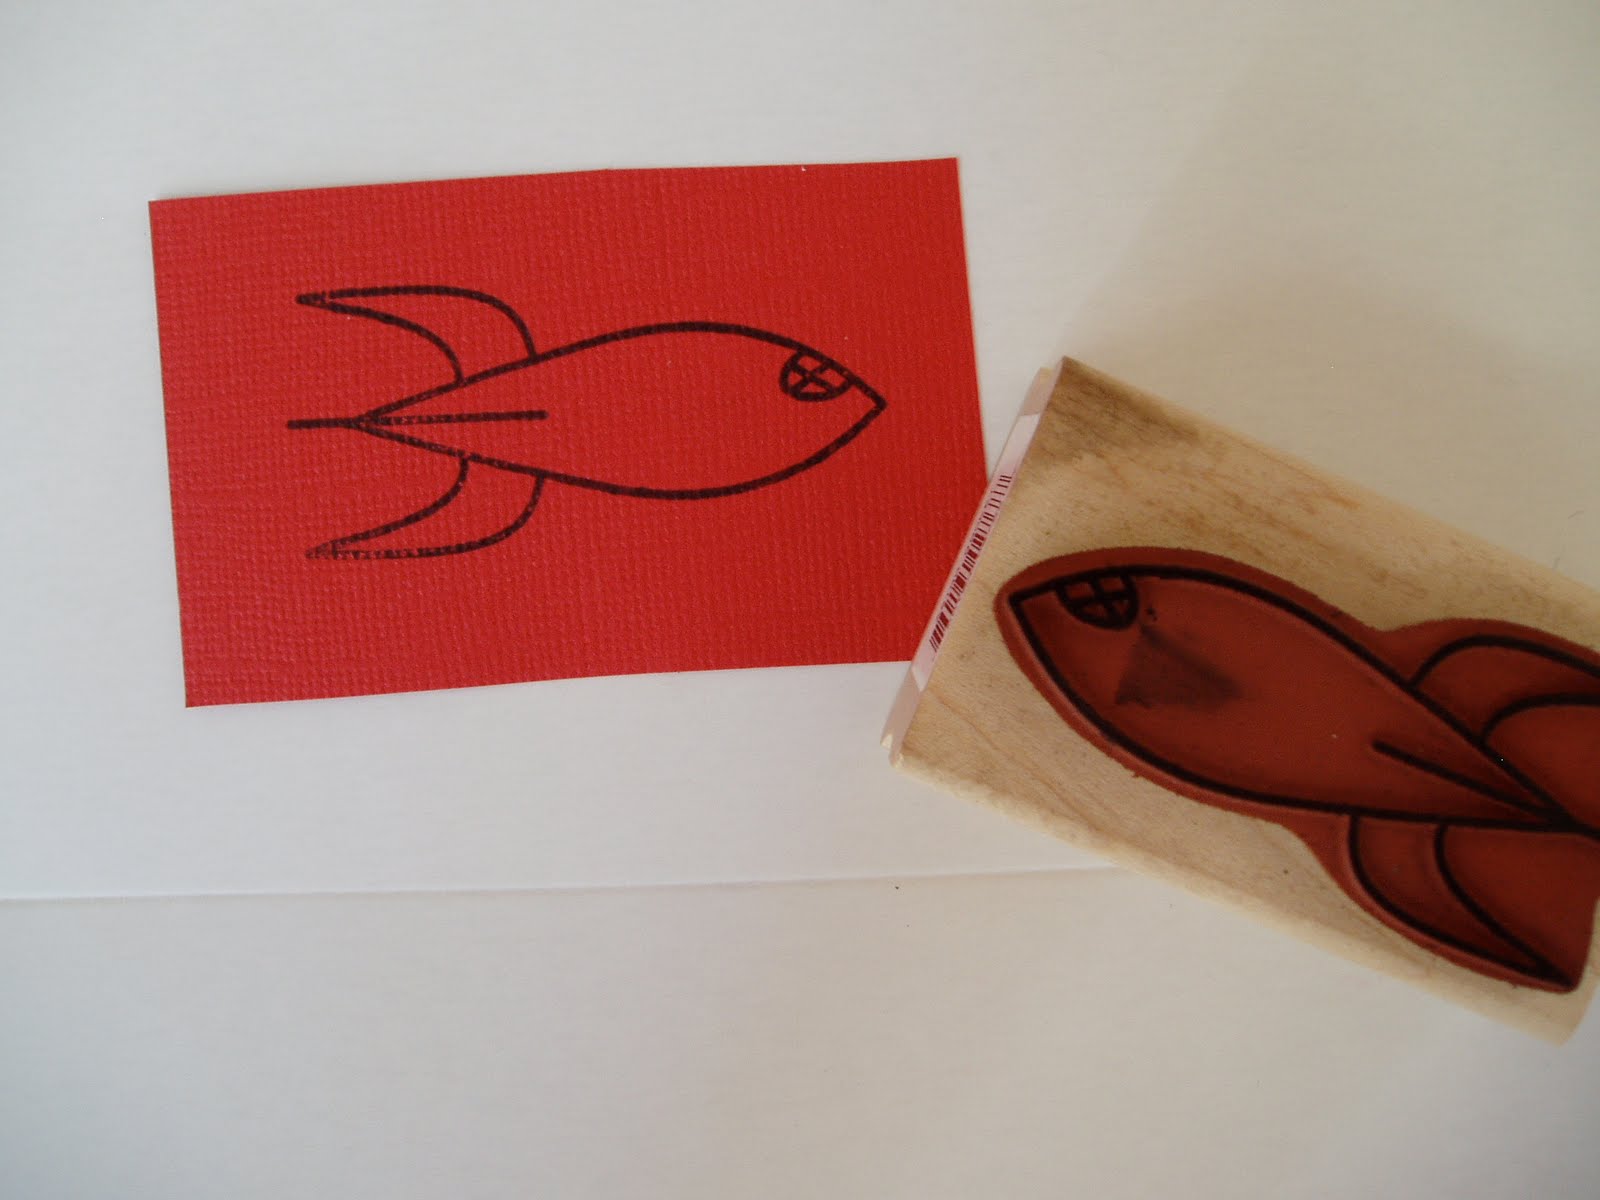
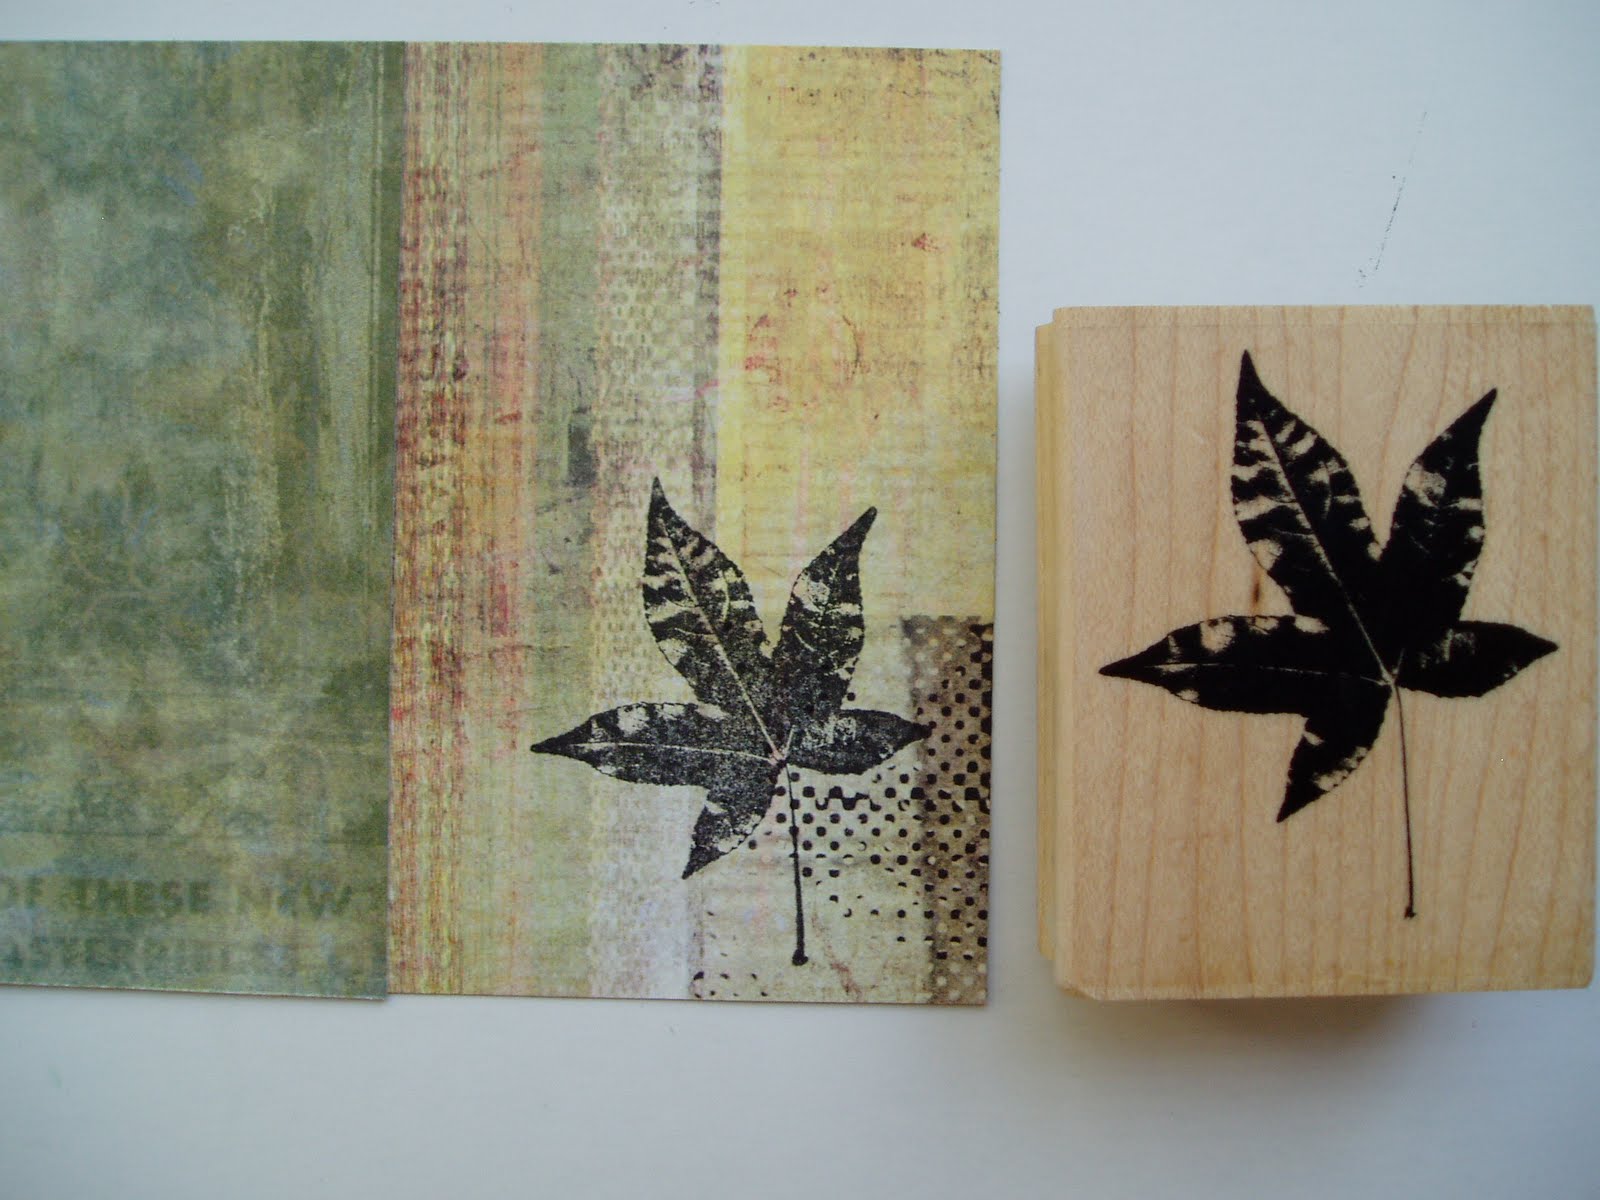
A simple stamp was added to the corner.

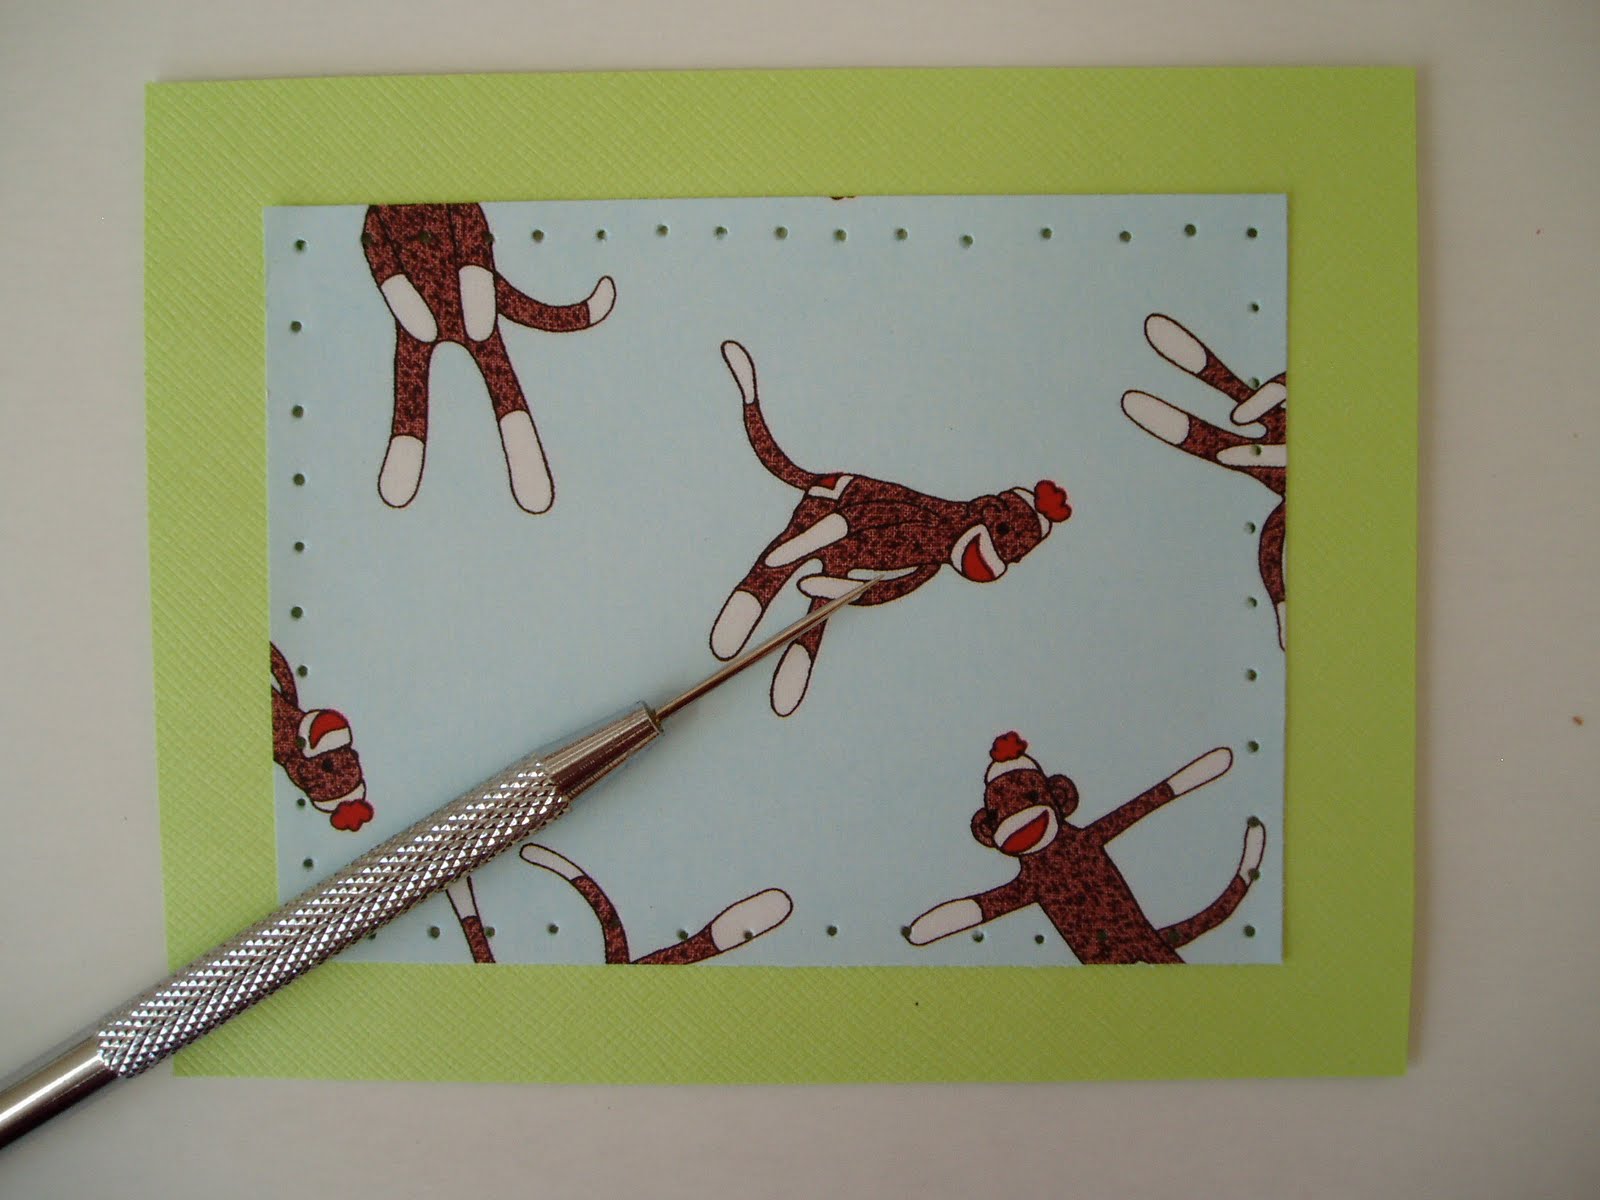
I punched a few lacing holes, inserted eyelets and laced it with waxy twine.

Glue on the text and attach card face to folded cardstock. Done!

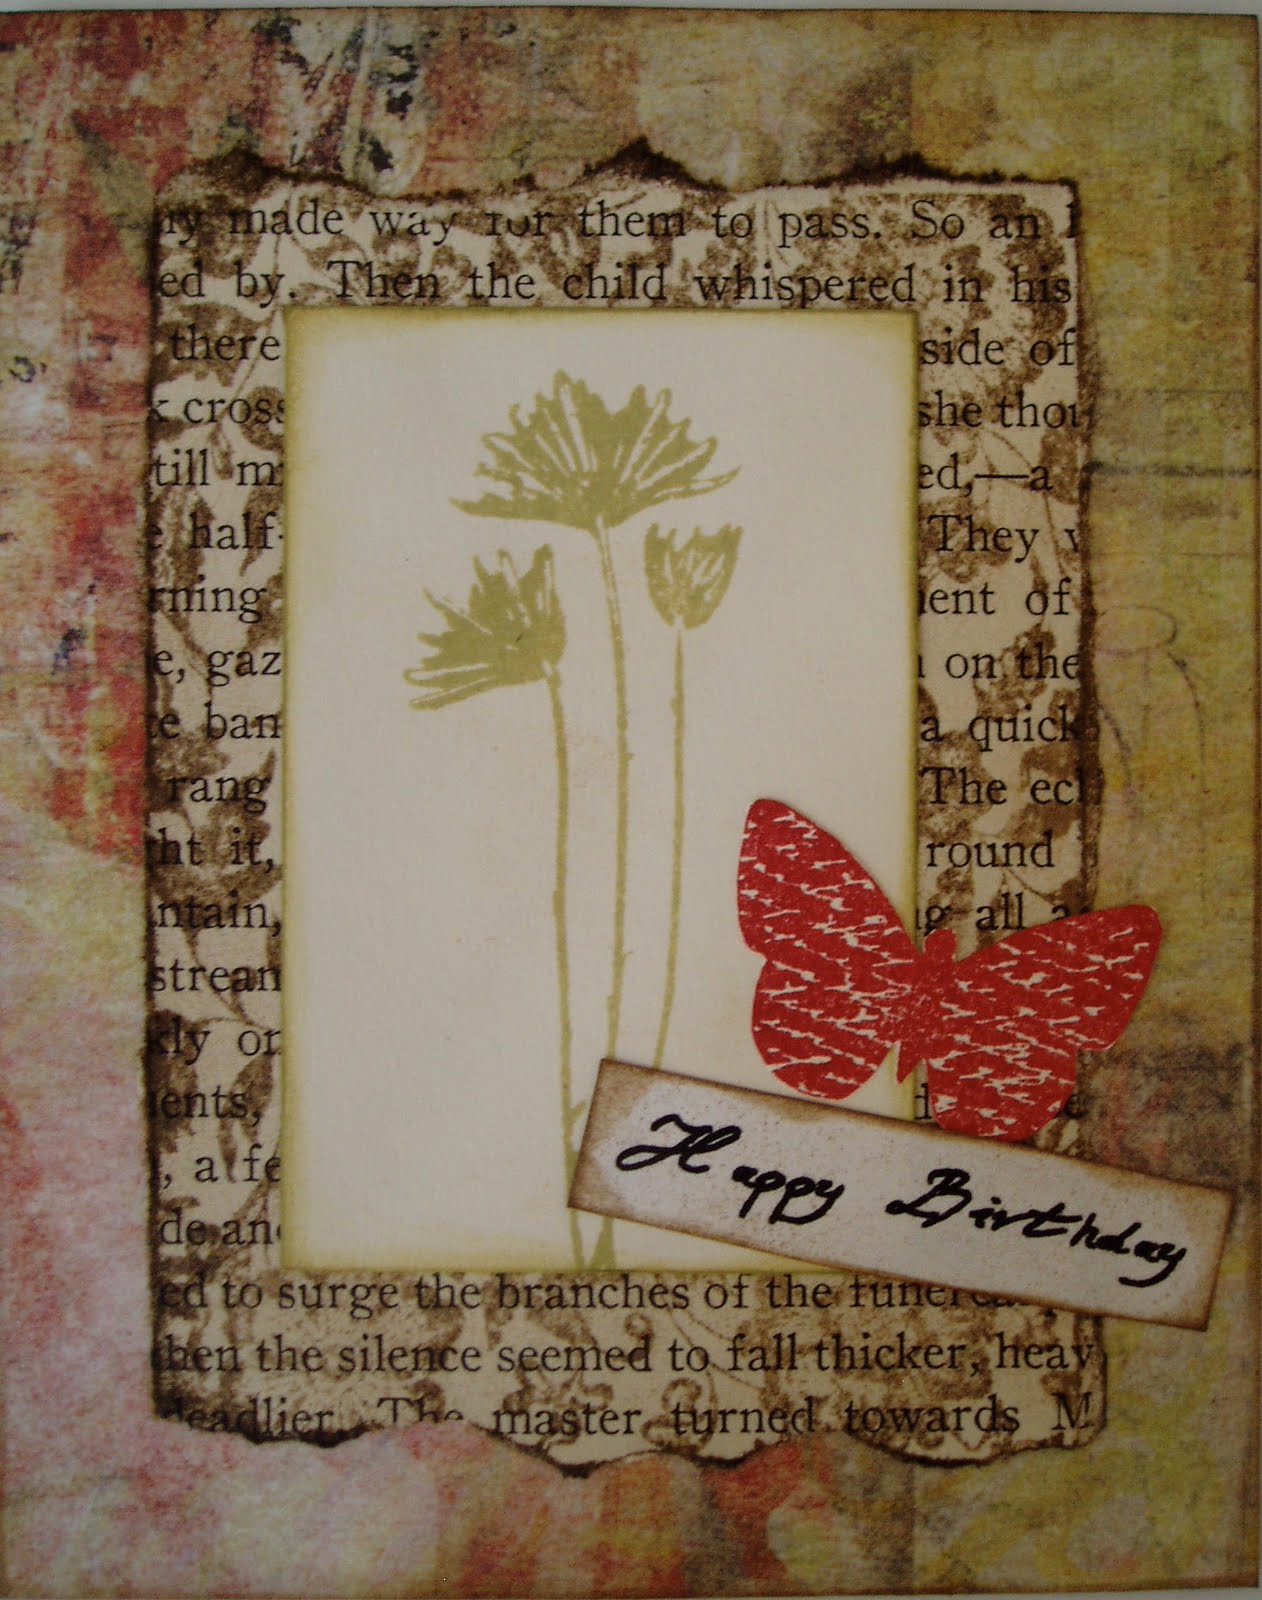
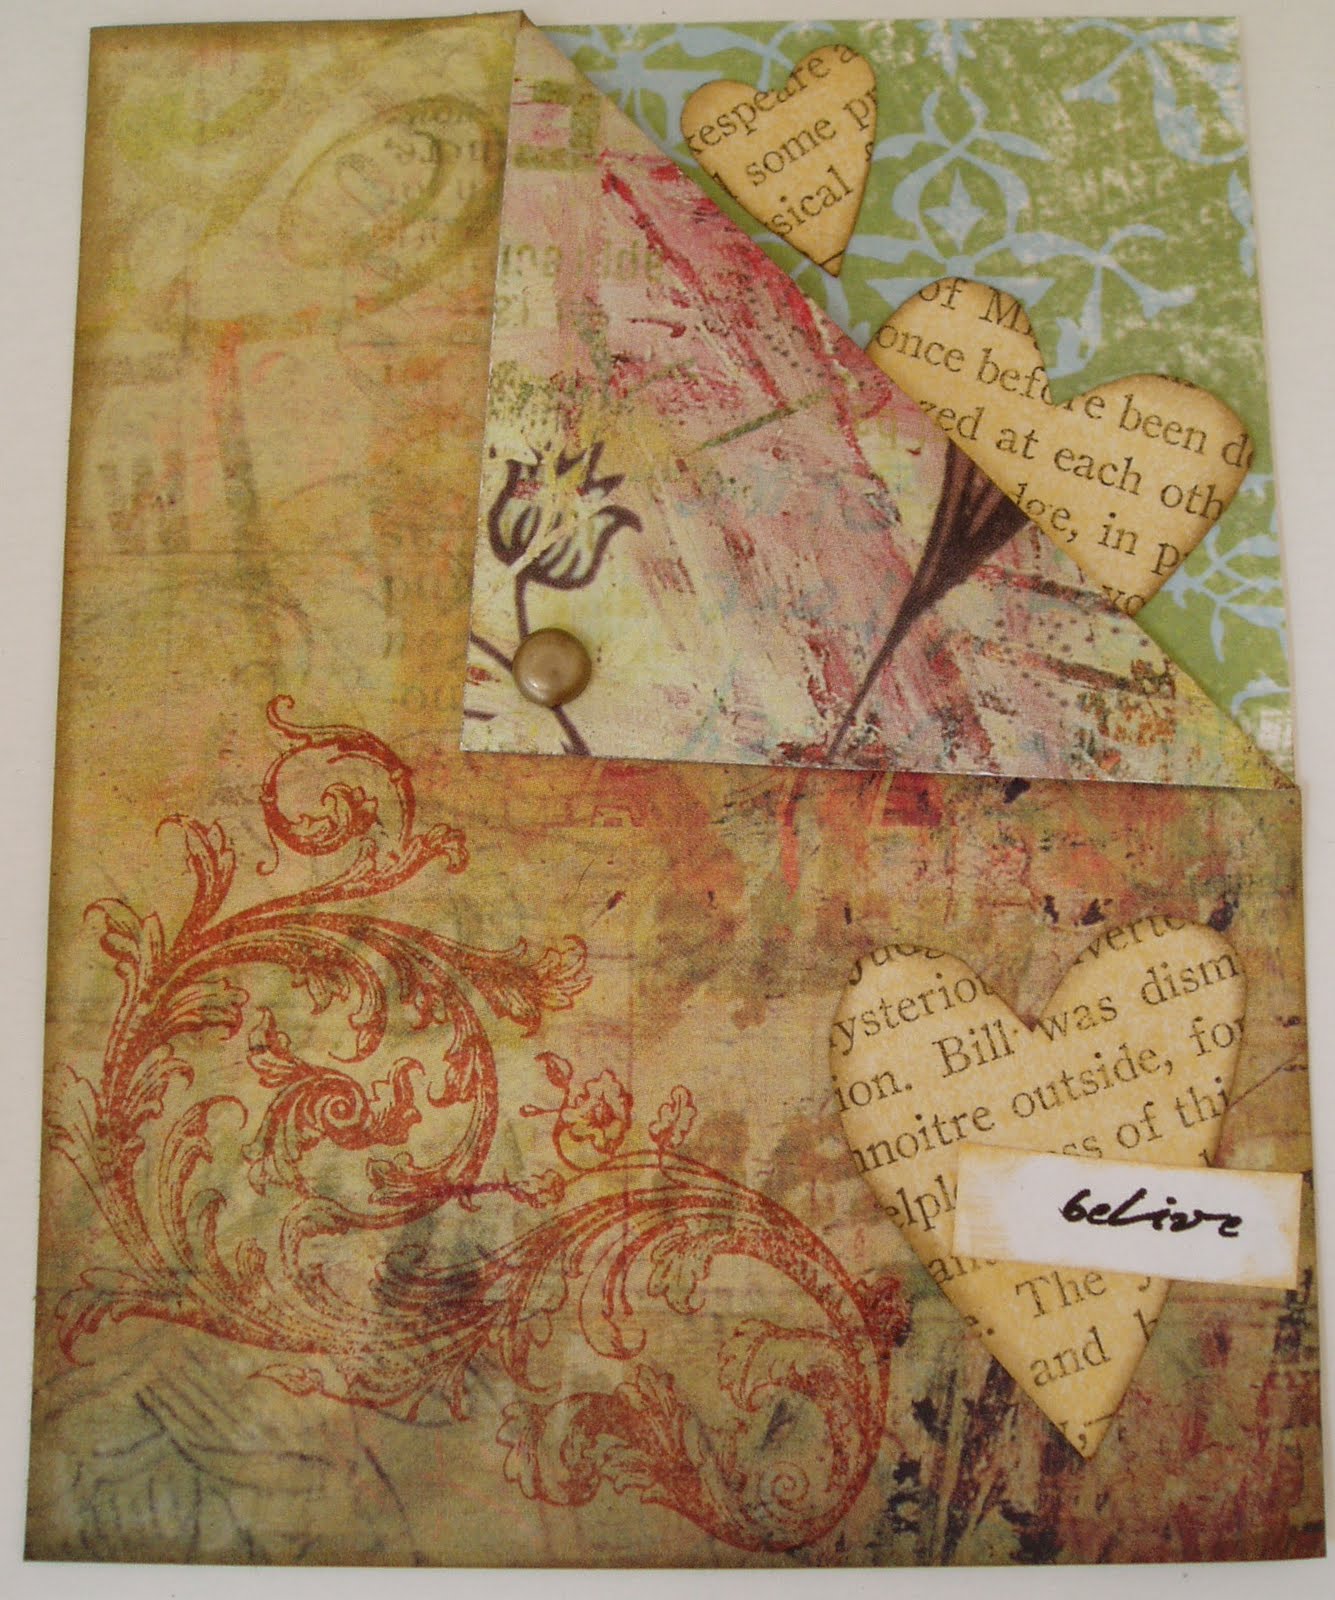
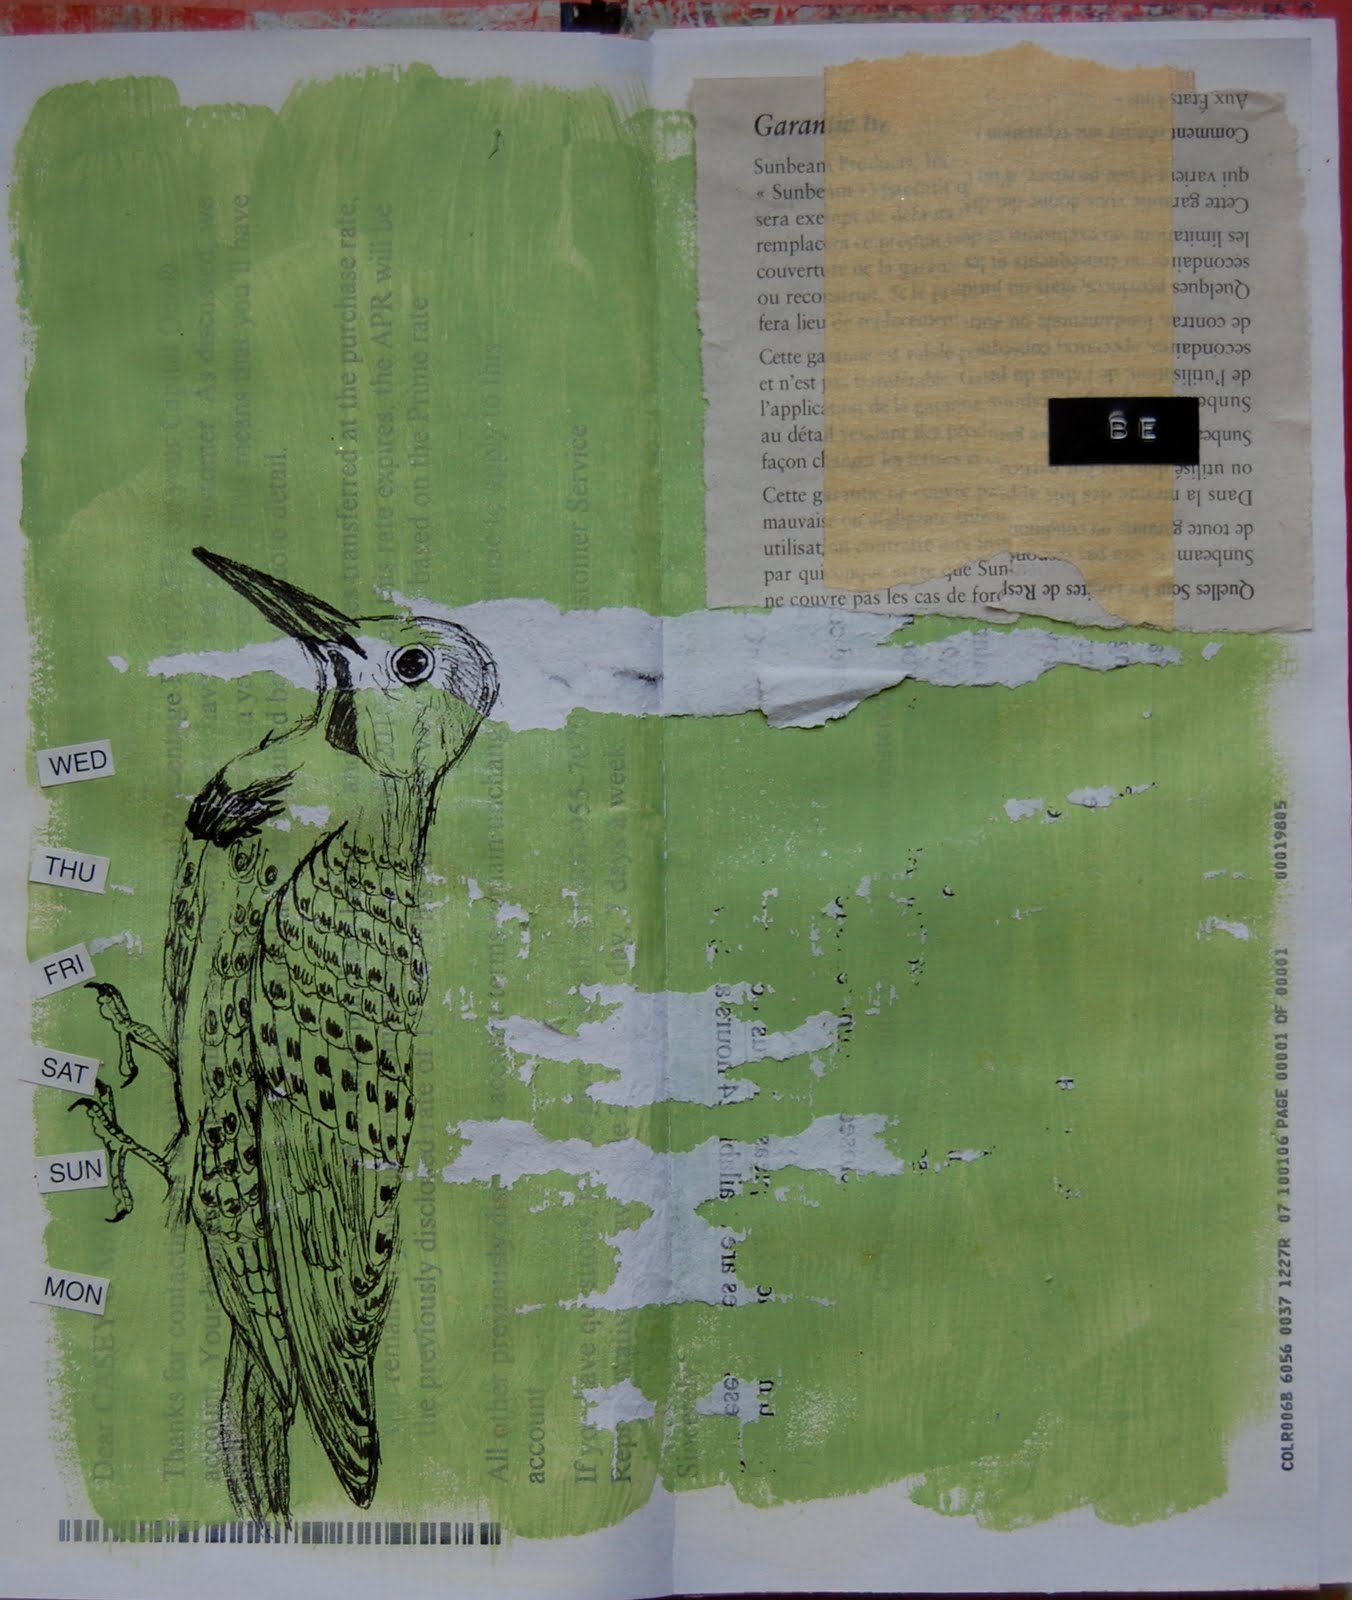
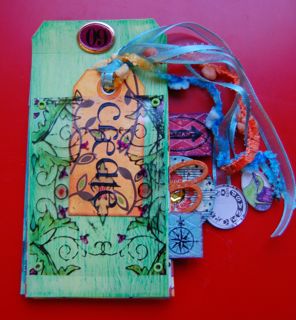
For the second card, stamp a background print on an old book page. Tear it out around the edges and run an ink pad along the sides.

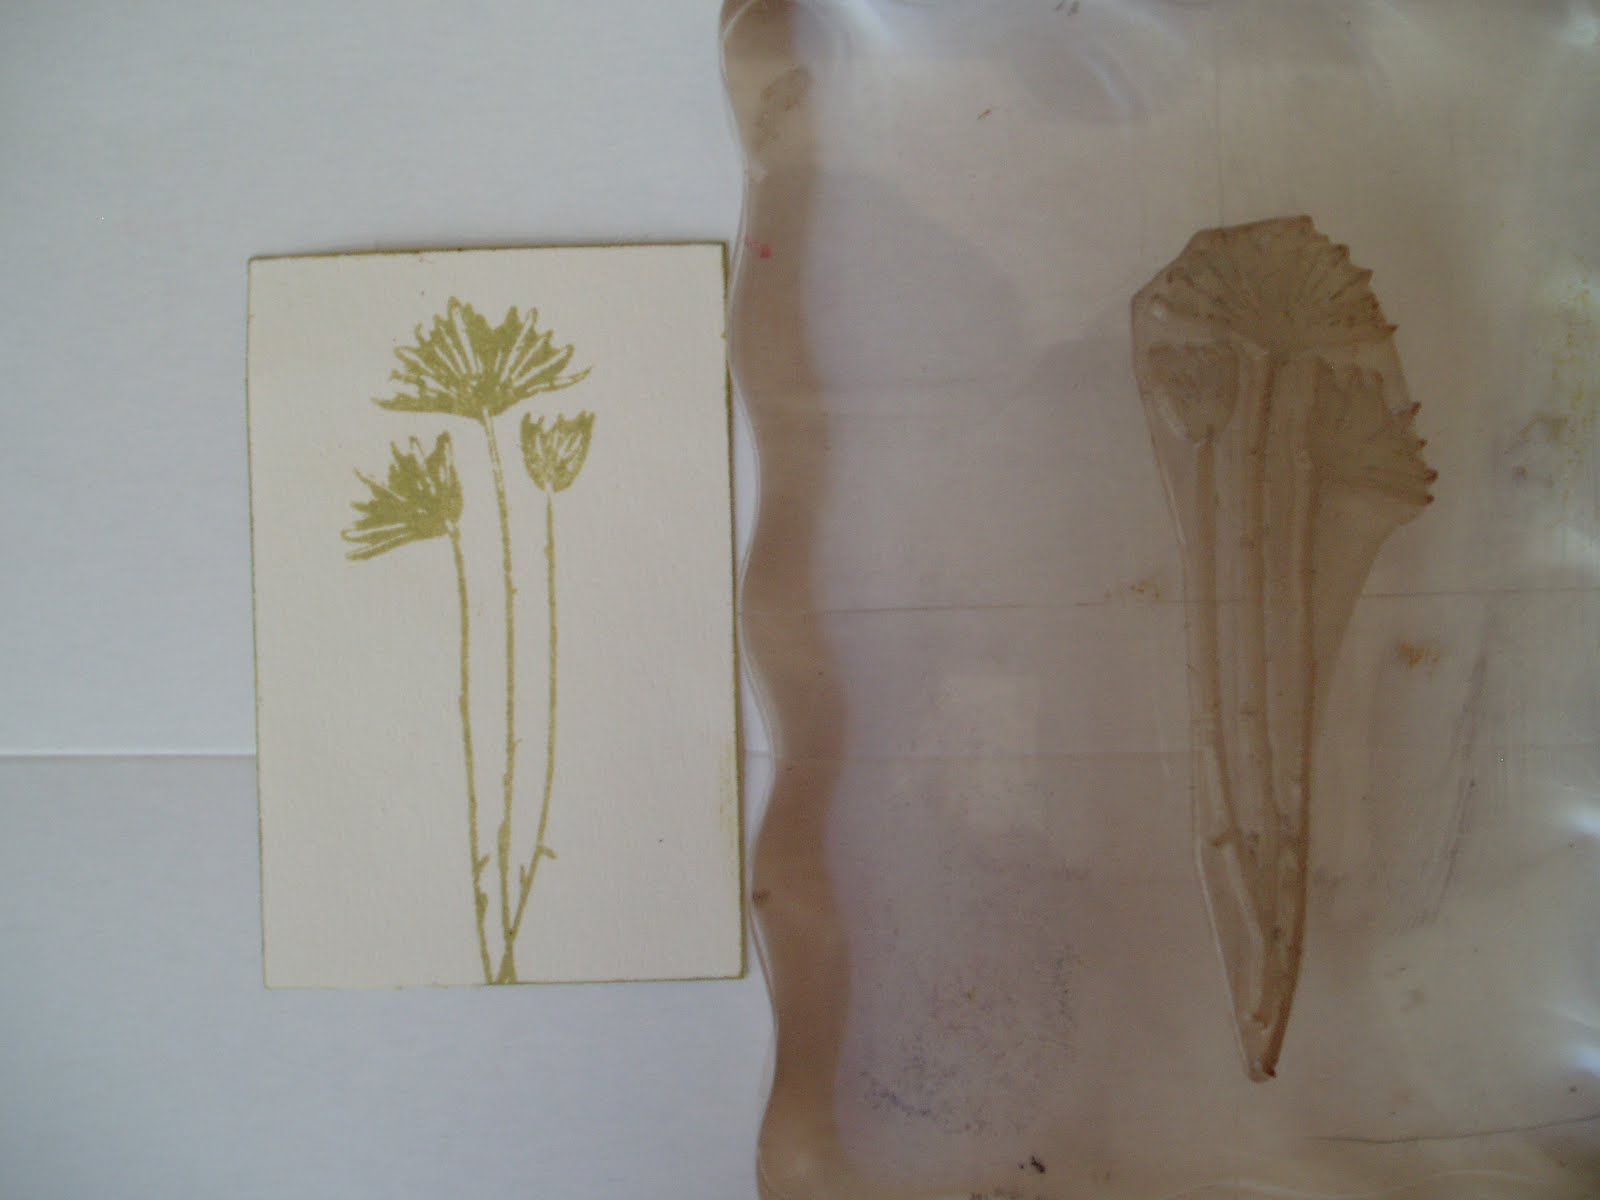
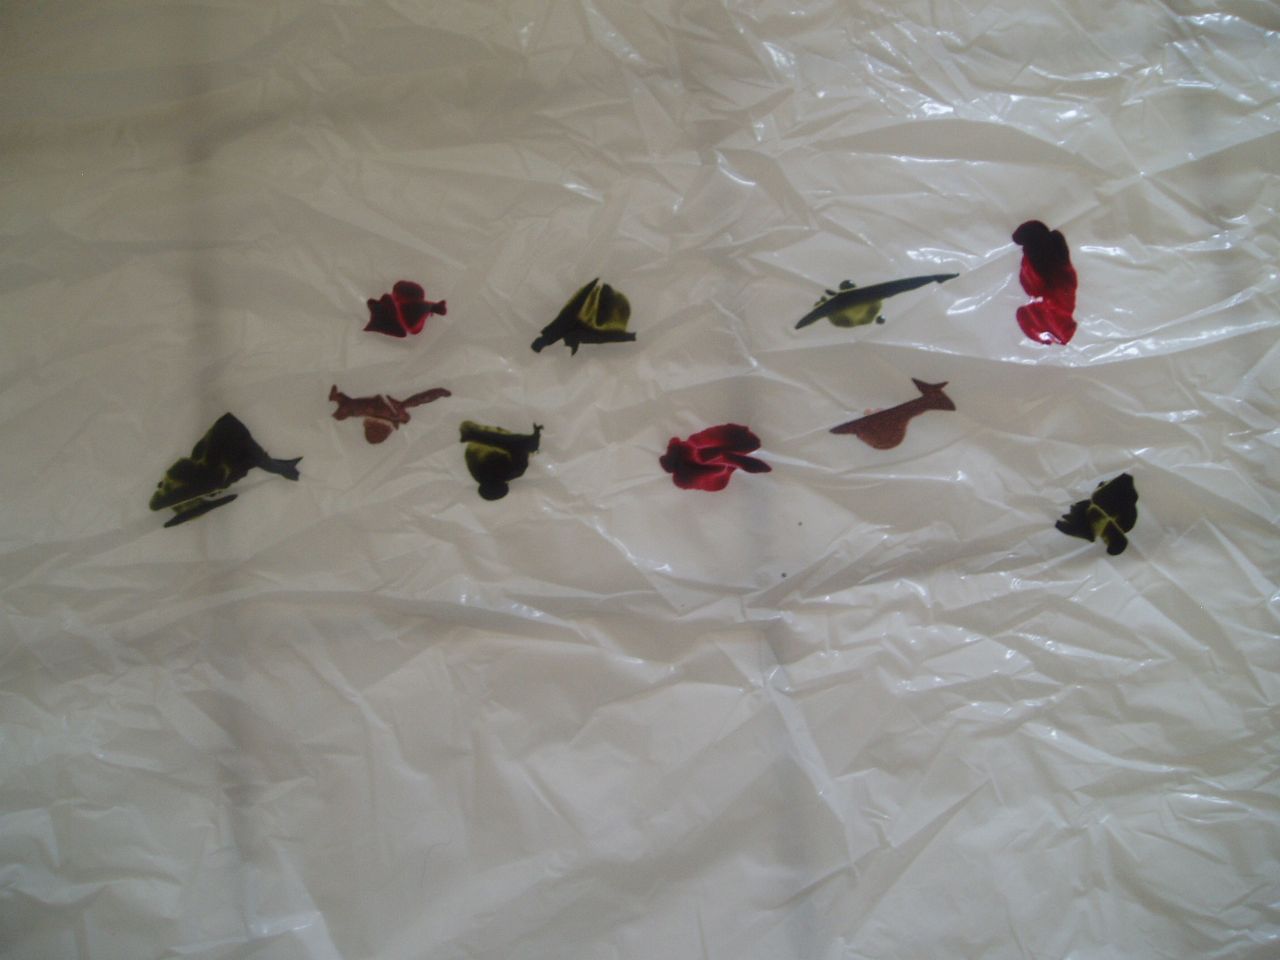
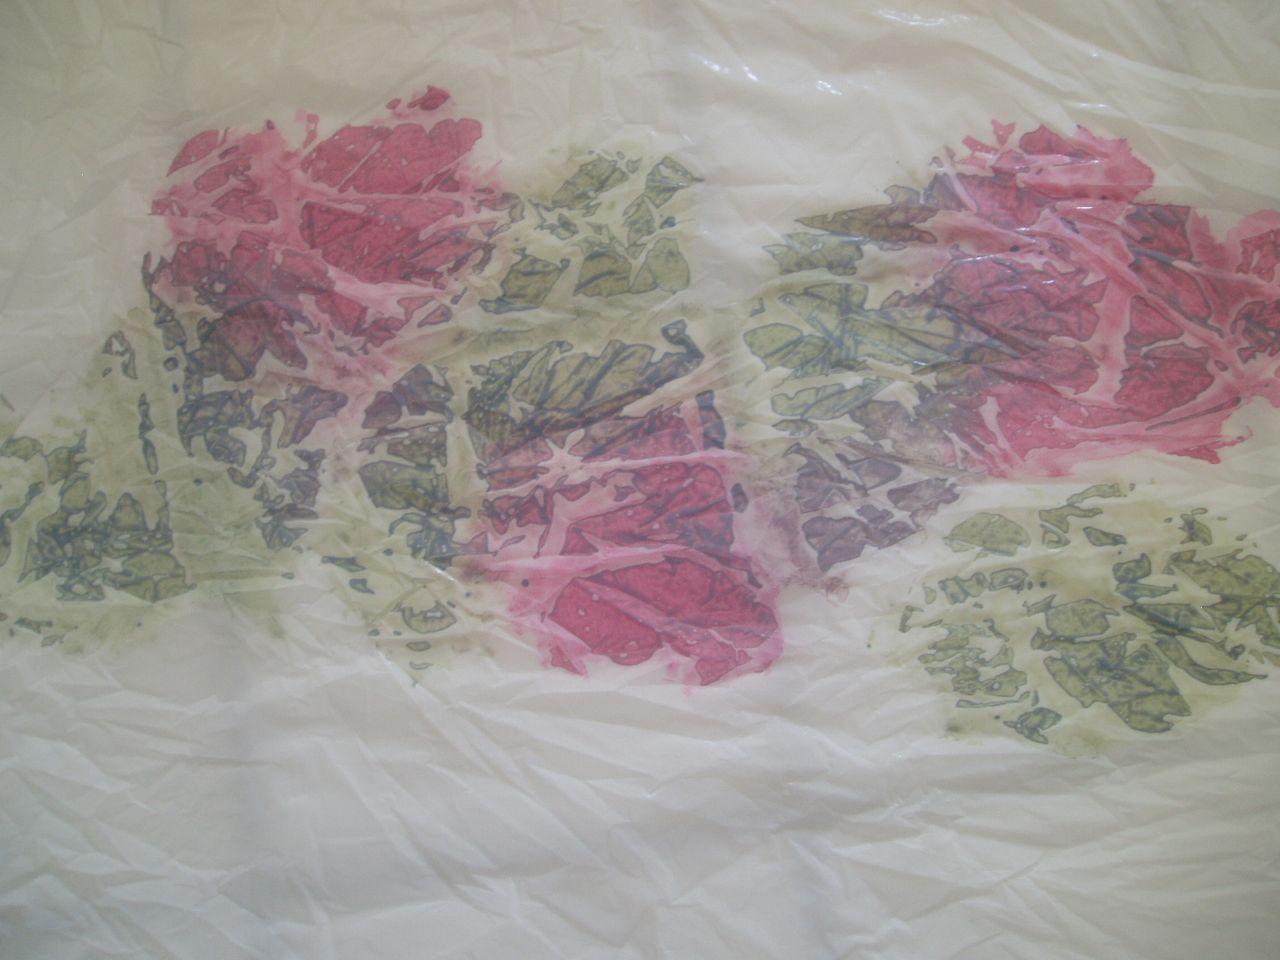
Stamp a floral print on a scrap of cardstock.

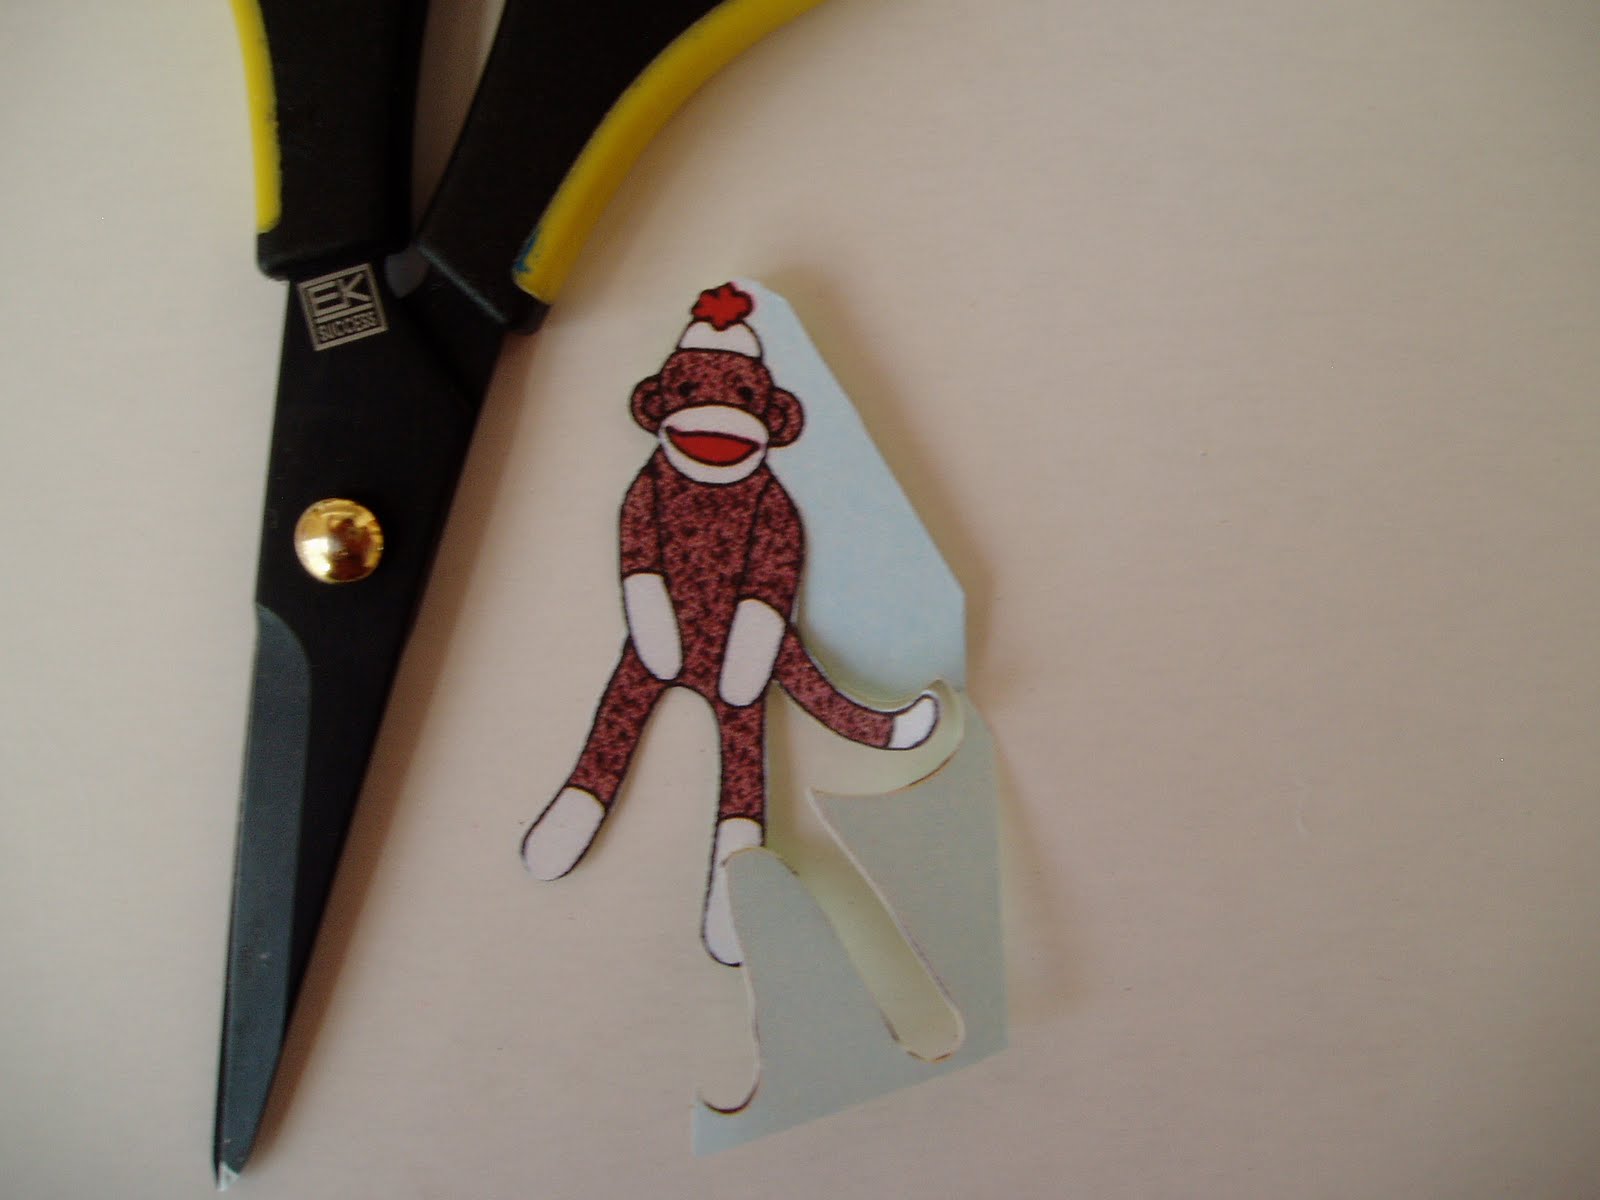
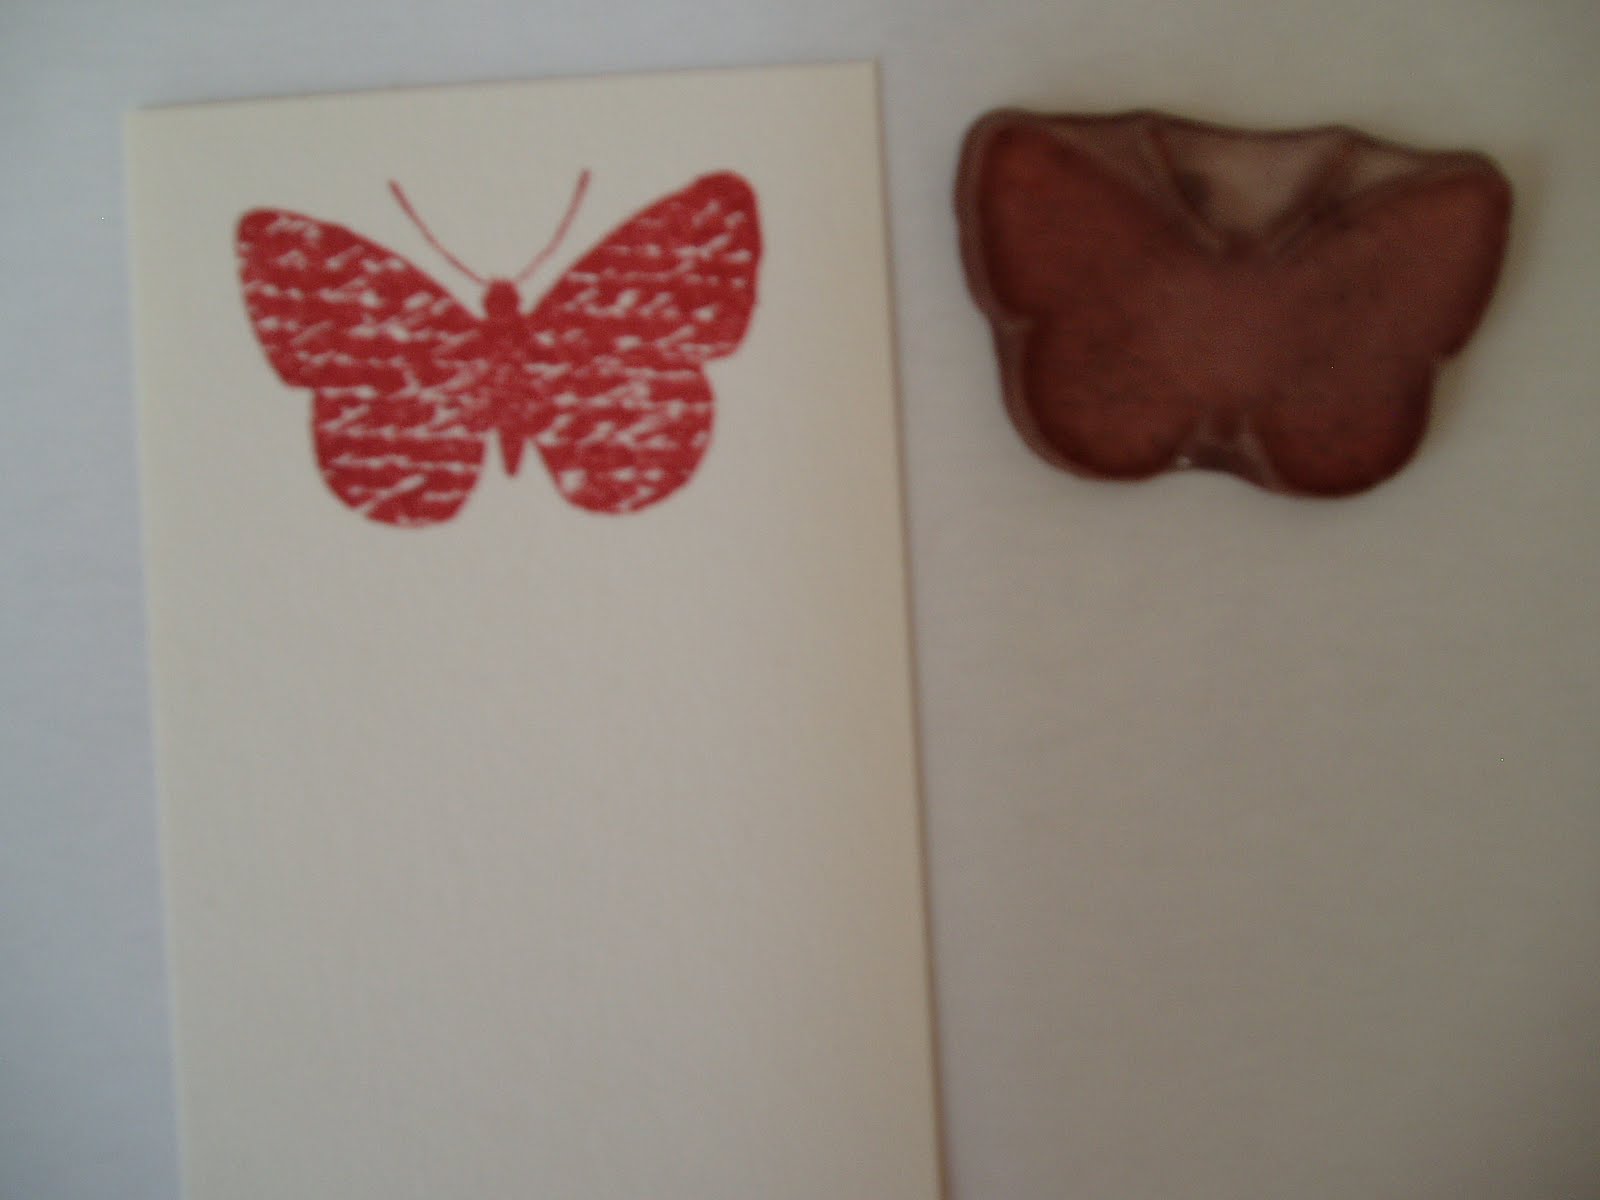
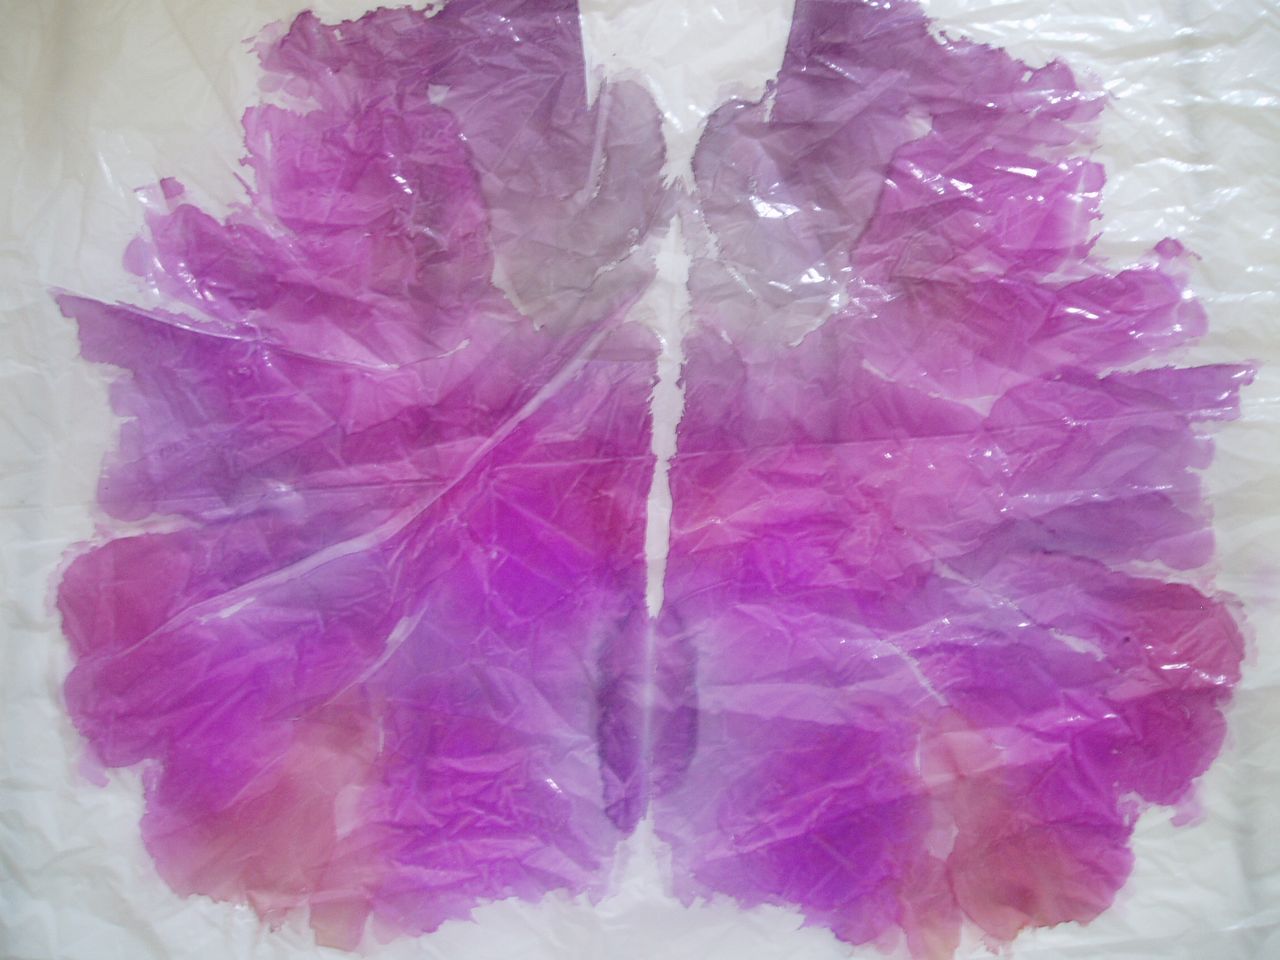
Stamp a butterfly on a scrap and cut out. Alternately, you could use a butterfly punch.

Assemble the card: attach the text page to a patterned paper background, add floral piece, butterfly and a little birthday text. Secure face to a folded piece of cardstock and you are done!

Monday, April 26, 2010

Believe Card Tutorial

I must apologize for the tardiness of this post. You see it was a warm, sunny, glorious spring weekend here in Northern California, and although my sewing machine has been calling me, and the fridge was getting a little bare, I preferred to spend my time filling (and throwing) water balloons with the kids. So for today, a tutorial from my class archives. Use this design as a loose guideline for using up your own scraps and supplies. I know my craft closet needs a good spring cleaning!

Supplies needed:

Patterned Cardstock (cut to your preferred card size)
Stamp & Ink (I used gold, brown and red)
Old book page
Brad


Fold over the right corner of the card. Stamp flourish in bottom left corner with red ink.

Attach brad to folded corner and secure green printed panel behind card.

Ink text page with gold, and cut three free form hearts, one small and two larger, from page. Edge hearts with brown ink and secure to card.


Cut out stamped text and edge with gold. Secure to card.


Monday, April 12, 2010

Plastic Bag Card Tutorial

Despite my best intentions of always having a reusable bag with me, there are times when I forget, and I end up with another pile of plastic bags.  Since I've made a cute little scrap fabric lint bag for the laundry (that tutorial next week), I don't need them as trash bags anymore. What's a girl to do? Make cards with them, of course!

You will need:
Ranger alcohol ink, blending solution,  plastic bag, cardstock, stamps, archival ink (or Staz-On)


Directions: Drop a few colors of alcohol ink on the plastic (note: regular ink will NOT work. Alcohol ink is made for non-porous serfaces such as plastic and metal).

  Fold plastic over to sandwhich ink and spread with your hand.

Open and let dry. You can crinkle the plastic before applying the ink for a more distressed look.


Now the real fun begins. You can use the plastic as a background for cards or scrapbook pages. The colored plastic is semi-translucent, so here I glued it over a piece of patterned scrapbook paper using gel medium. Alternatively, you could wrap it around a piece of cardstock and tape it securely on the back. Although you can melt plastic bags, I try to avoid using heat with plastic, as it releases those nasty toxins. I finished the card with two of my stamped figures cut from cardstock, a painted cardboard heart and a chipboard accent. You can stamp directly on the plastic using Archival ink or Staz-On. Several cards can be created from just one plastic bag! Junkmail art journals, plastic bag cards, and next week a bag made from sewing scraps... I think discards are becoming my favorite art supply!


Friday, April 2, 2010